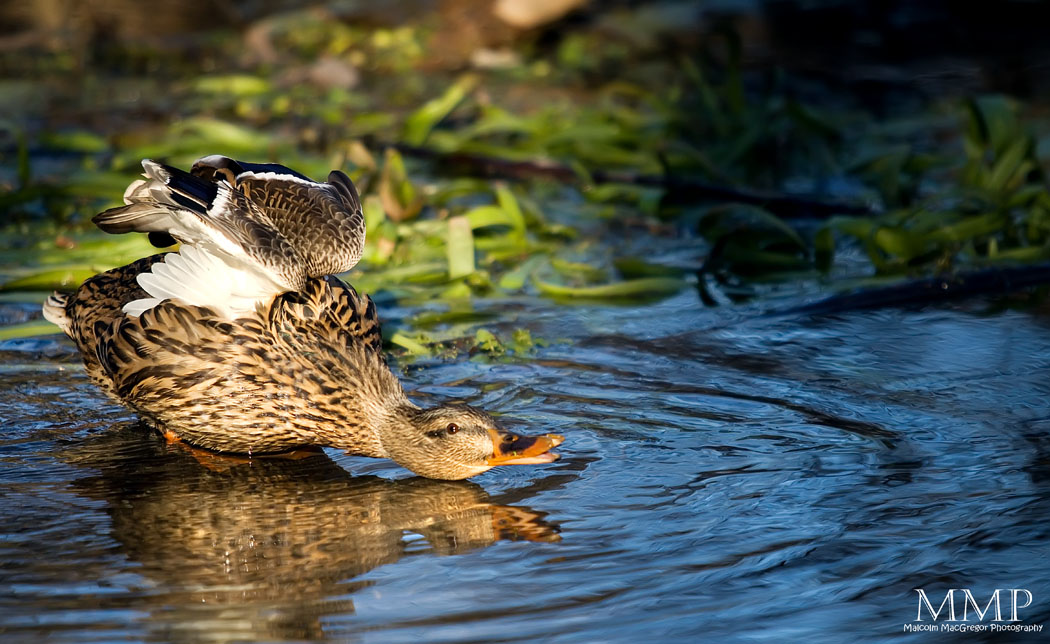
Time for another tutorial, but this time something different. Instead of an HDR tutorial, how about a Texture tutorial? I’ll show you the textures I used and how I used them to turn this:
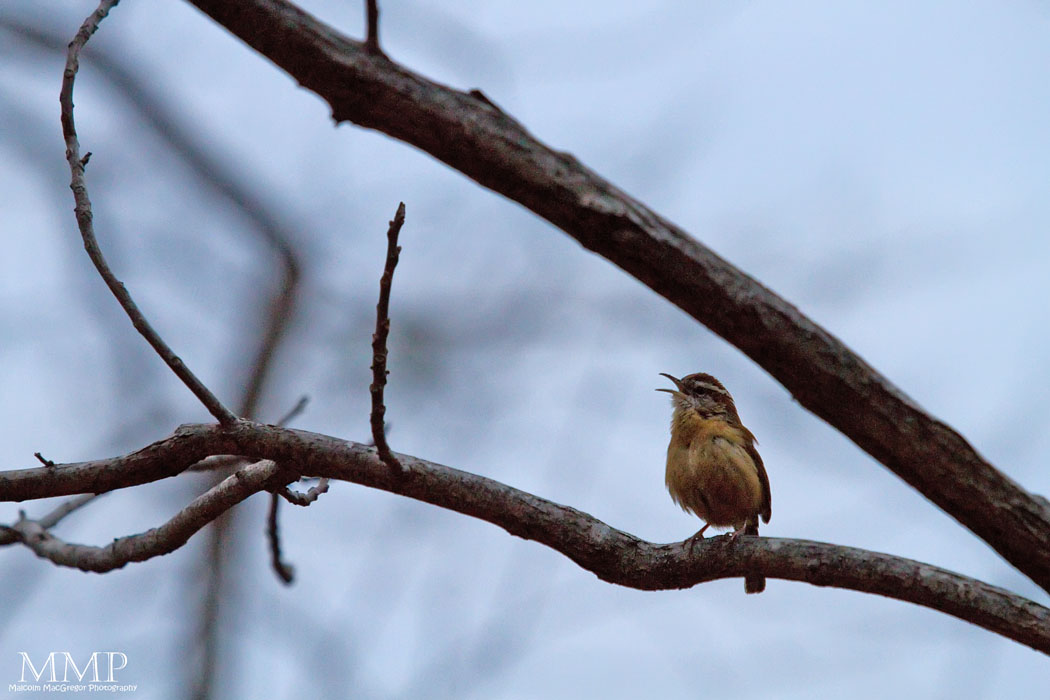
into this:

So here I am starting in photoshop:
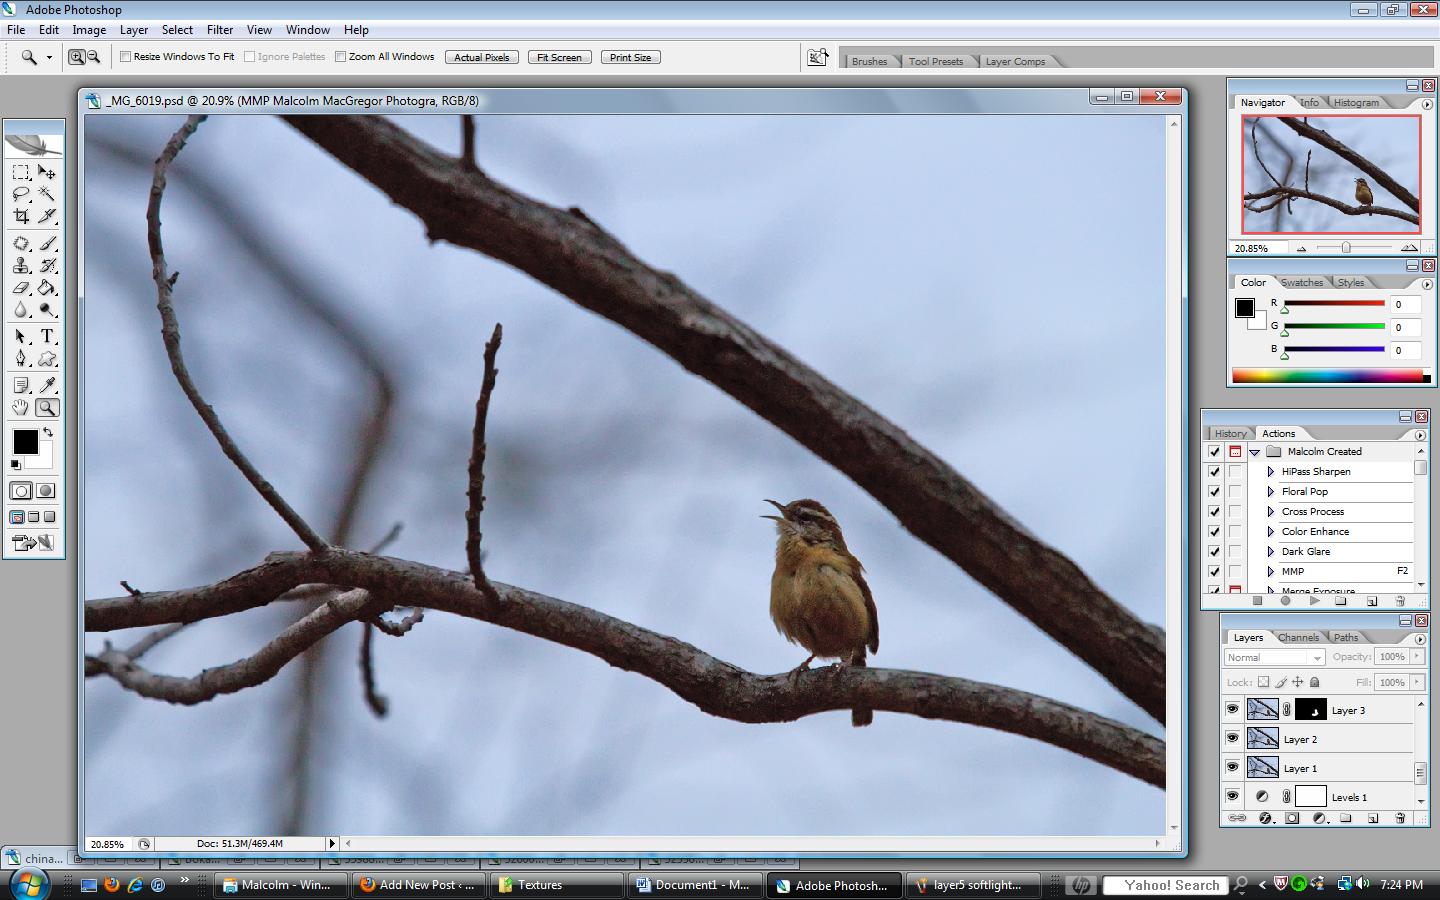
I’ve already finished my normal adjustments for contrast, noise, sharpness, etc. I’ve covered those in each of my past tutorials, so check them out for those types questions. Just because this shot is not HDR does not change those basic adjustments.
So after getting to this point I decided that this shot just didn’t have enough excitement. I enjoy playing with textures and have posted photos here before with textures applied. So I decided to try to add a couple to see what I can come up with. The thing with textures (as with most editing in my opinion) is there is no right or wrong. It’s all subjective, what do you like?
There are soooooo many textures available online for free (I’ll show you some links at the end of this tutorial). Over the last few years I have collected a few that I really like and I tend to use the same couple of textures most of the time. This time however, I immediately thought about adding some “bokeh texture”. I looked through the textures I had downloaded and found this one:
 This texture was downloaded for free from HERE. This site has many textures available.
After pulling it up in photoshop, I grabbed the MOVE tool and clicked and dragged the texture onto my bird photo. You’ll see that it automatically adds it as a separate layer. Now, the texture layer is smaller than my bird photo so I go to “EDIT” => “FREE TRANSFORM”
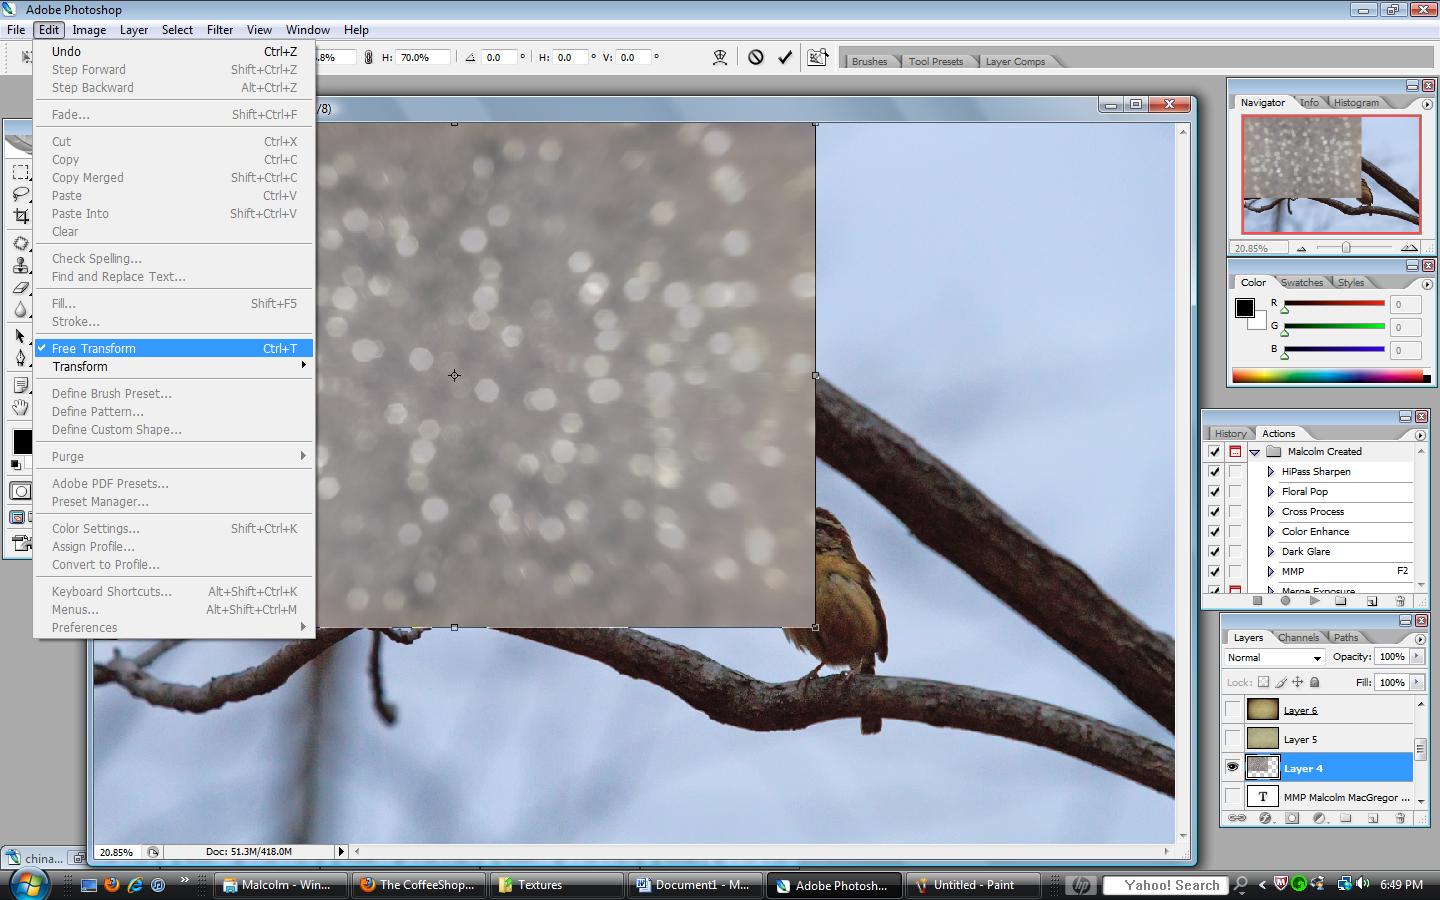
Now you can grab the corner of the texture and drag it out to the corner of the bird photo. Now all you’ll see is the texture and this is where the creativity really begins. The main 2 adjustments to remember are “Blend Mode” and “Opacity” – see below
 Here you can see the texture completely covering the bird photo. The circles are circling the “Blend Mode”, “Opacity” and my Layers window (so you can see that the texture layer is the top layer). Clicking the drop down menu for “Blend Mode” I select “Overlay” and I leave the “Opacity” at 100%, and this is what happens:
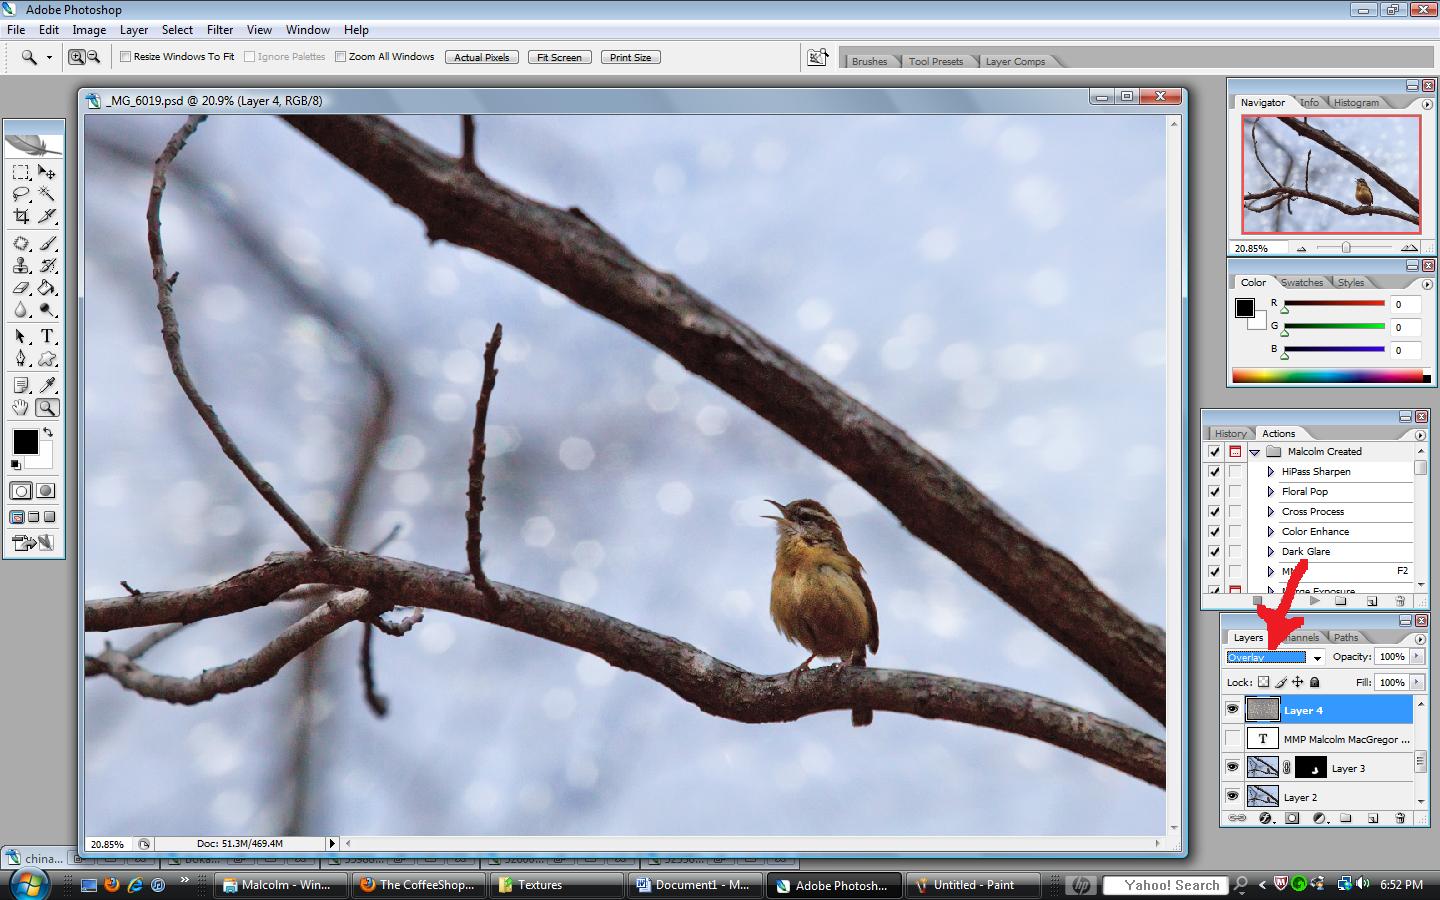 Not bad! But, needs something else….
So I grab another texture:
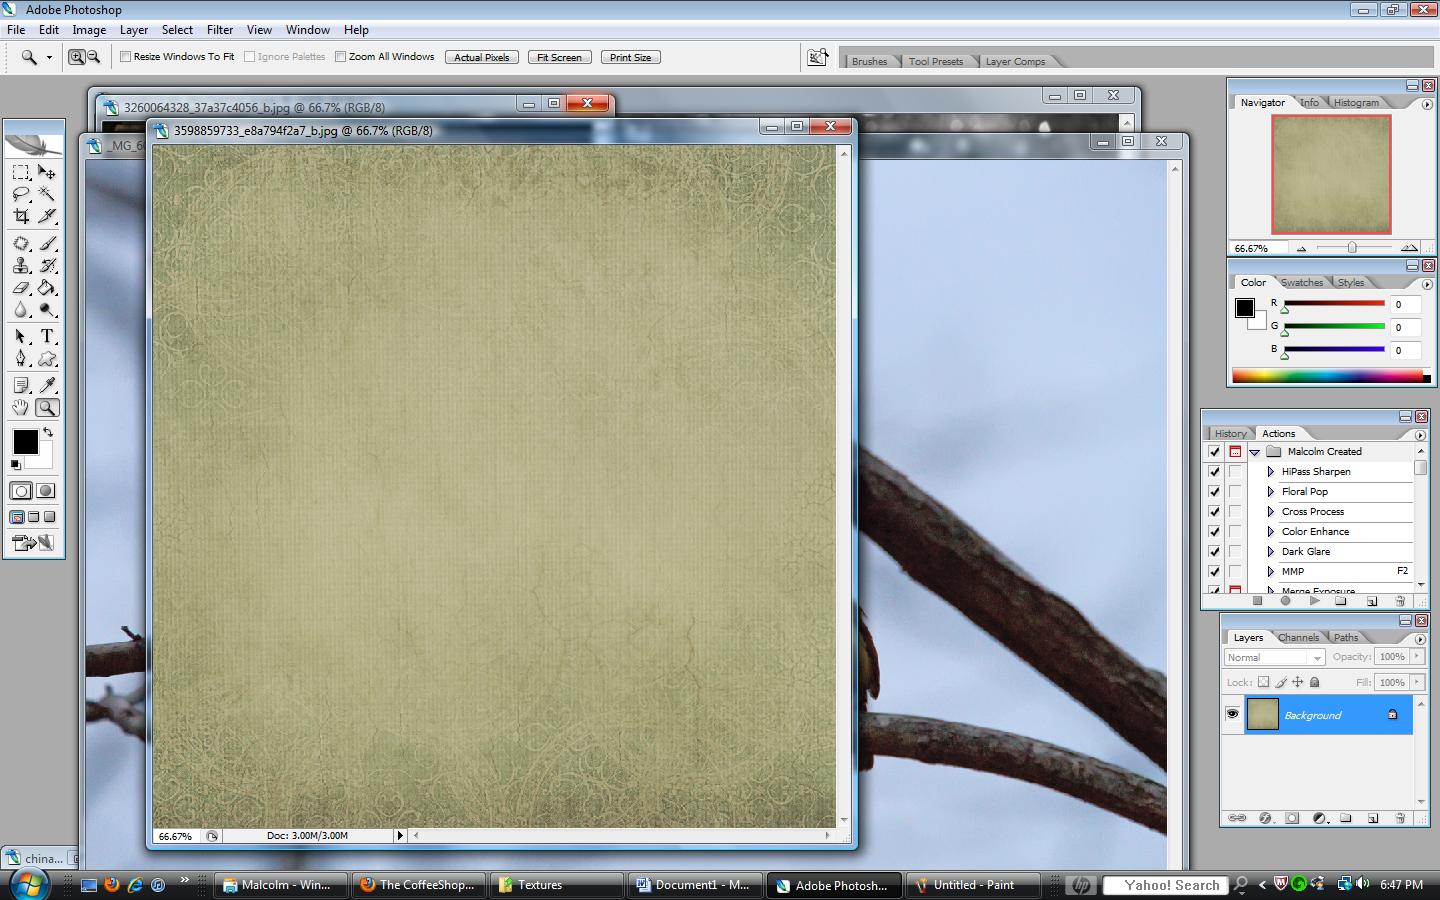 This is one of my favorite textures to use. I downloaded it from flickr but I don’t believe it is still there. I’ve searched for the image and creator to credit but can’t come up with anything.
Using the same steps as above, drag the next texture onto the photo and adjust the Blend mode and/or Opacity:
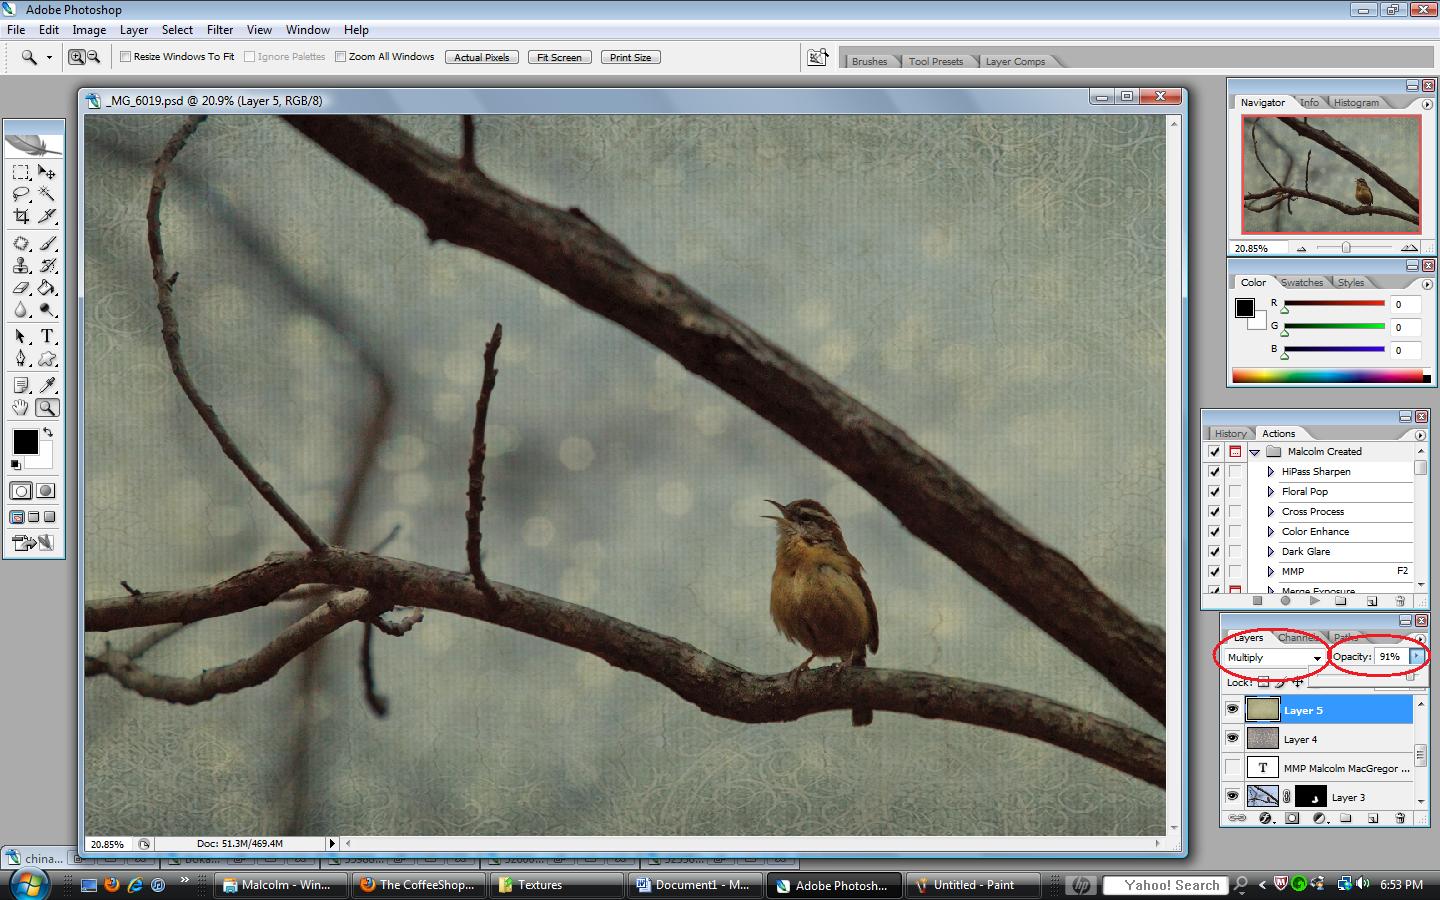
Here you’ll see that I used “Multiply” blend mode (which darkens) and I backed off the opacity just a tad, down to 91%.
Looks good, let’s add another!
The next texture I tried is my other favorite. I often use it with the previous texture.
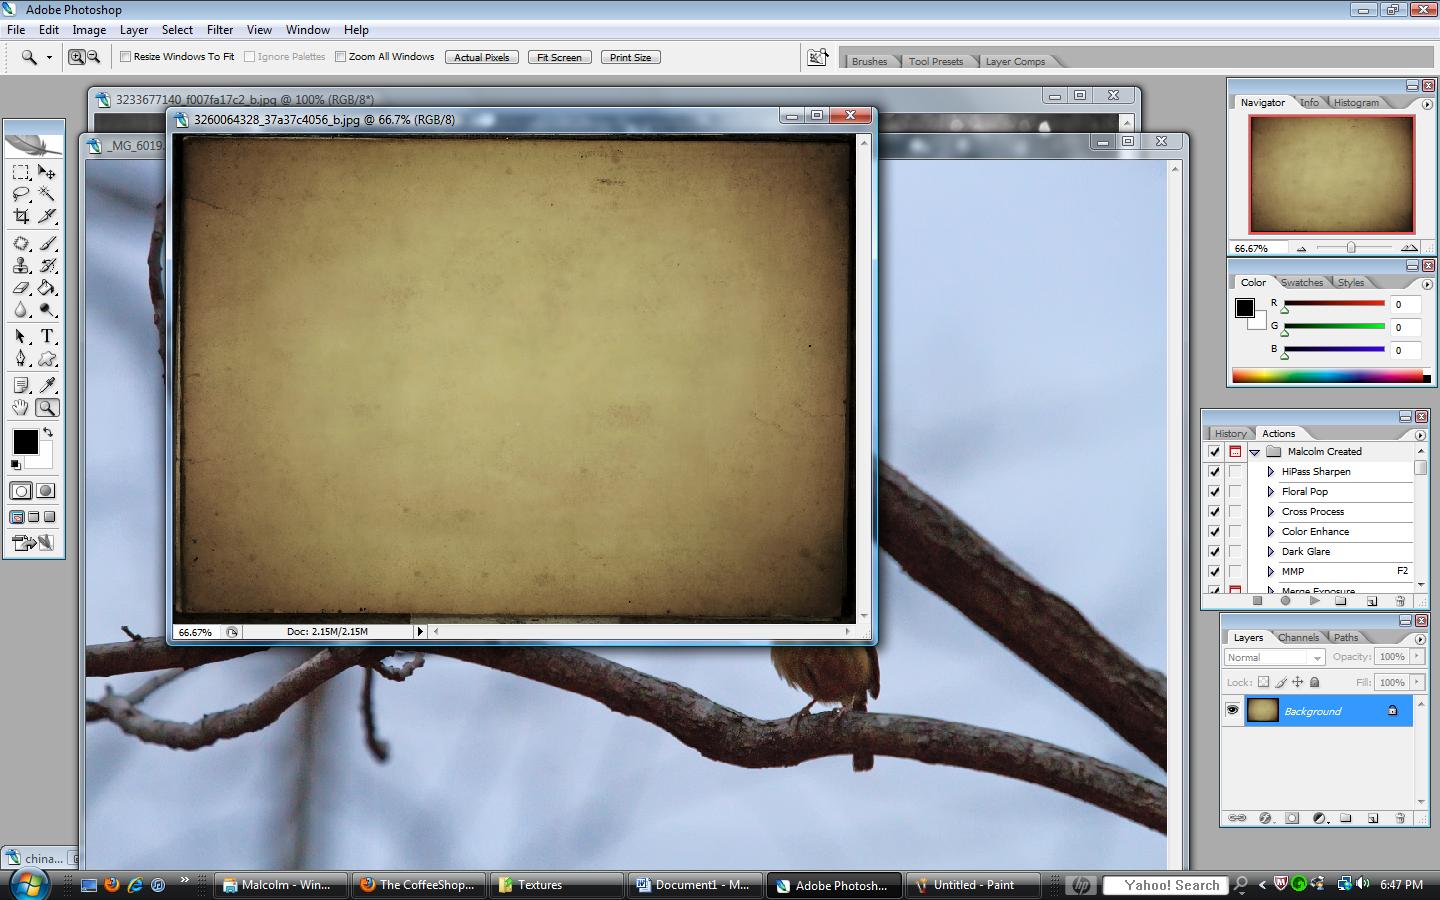 You can find and download this texture for free HERE
Again, drag it onto the photo, free transform and change the blend mode and or opacity:
 This one put in Overlay and left at 100%.
Now I liked the texture it added but I didn’t like the color it added. I didn’t want the final image to be so yellow, so I add a hue/saturation layer and desaturate it:
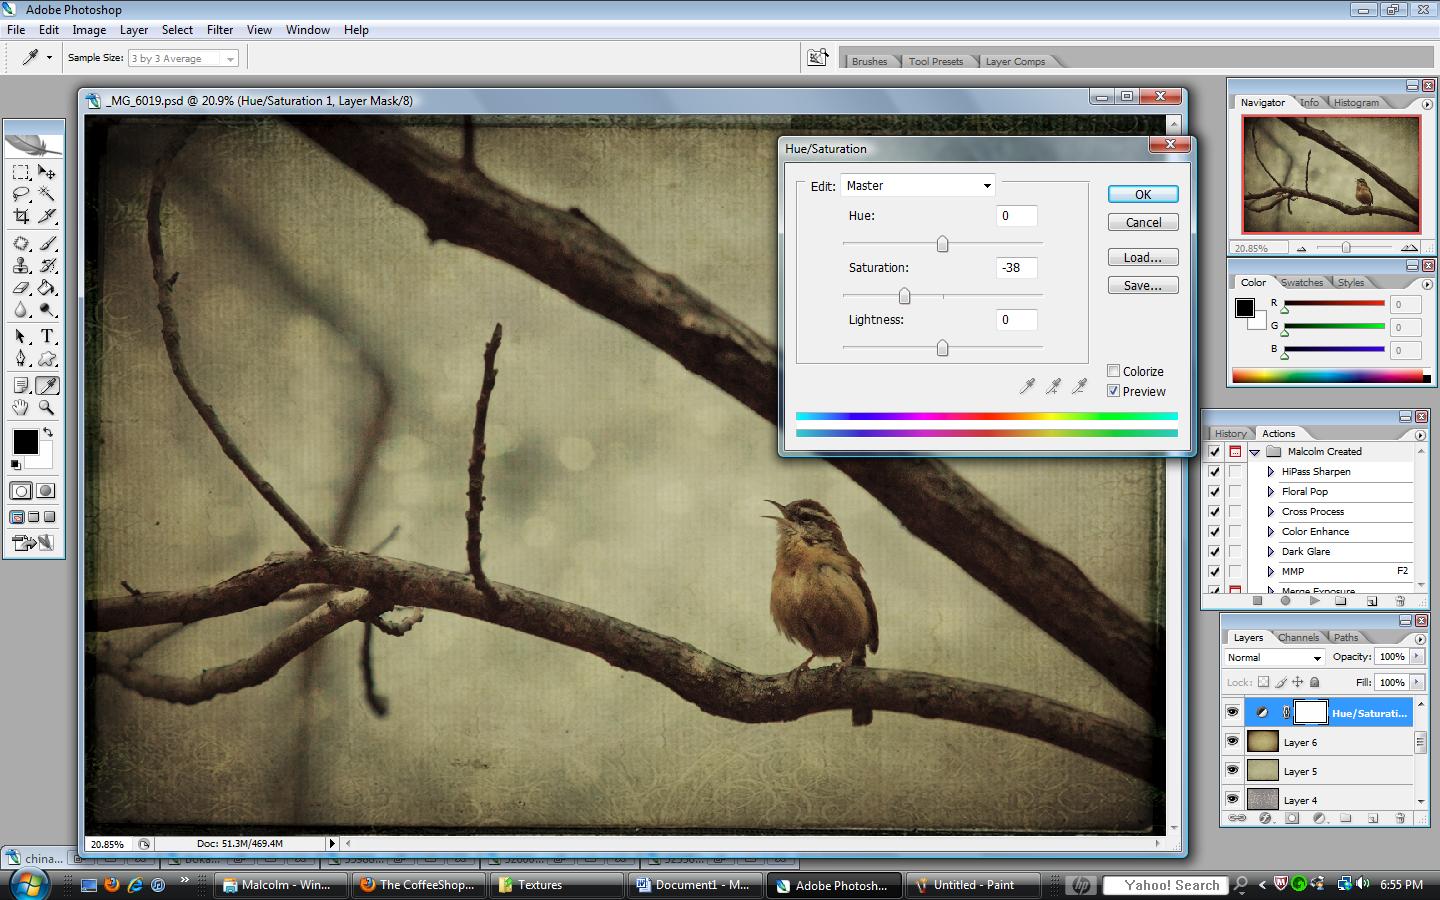
Now, I didn’t want to desaturate the entire image, just the previous layer. So I right click on the hue/saturation layer and click on “Clipping Mask”:
 This will make the hue/saturation layer ONLY effect the layer below it, in this case the “yellow” texture. Here is the final result of texture number 3:
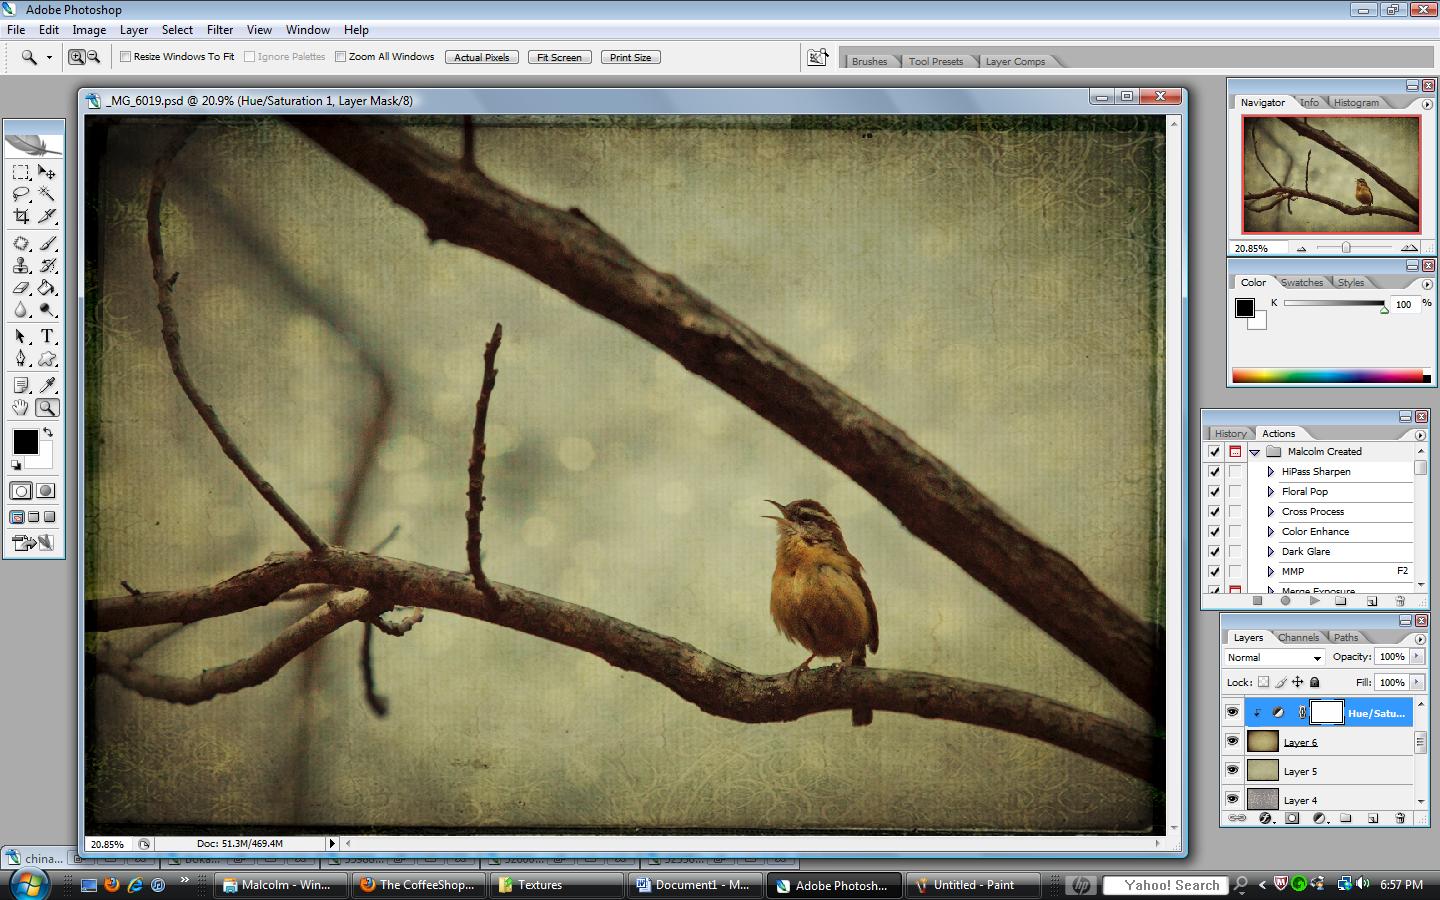
With me so far?
Let’s add another
Grabbed this one:
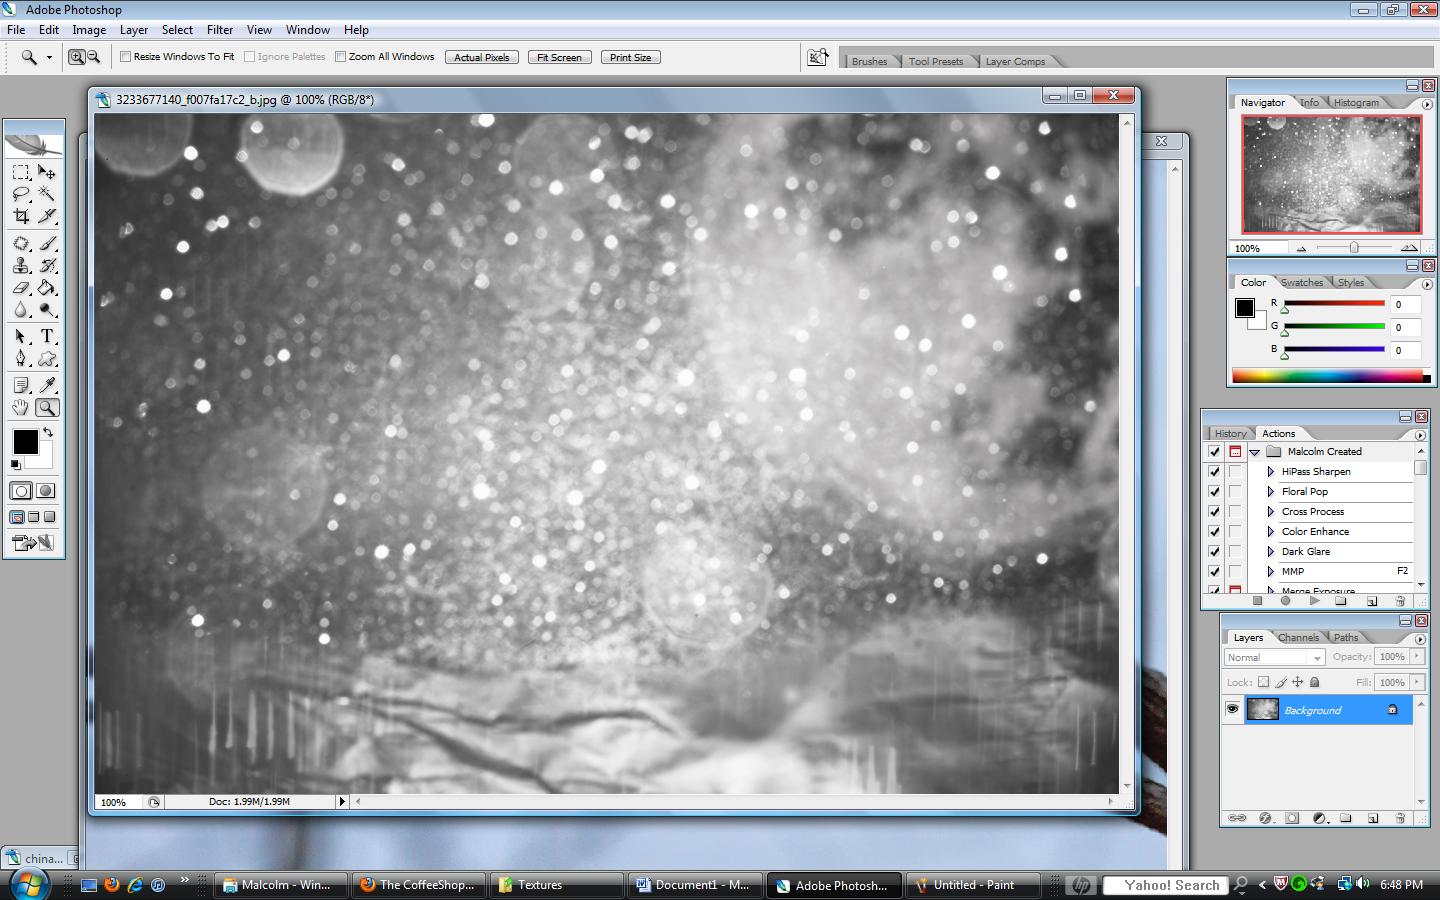 This is another texture that I downloaded from flickr a while ago and cannot find it now to give credit.
Drug it over the photo and adjusted the blend mode:
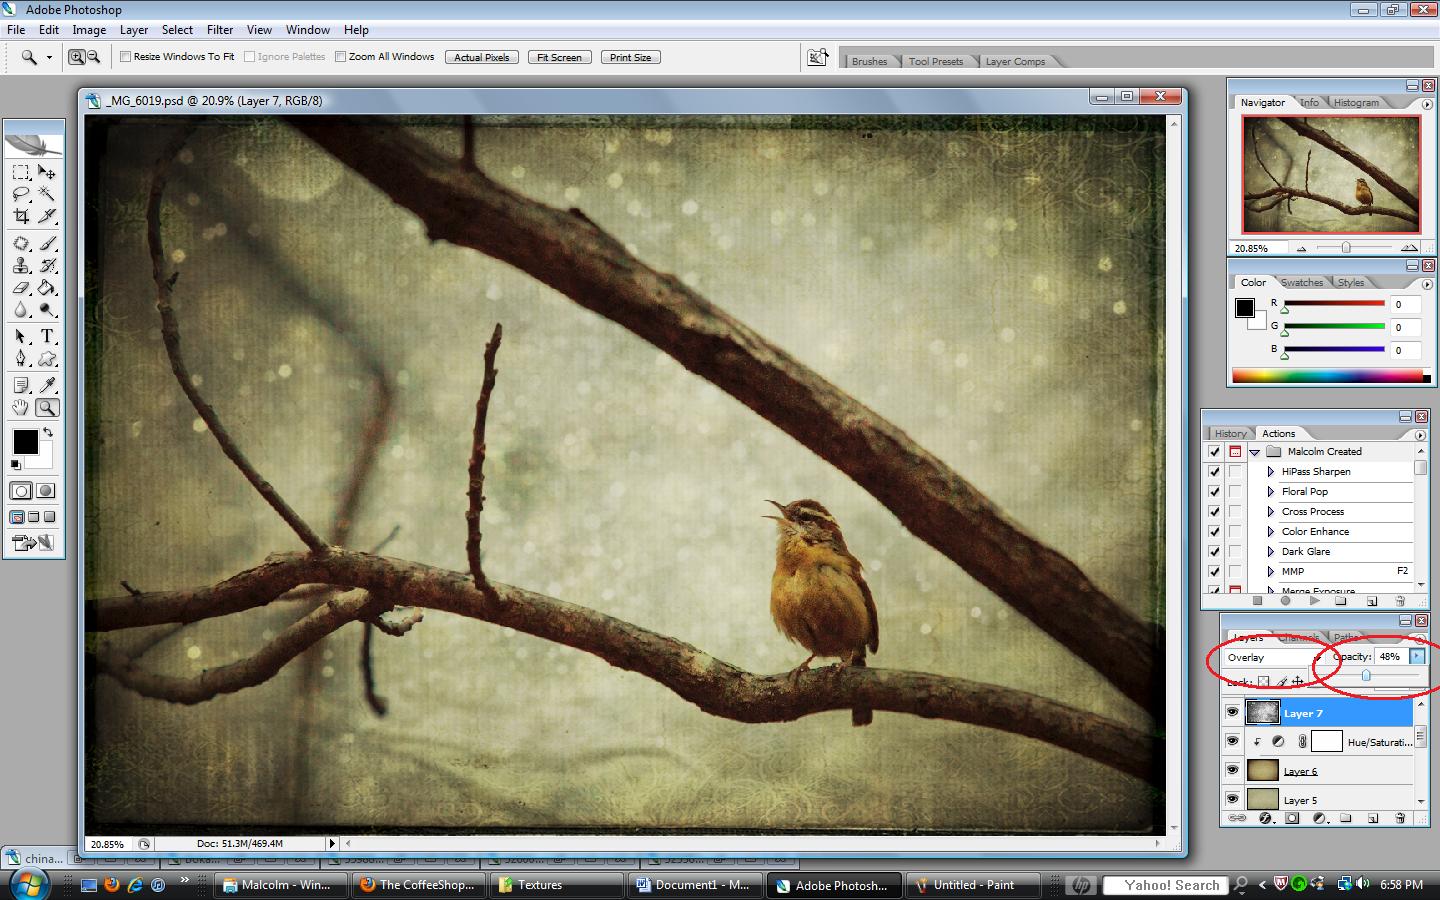 This one I put in “Overlay” and brought the opacity way down.
Now at this point I was thinking it was a little dark and I wanted a little blue added to it. So, I grabbed this texture:
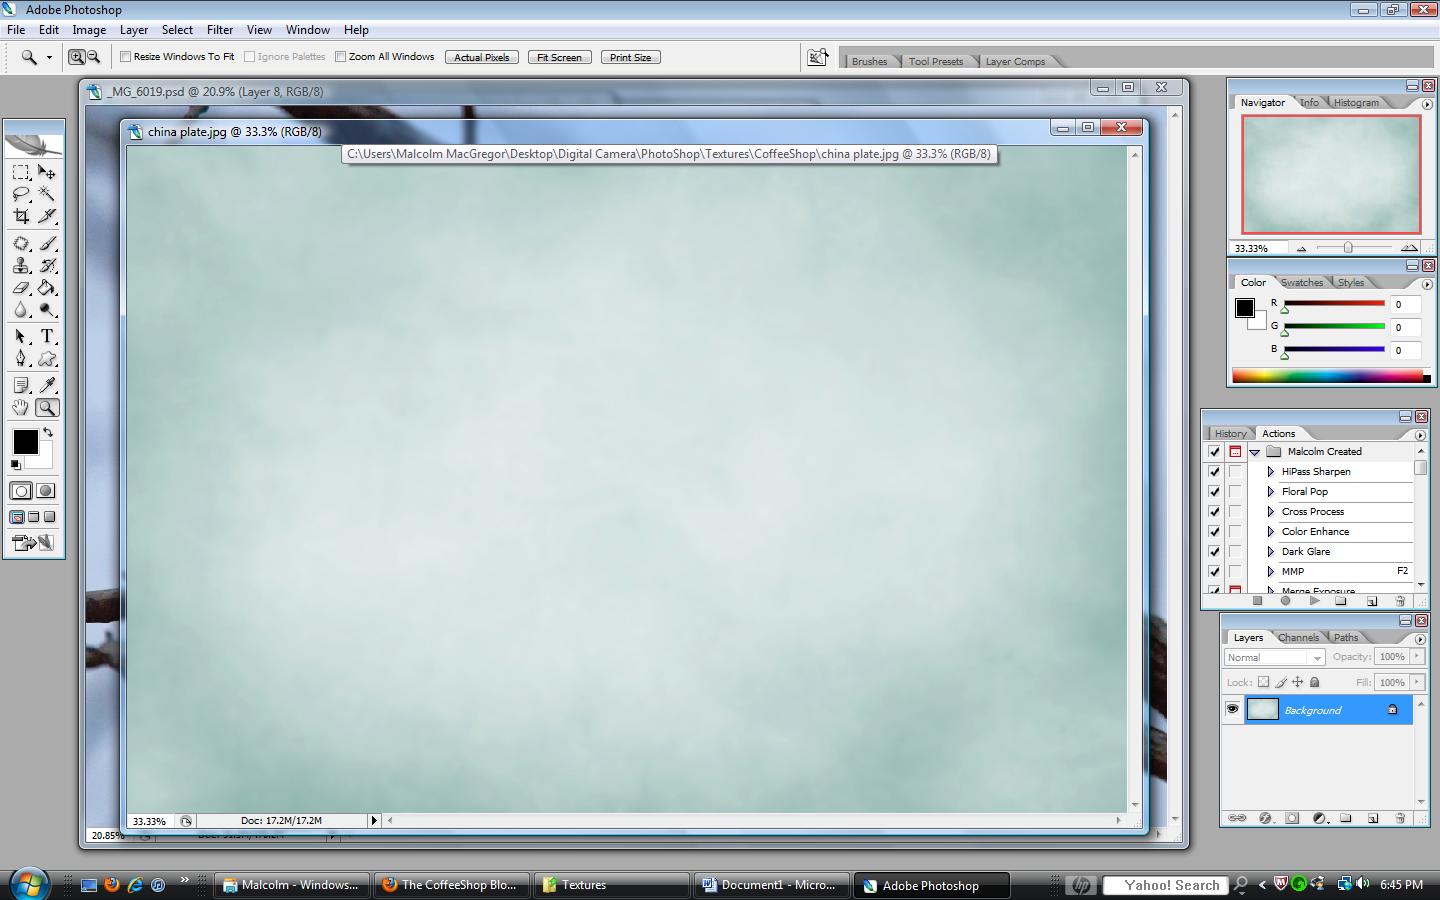 This one came in a set that you can download for free from HERE
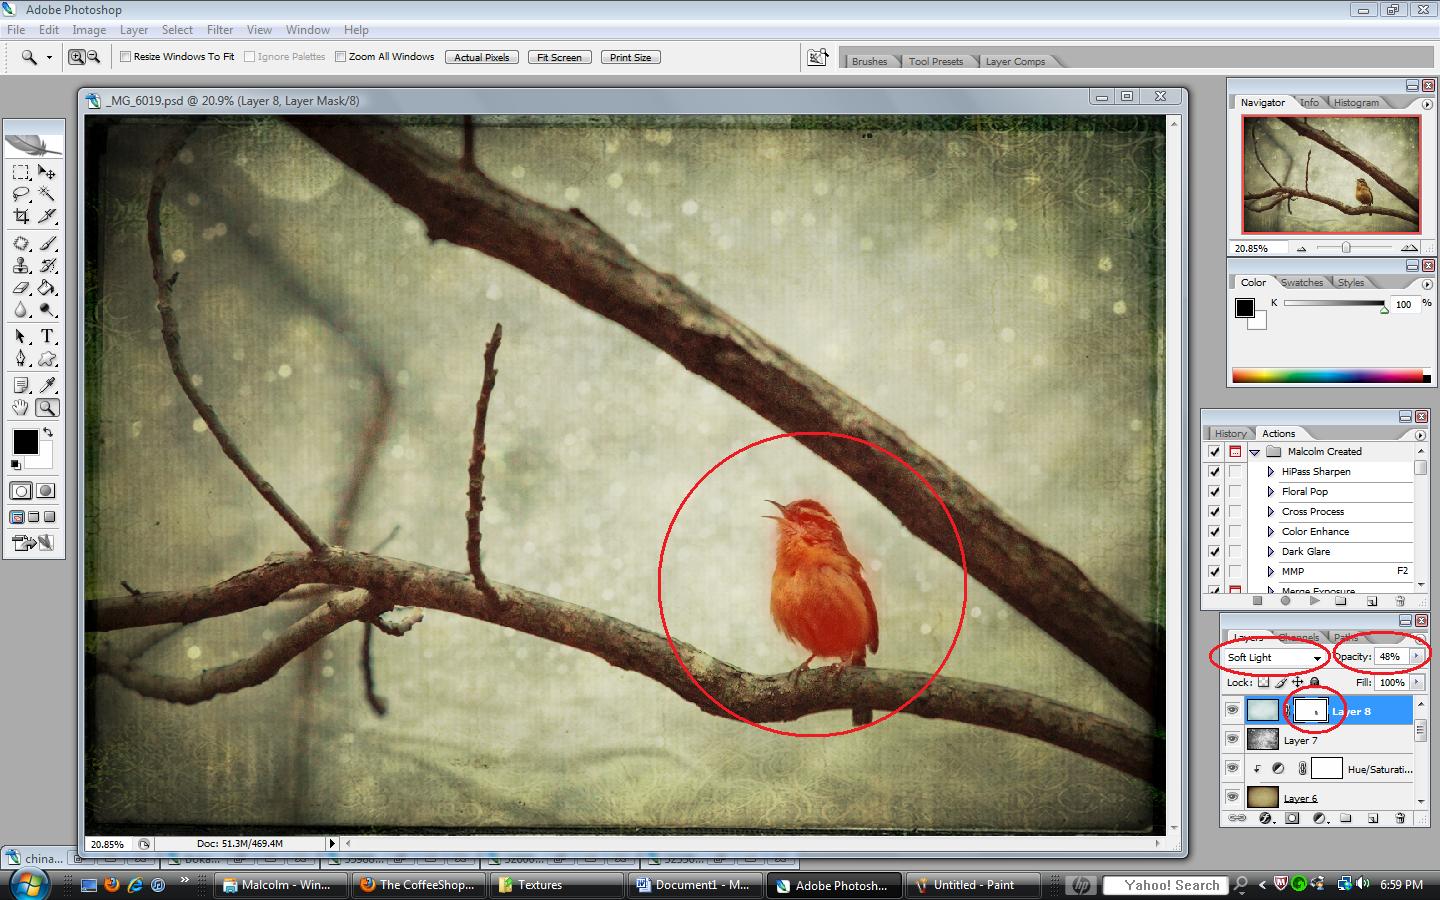 This one brightened up the bird a bit too much so I added a mask and masked out the bird. Do this by adding a mask to the texture layer and paint with a black soft brush over the area that you don’t want the texture to show. The red shaded area shows where I painted.
And that’s it! Here is the final:

As I said, this could have gone in a million different directions. You can apply as many or as few textures as you like. The types of textures could also vary wildly. There are many to choose from all over the web, or you could try creating your own.
Just keep messing with them. Different opacities, different blend modes. Even changing the order of the textures makes a difference. You’ll add some that you won’t like, and end up deleting from the photo. Just keep playing with it until you’re happy with it!
http://shadowhousecreations.blogspot.com/search/label/Textures
http://www.thecoffeeshopblog.com/2010/12/coffeeshop-baking-with-mom-ethereal.html
http://www.flickr.com/photos/borealnz
http://www.flickr.com/groups/textures4layers/
http://www.plaintextures.com/
http://www.texturelovers.com/
And on and on and on…..
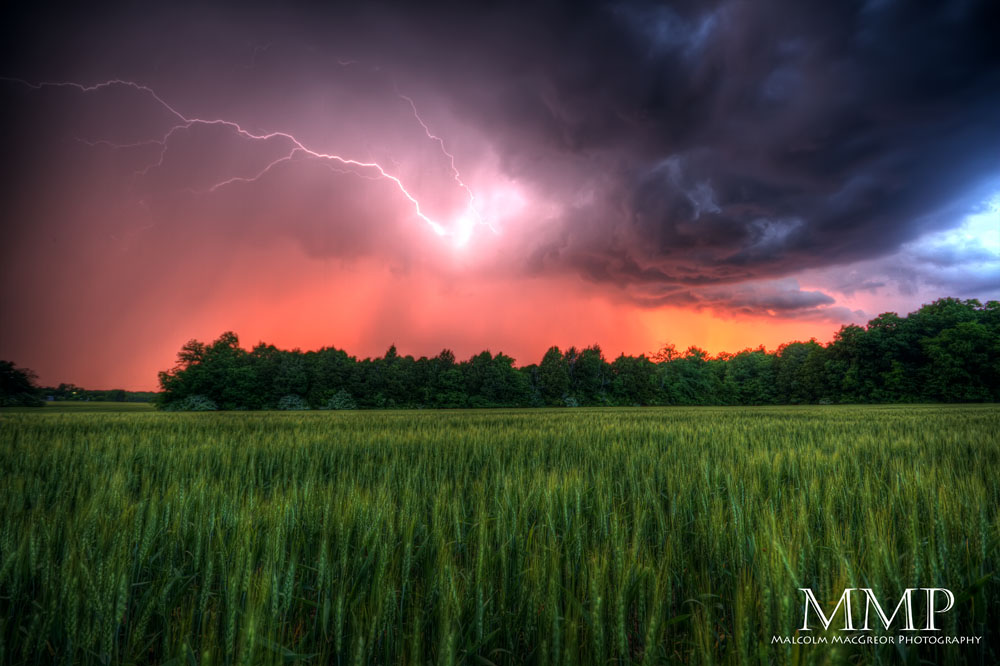
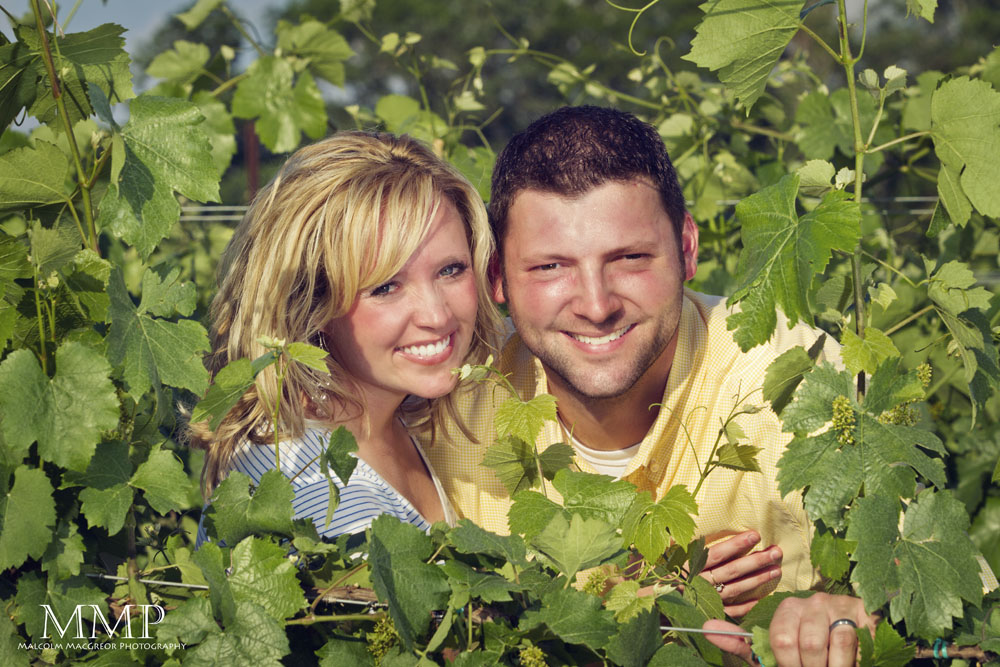
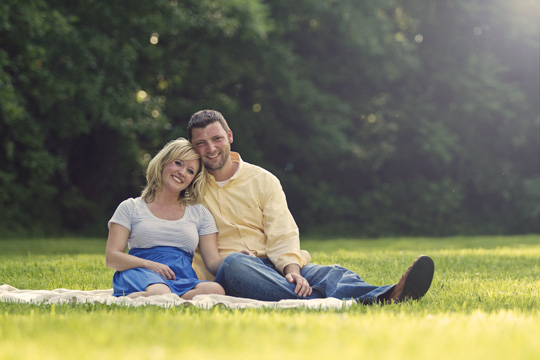
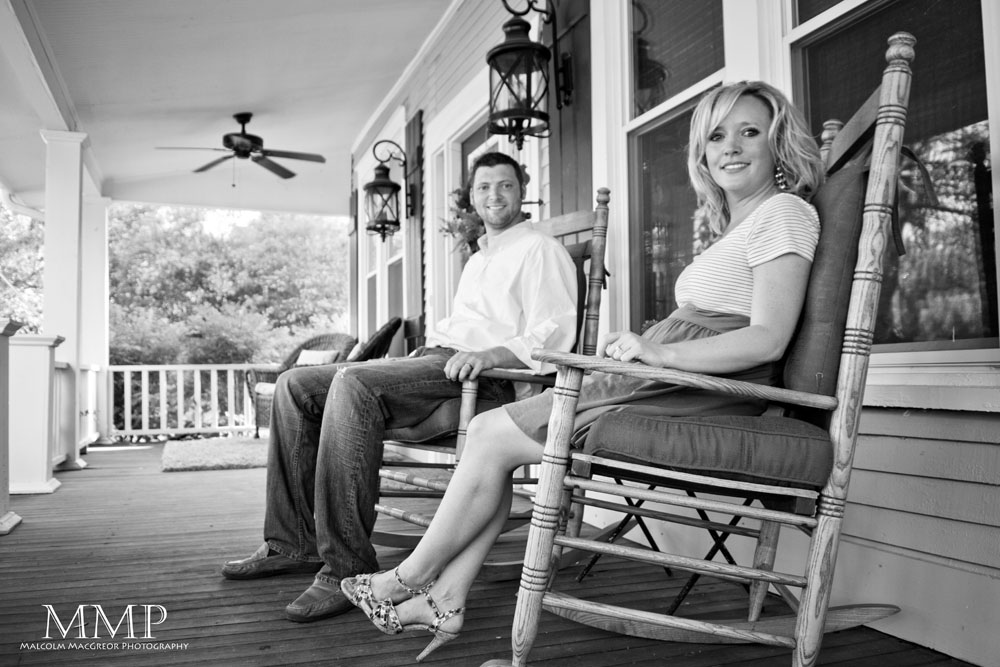
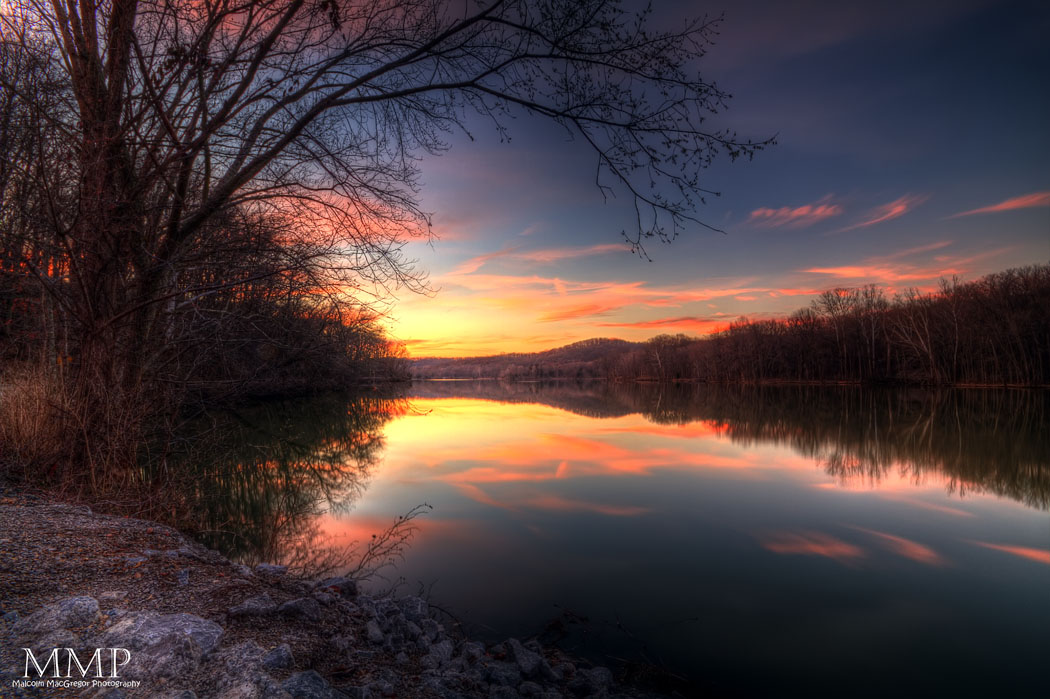
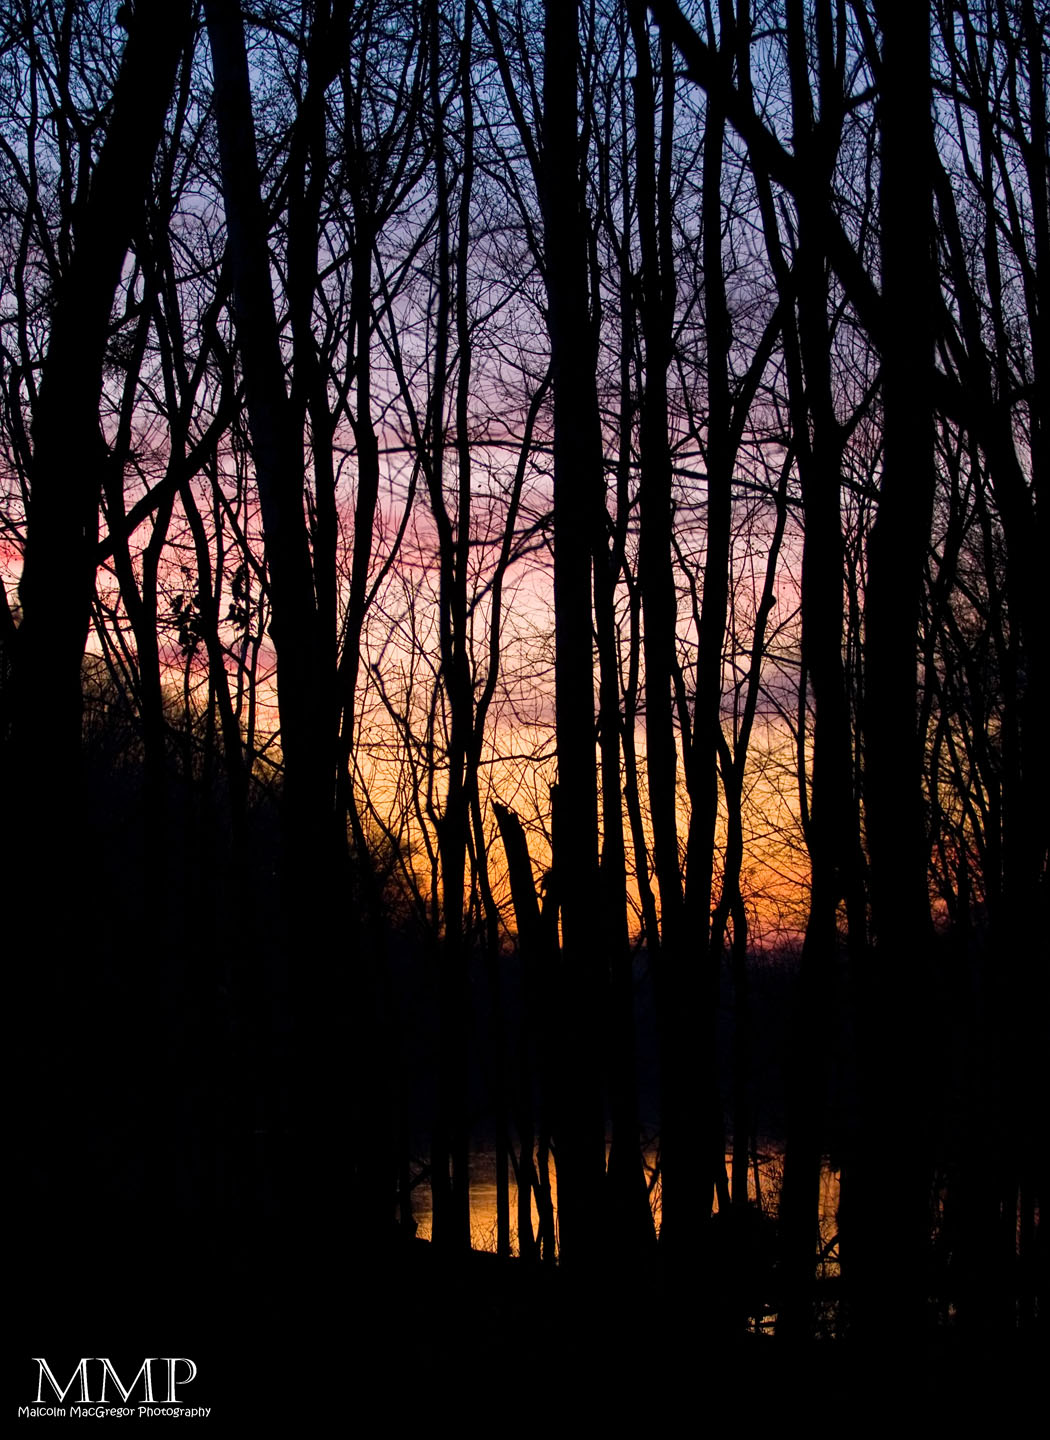
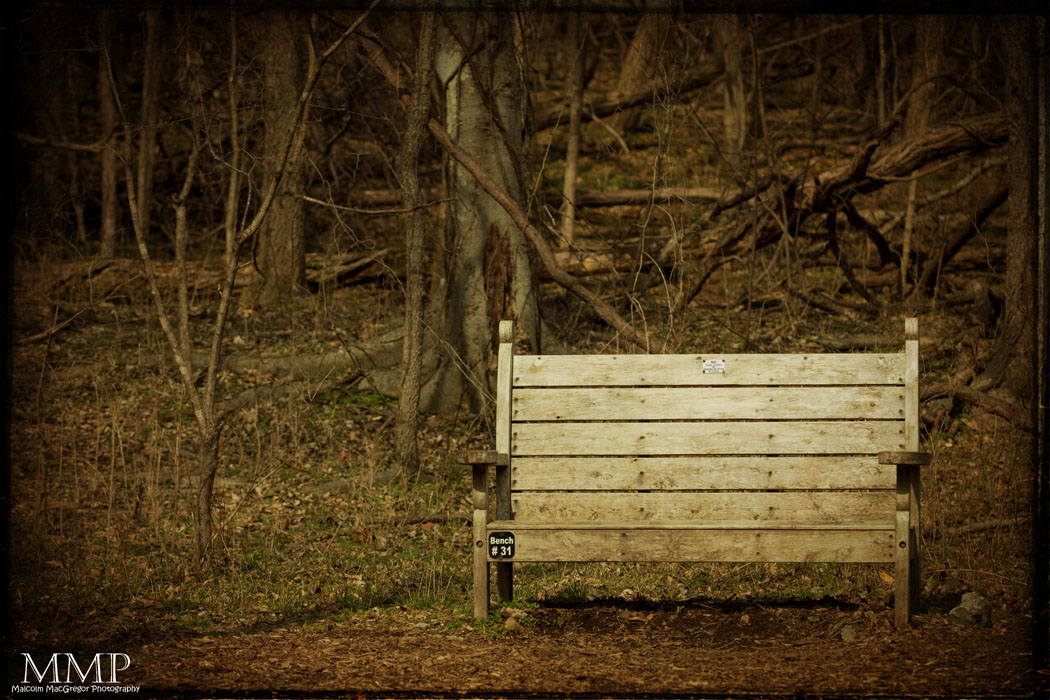
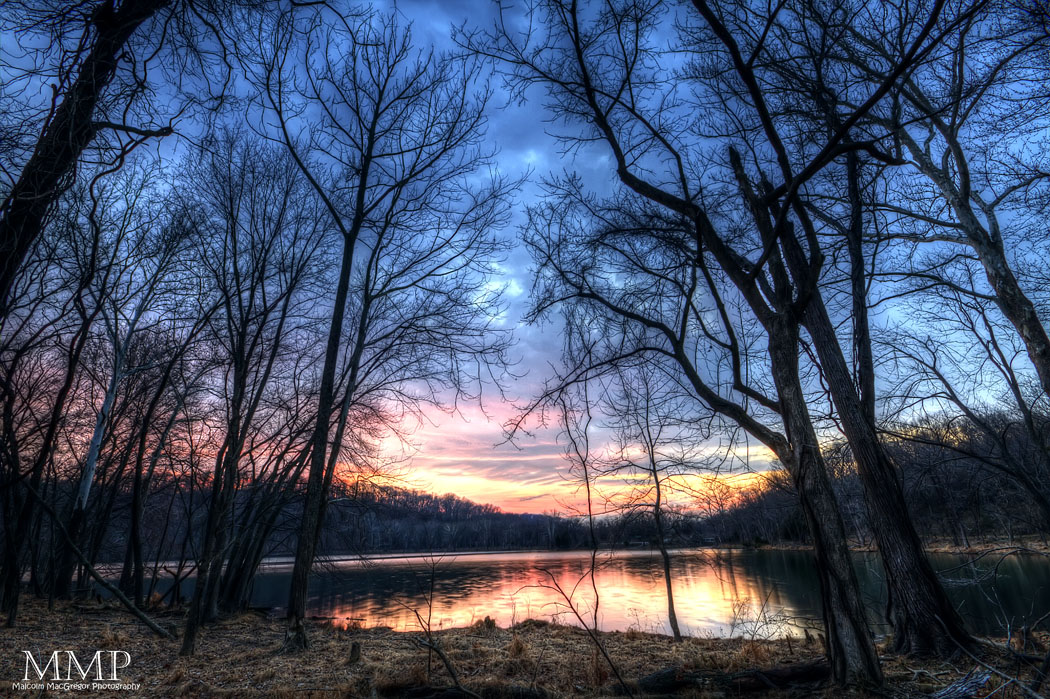
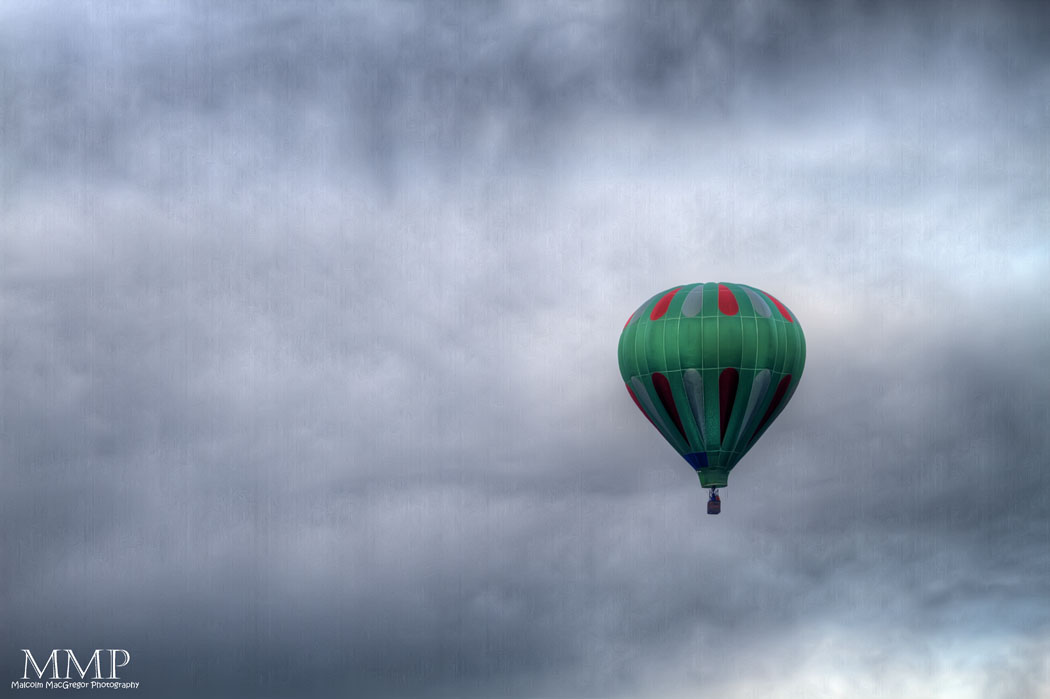
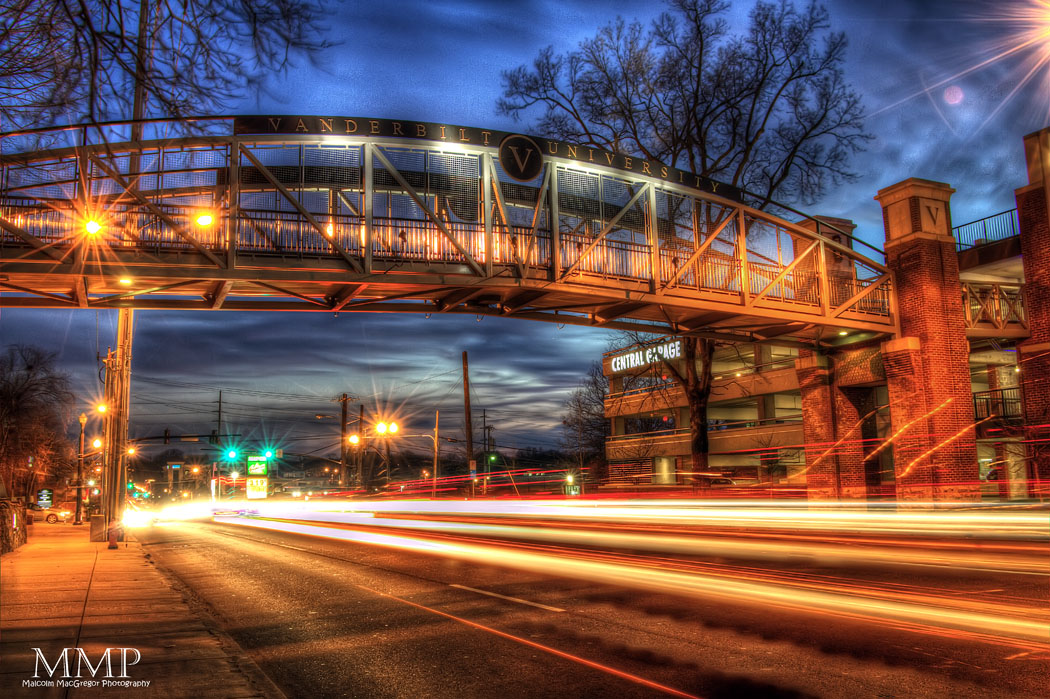
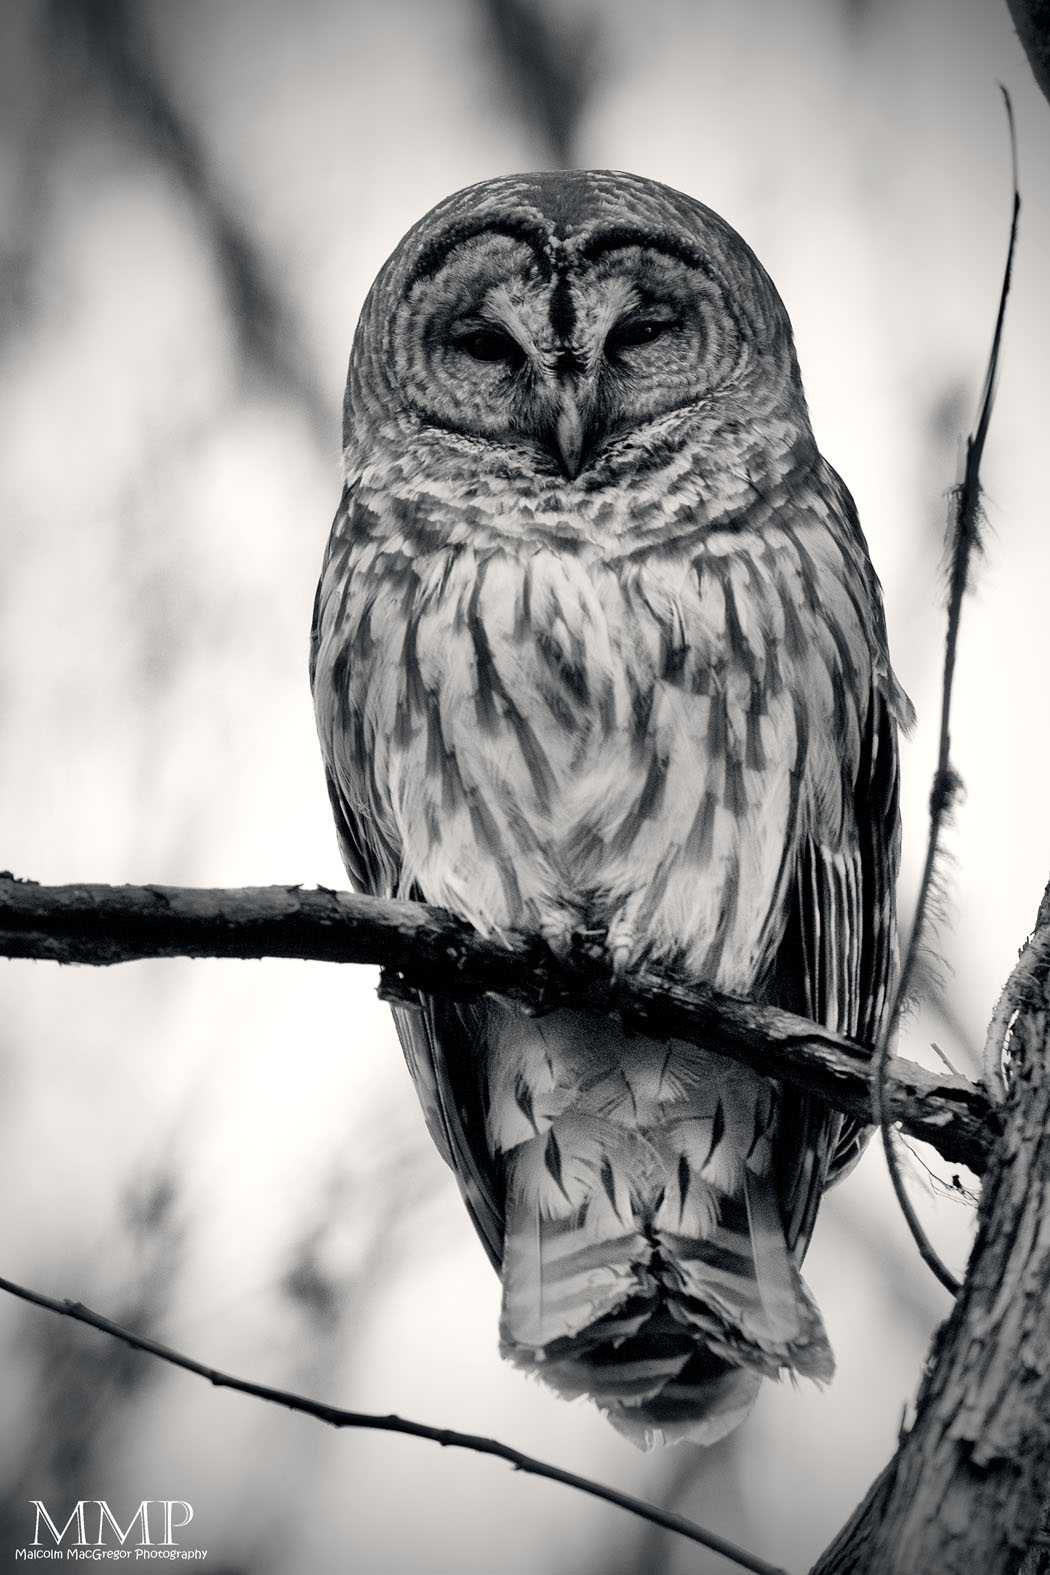
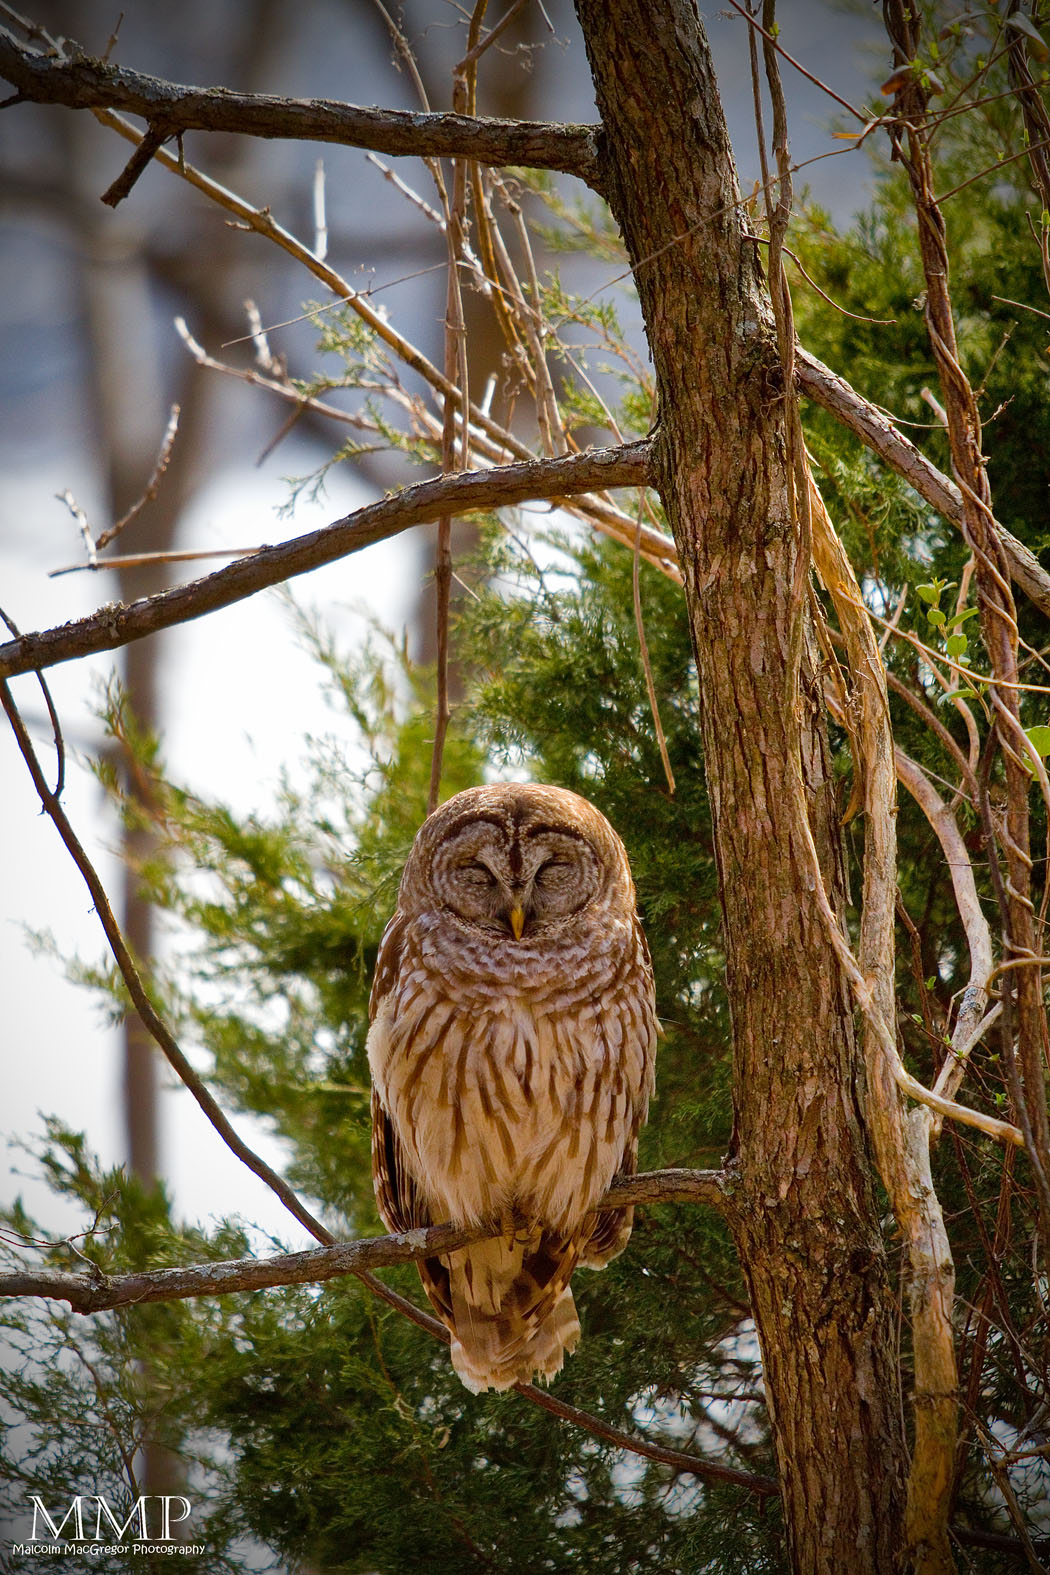
Here are some of my other textured images:

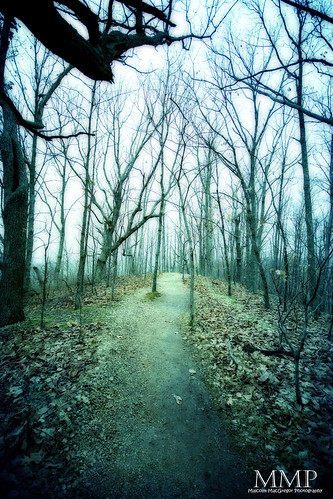
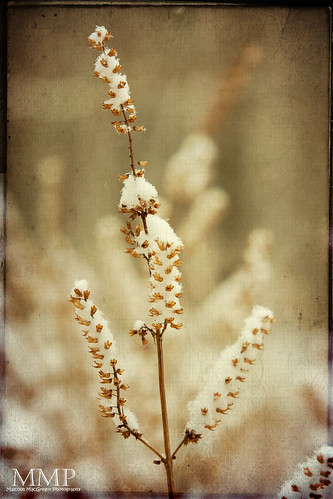


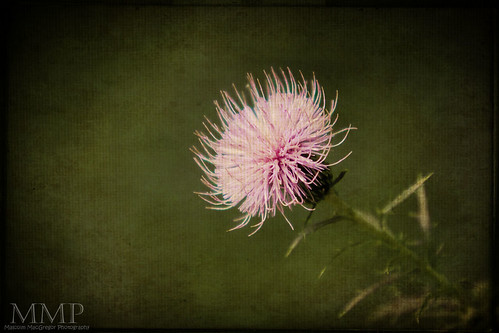

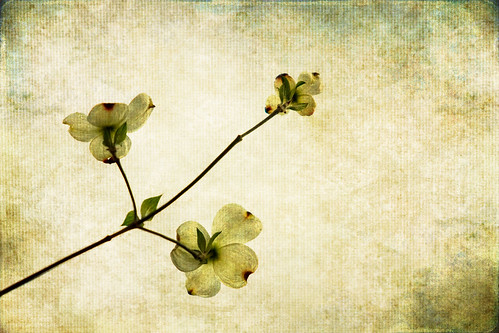


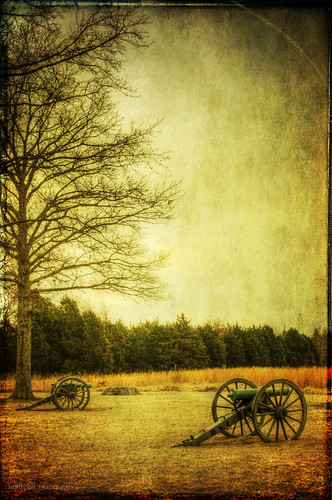

Hope this helps, now go turn some ordinary photos into works of art!
For more amazing photoshop tutorials check out:

Find Me on Facebook!

