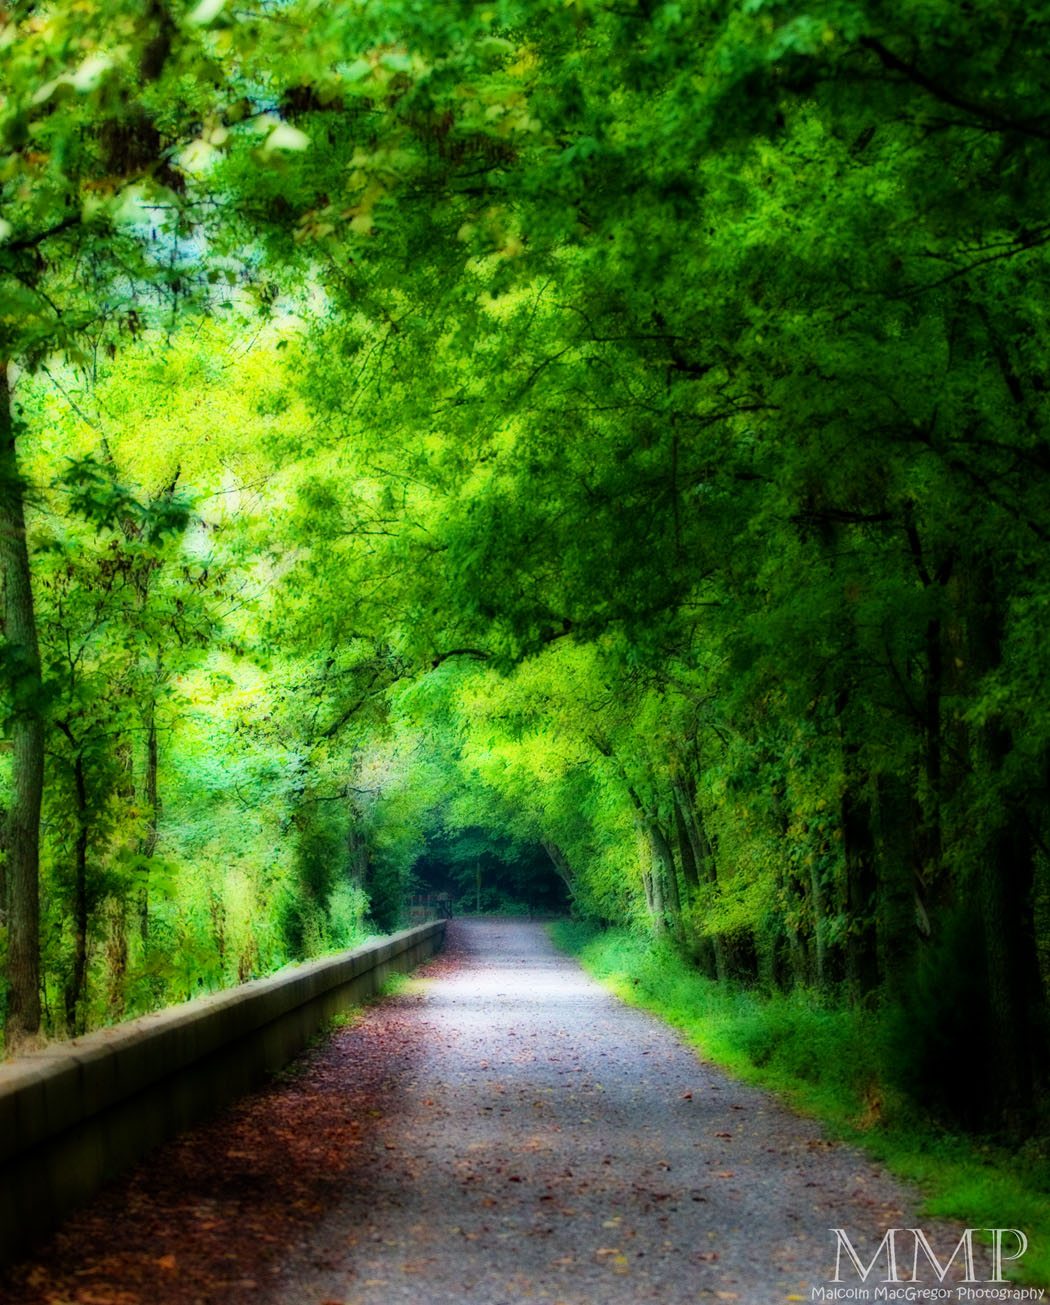
This Week at the Lake – 30/52

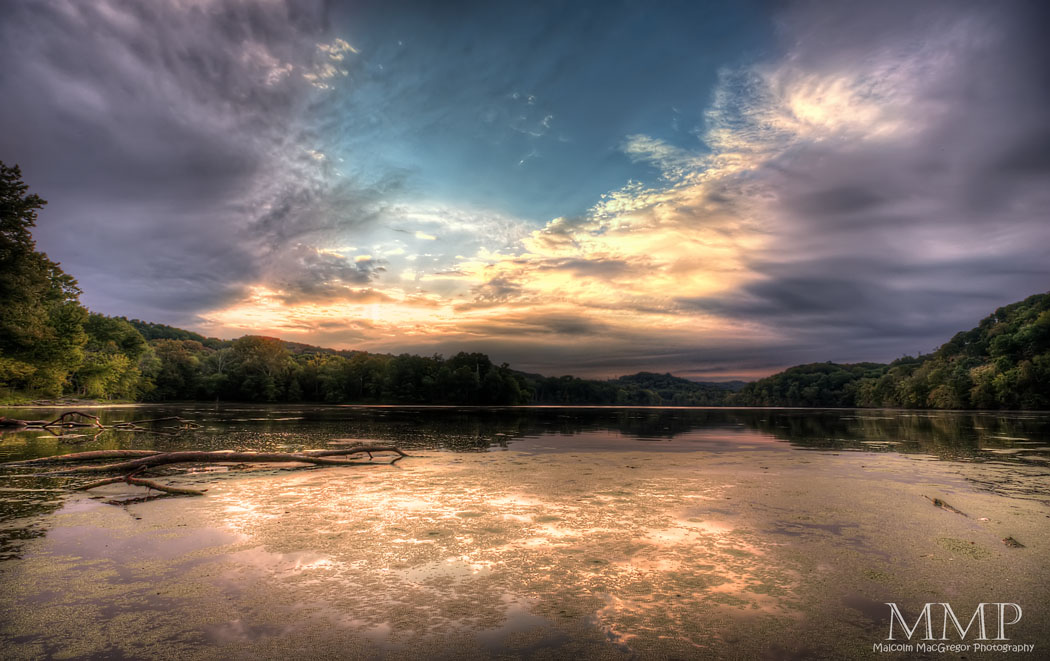
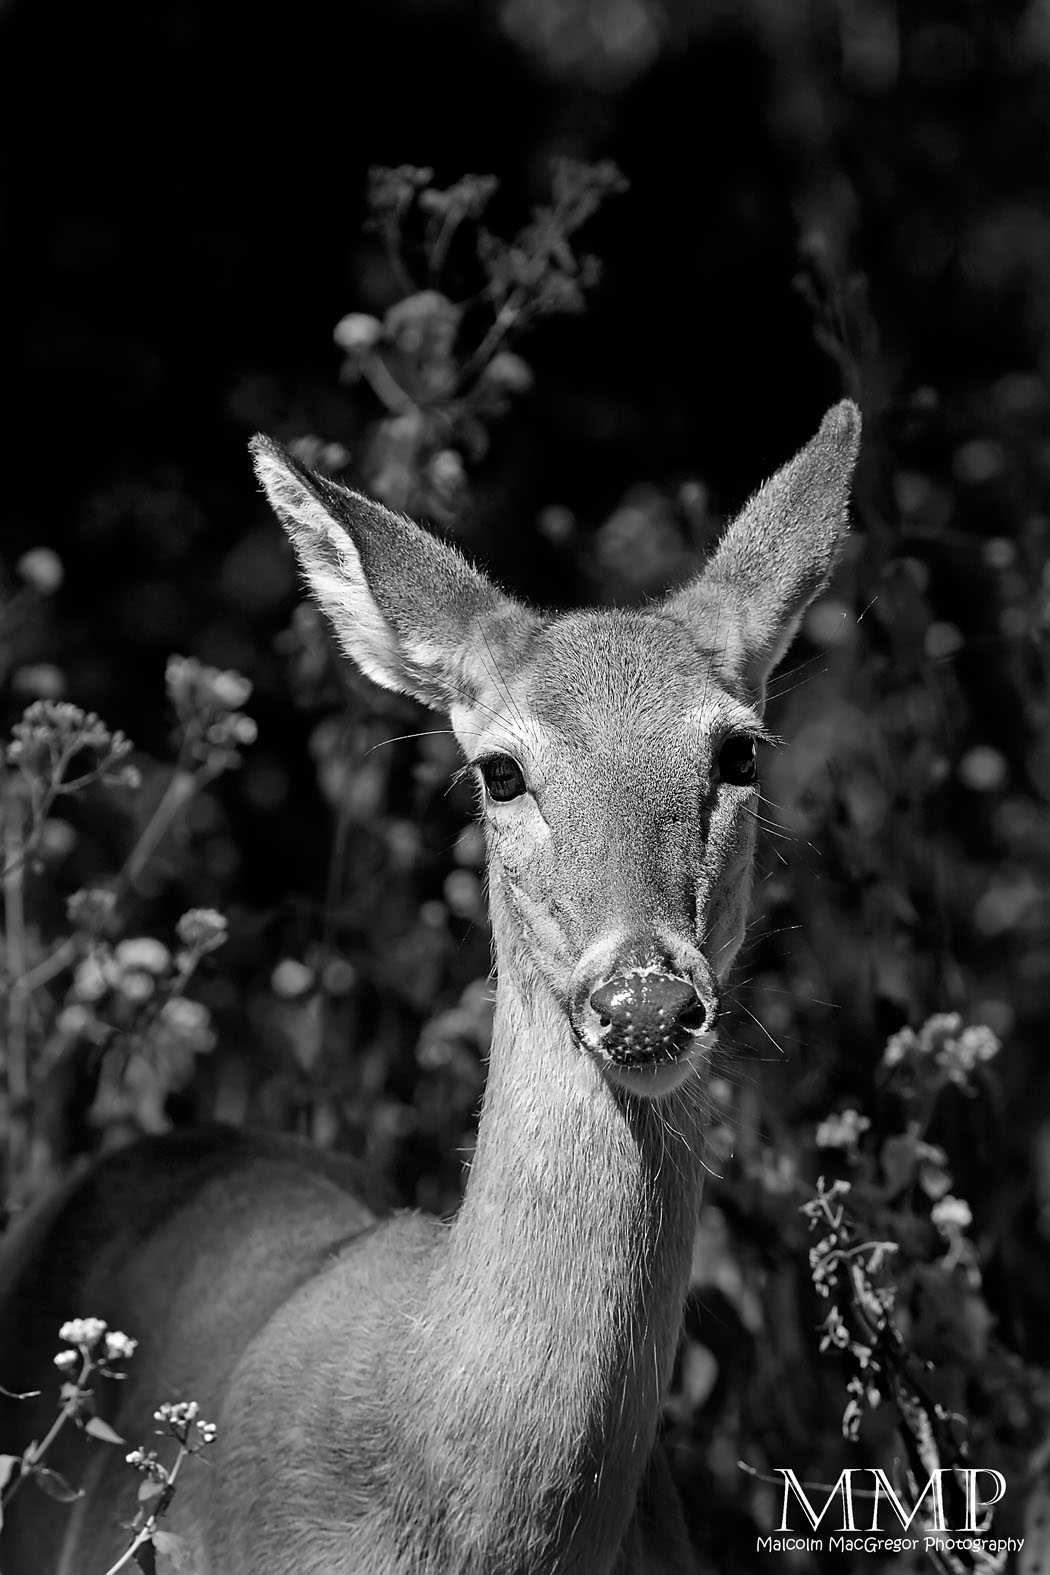
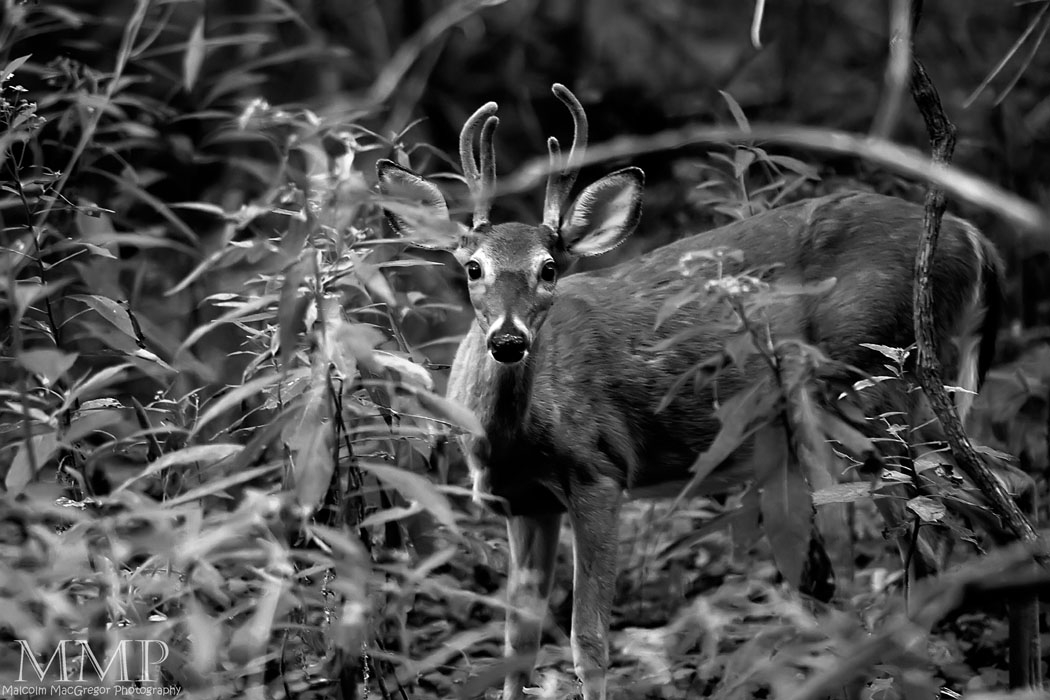
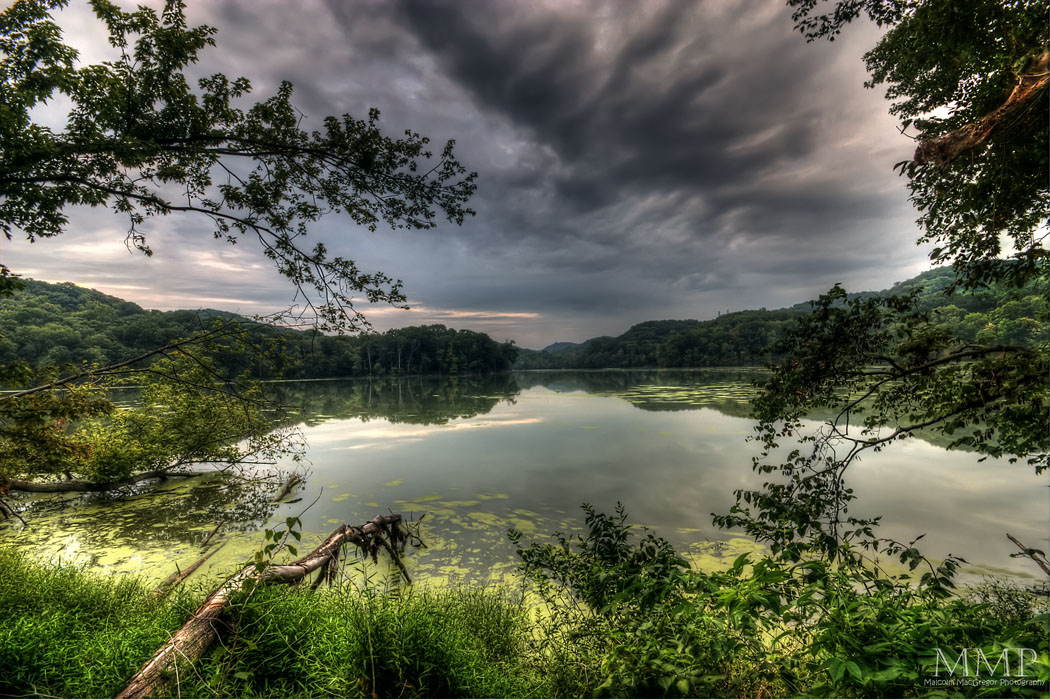
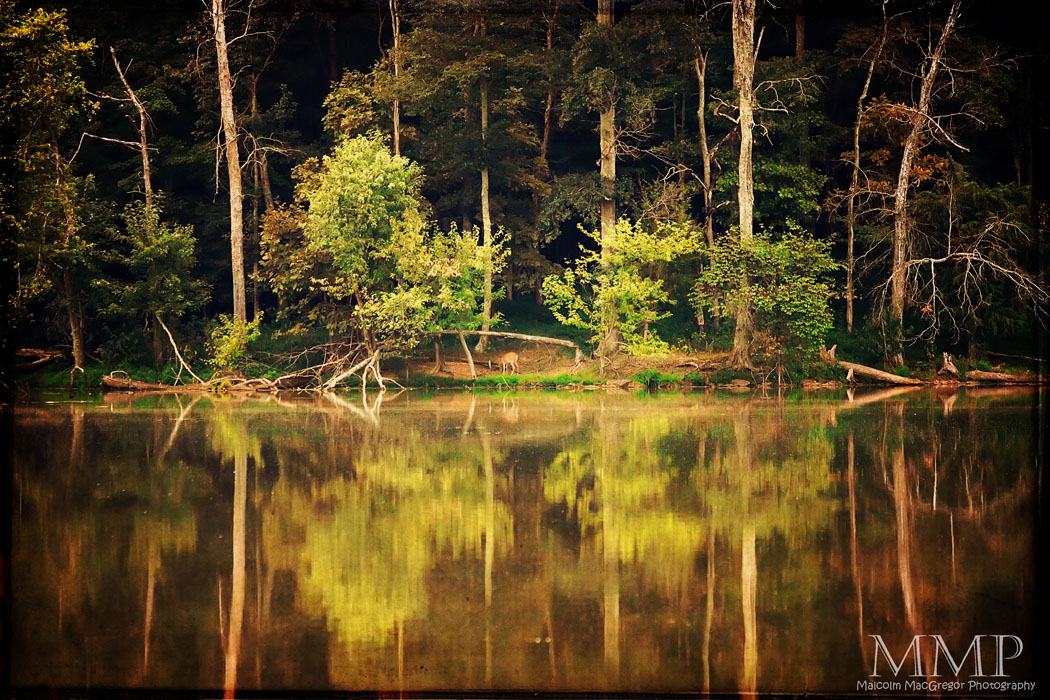
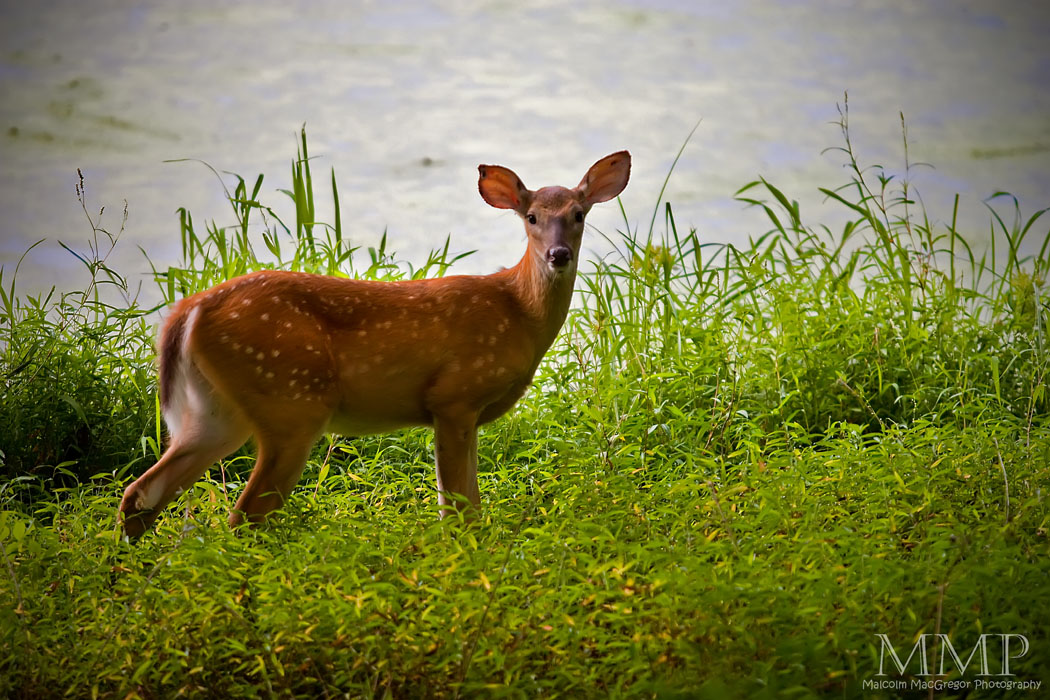
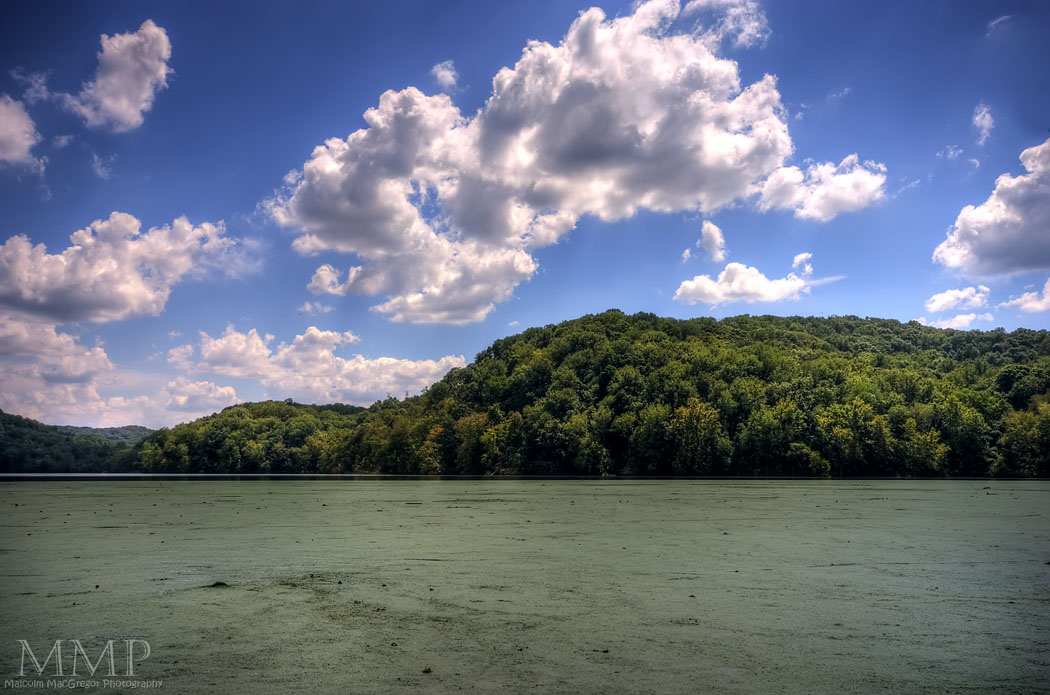
I let my son choose the lead photo this week. I couldn’t decide between this deer portrait and this lakescape:

I think he chose well though, I think that is my best deer portrait so far.

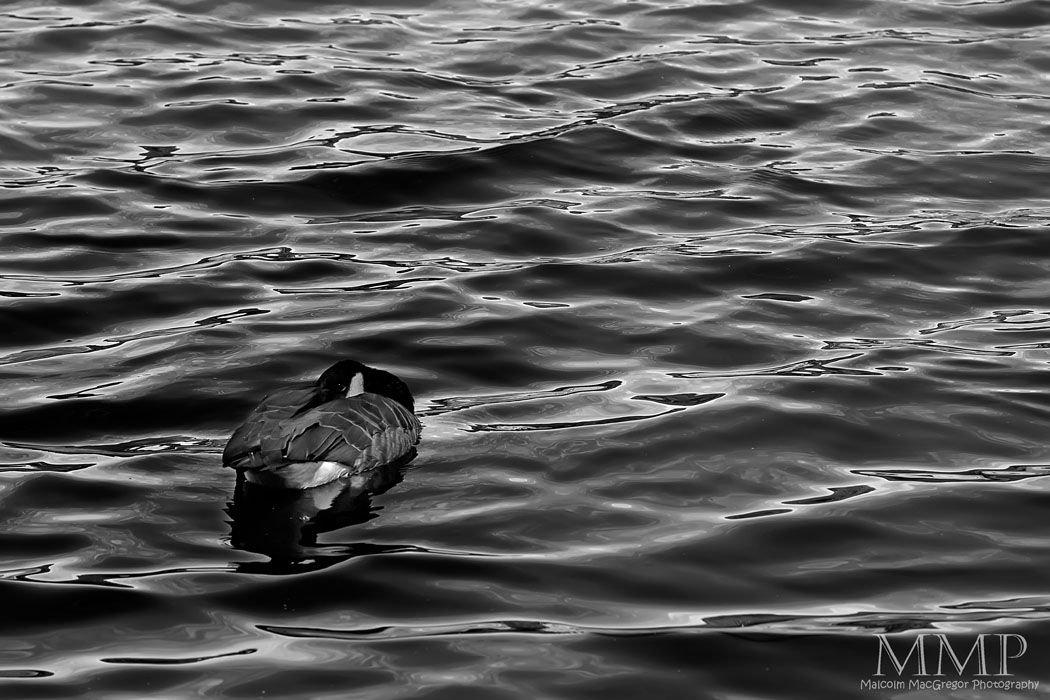
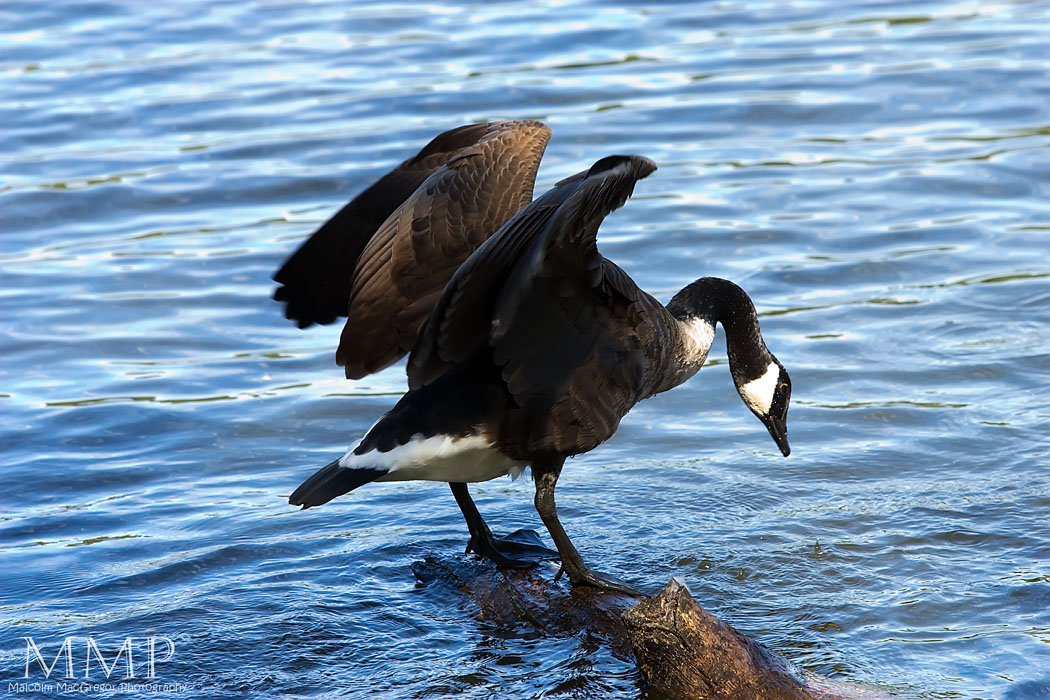
I got some pretty good stuff this week, I started off on Monday morning when I shot the sunrise above. Tuesday I went on my lunch break. As soon as I got close to the lake I could here tons of geese. They have certainly returned from their summer break in a big way! I headed down Otter Creek Rd along the lake to capture some goose photos:

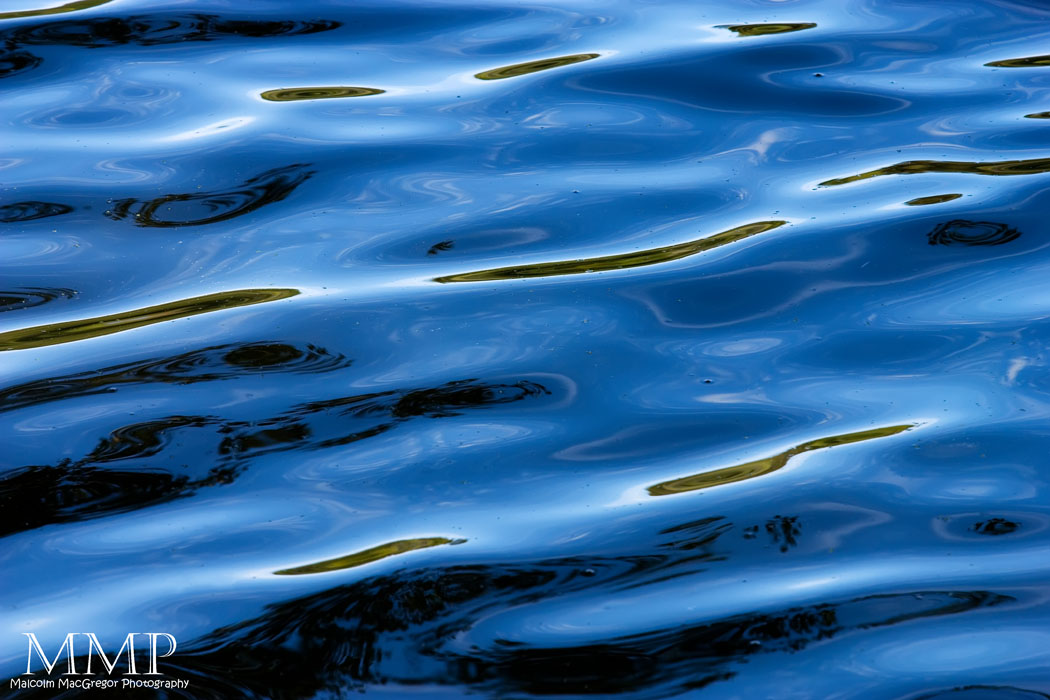
I also got this abstract

I got to go again Wednesday morning so I headed back down Otter Creek Rd.

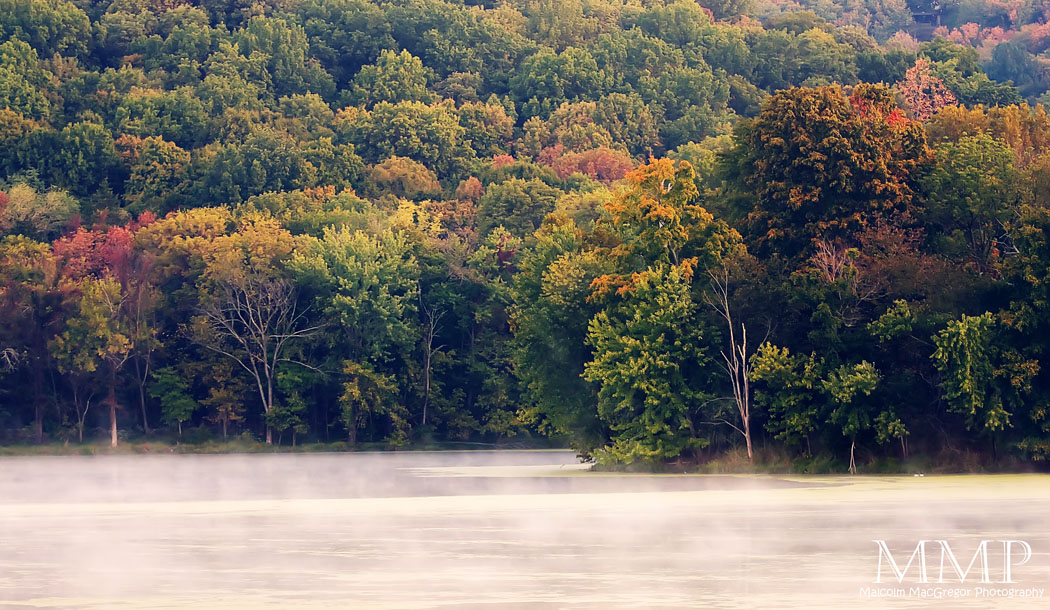
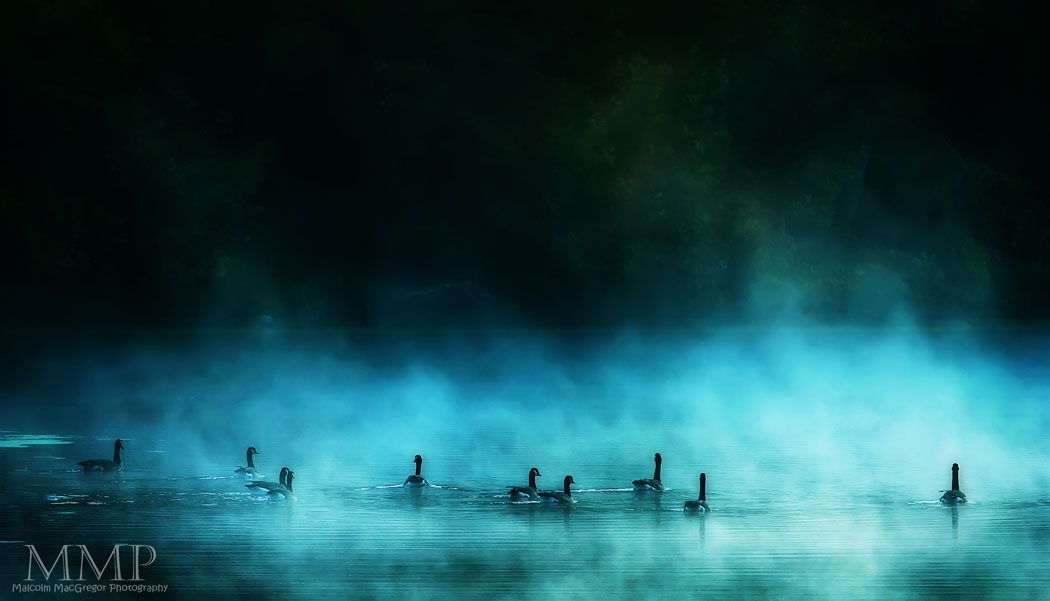
This time the lake was very steamy/misty

I wanted to capture some geese photos with the mist
I went a little crazy with this one, but I thought it looked pretty cool

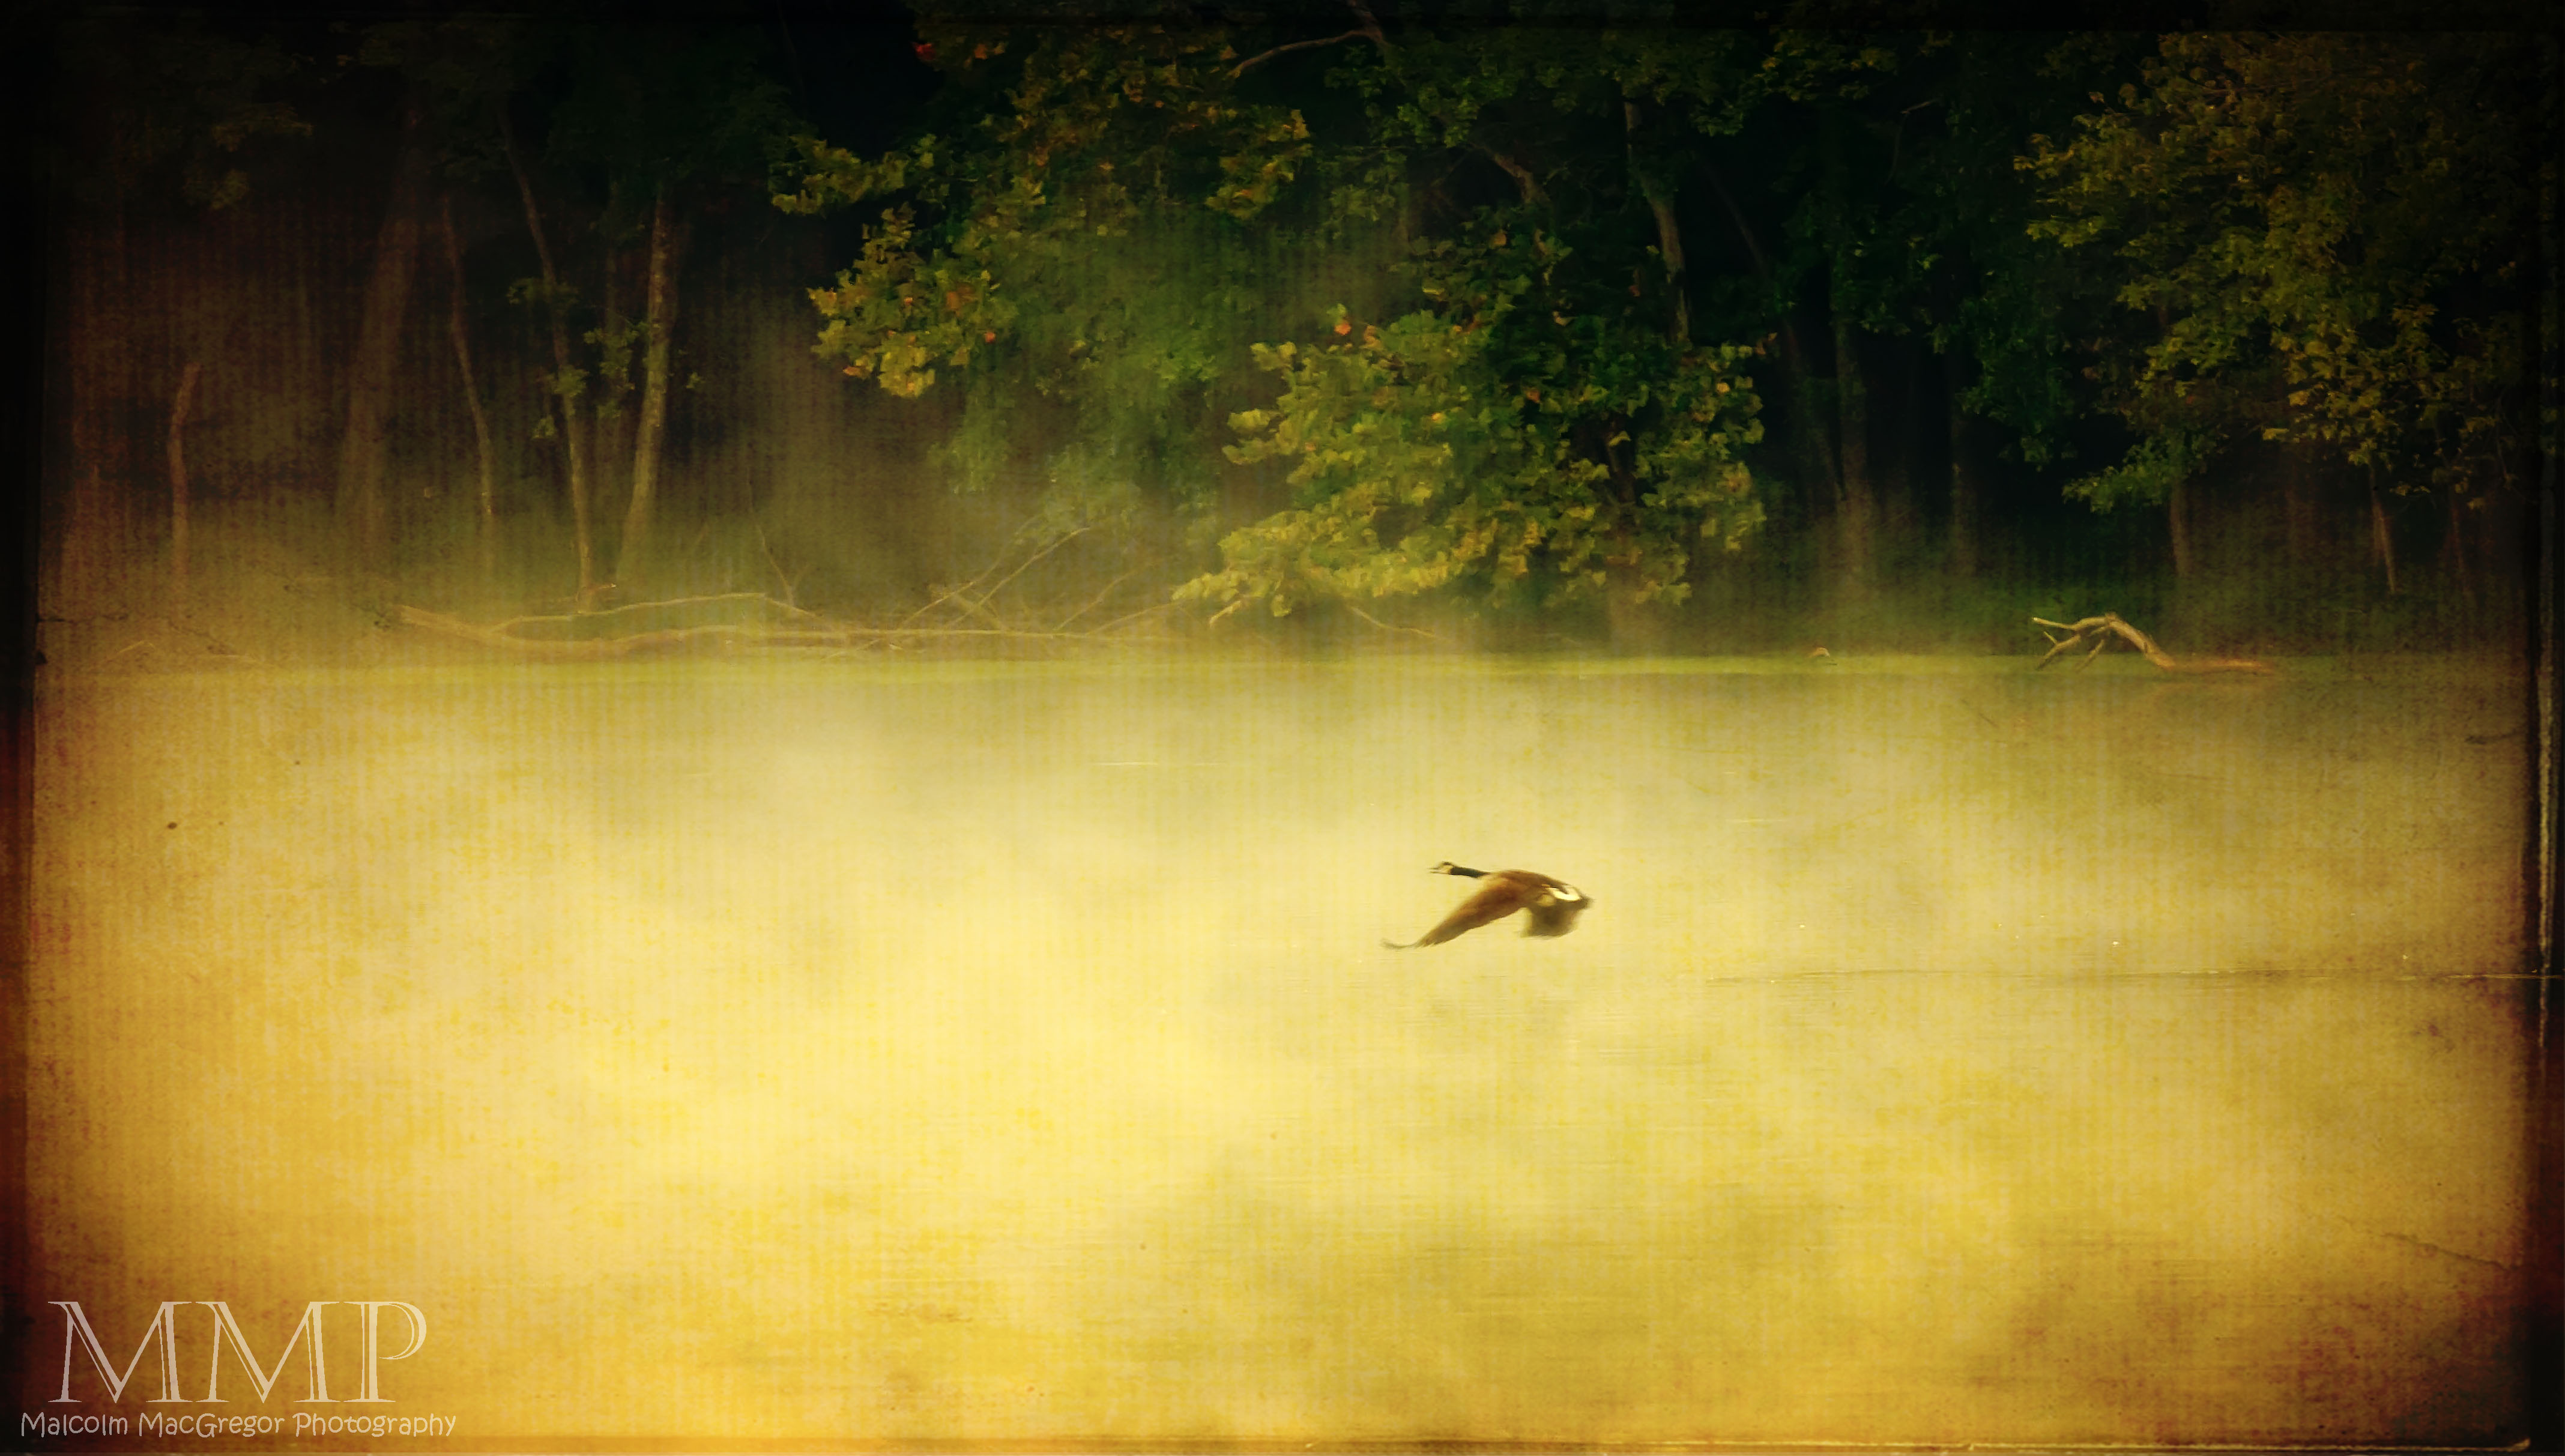
I really wanted to get one in flight, I managed this one

Finally I had to head back to the car. I stopped one last time at a clearing and I heard the geese – here they come!
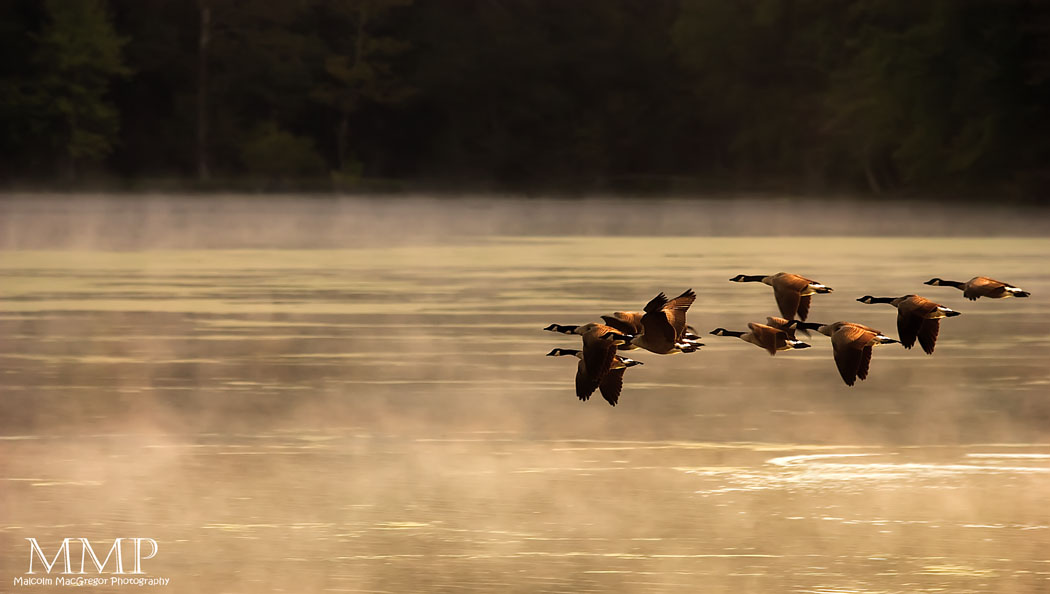
Finally, a group flew right by me

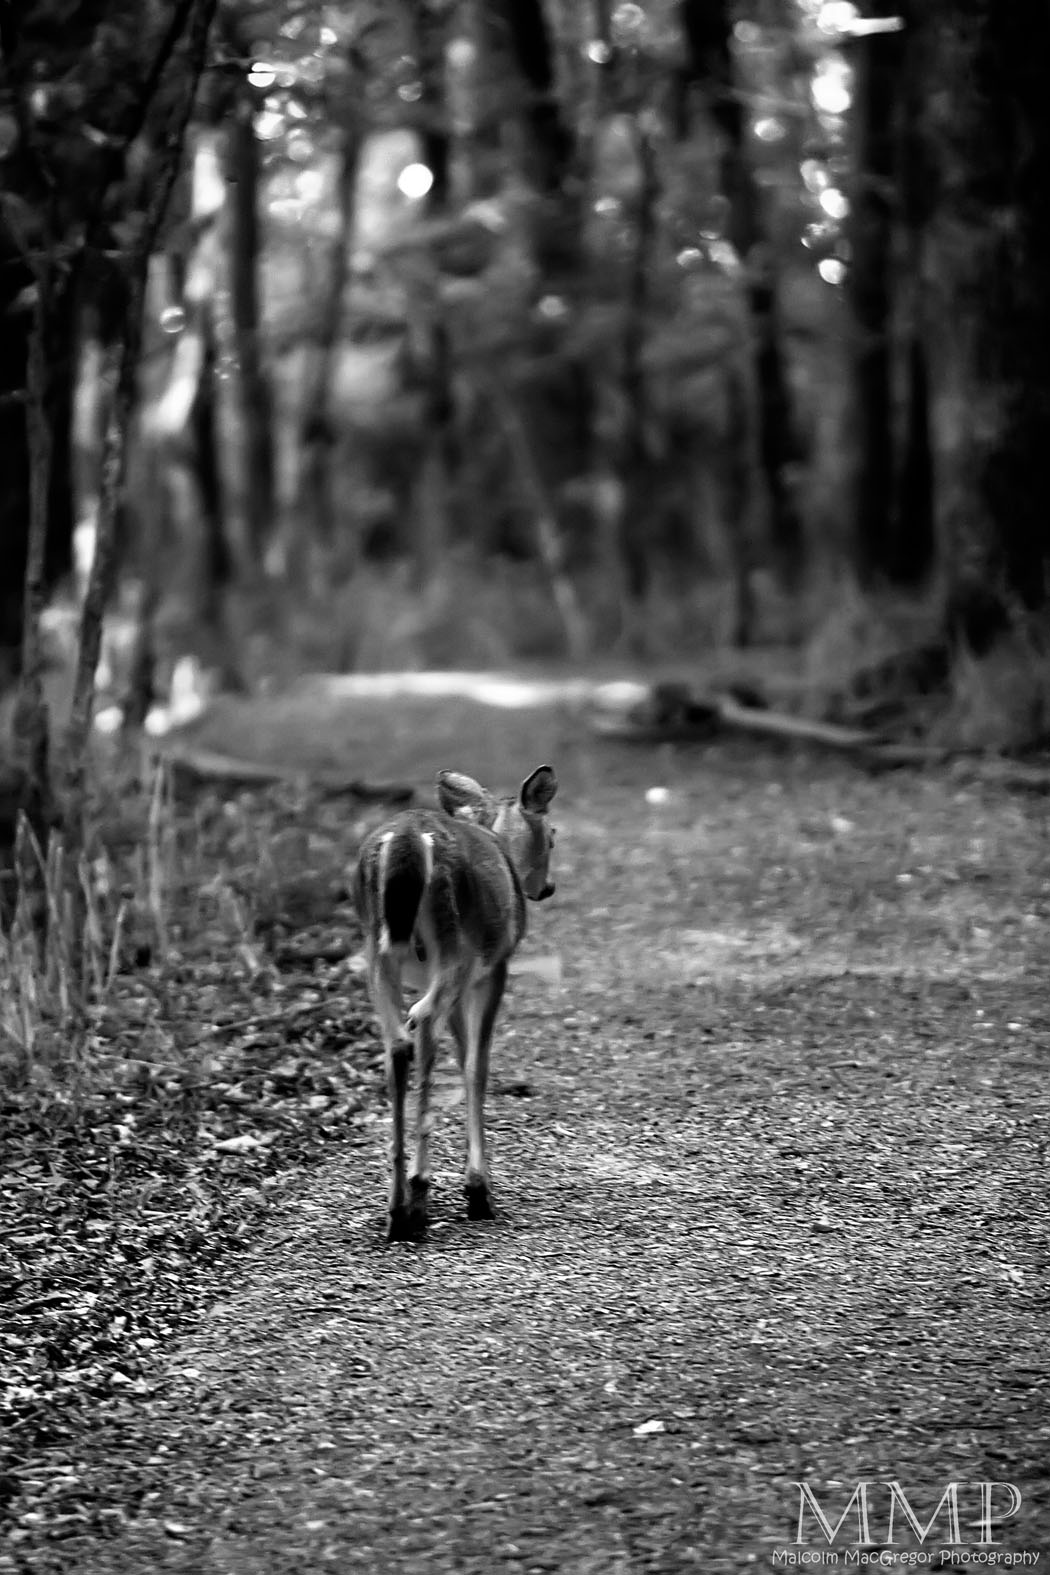
I went again Friday during lunch and that was when I captured the deer portrait above and this one

And that’s it for the week!

Thanks for looking!

Check out all the previous weeks by Clicking HERE

Don’t miss a week! Subscribe to this blog and you will receive an email every time I post something new!

Malcolm MacGregor Photography is now on Facebook, check it out and become a fan!

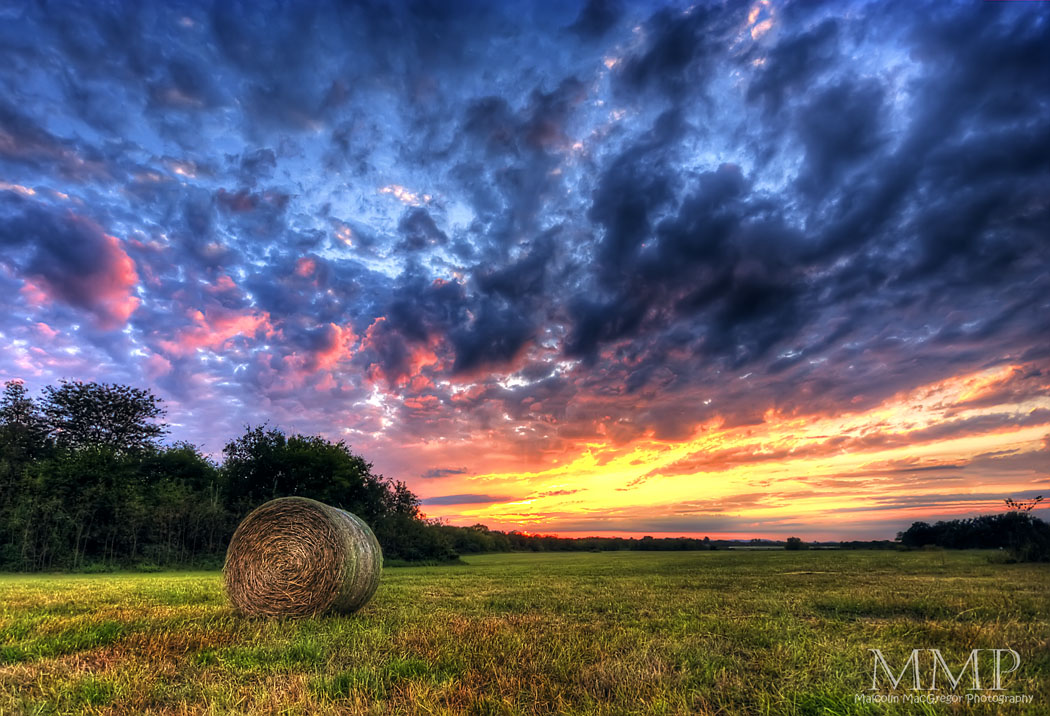
A Hawk! No wait, a Sunset!

So the family and I were riding home after a competitive game of disc golf at a local park, when I glanced at a field we were passing and I noticed a very large Red Tailed Hawk sitting on a hay bale.

We turned around, and I thought I would get out of the car down the road some and walk to a tree line to see if I could get a shot of the hawk. Well, we stopped a little closer than I wanted and as soon as I made it to the edge of the road, the hawk flew away. I believe he was watching me as soon as the car stopped! I continued on to the tree line to see if could find where he flew to but I saw him soaring far away.

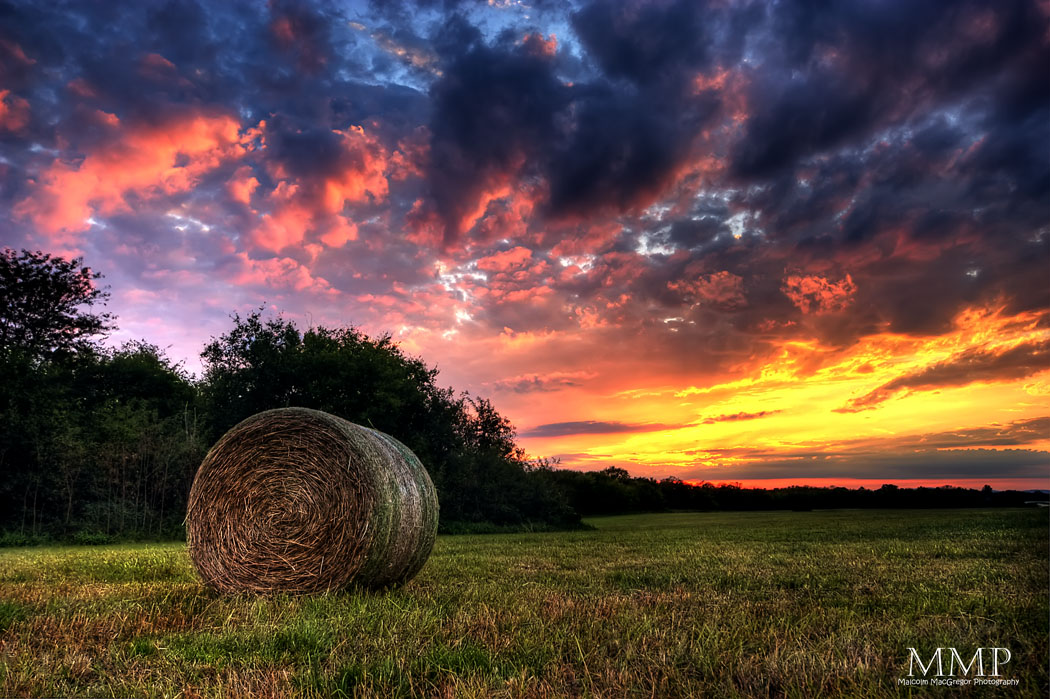
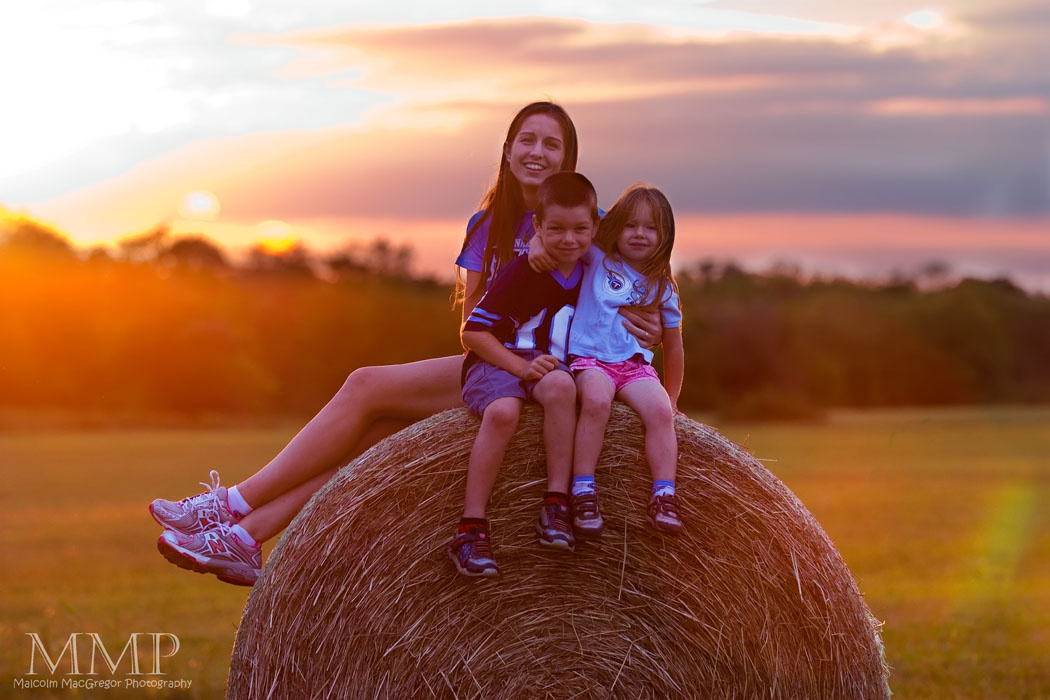
By now, 10-15 minutes had passed and, as I began to head back to the car (where my wife and kids were waiting), I noticed the sky was really taking shape to produce a nice sunset. I convinced them we needed to stay a few more minutes, and this is the result:

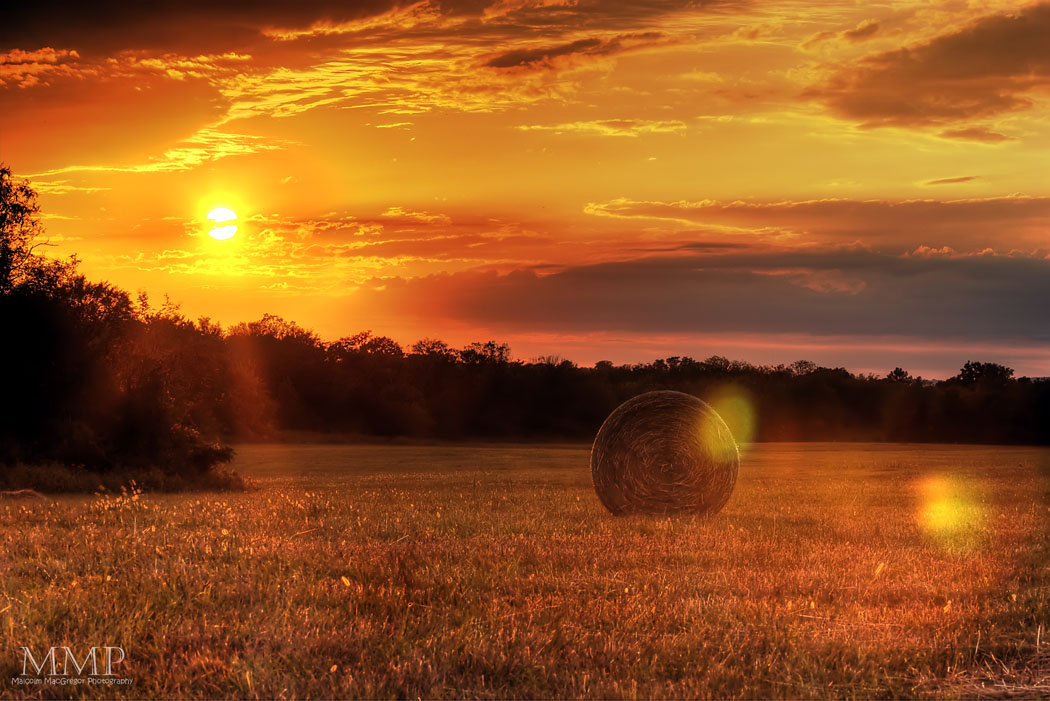
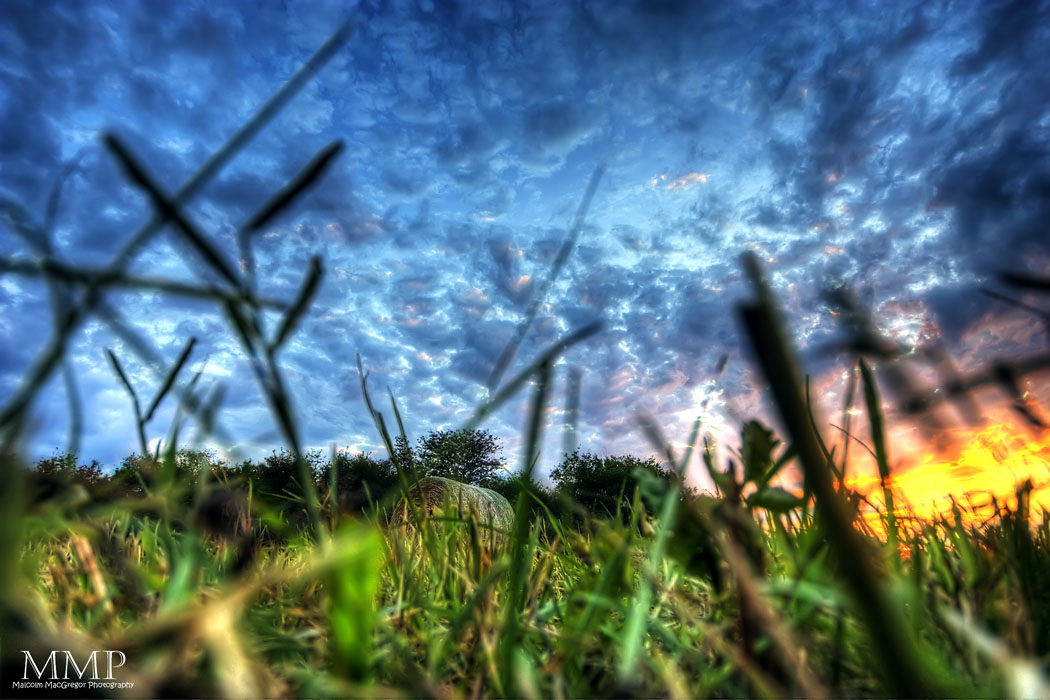
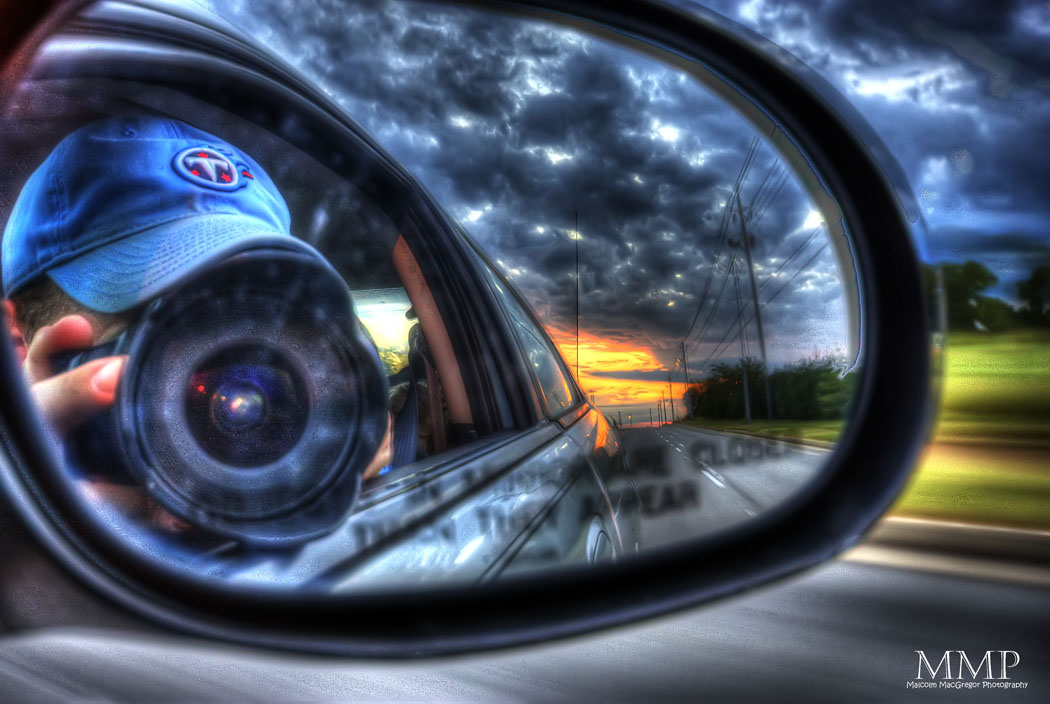
I had to get one more as we drove away!

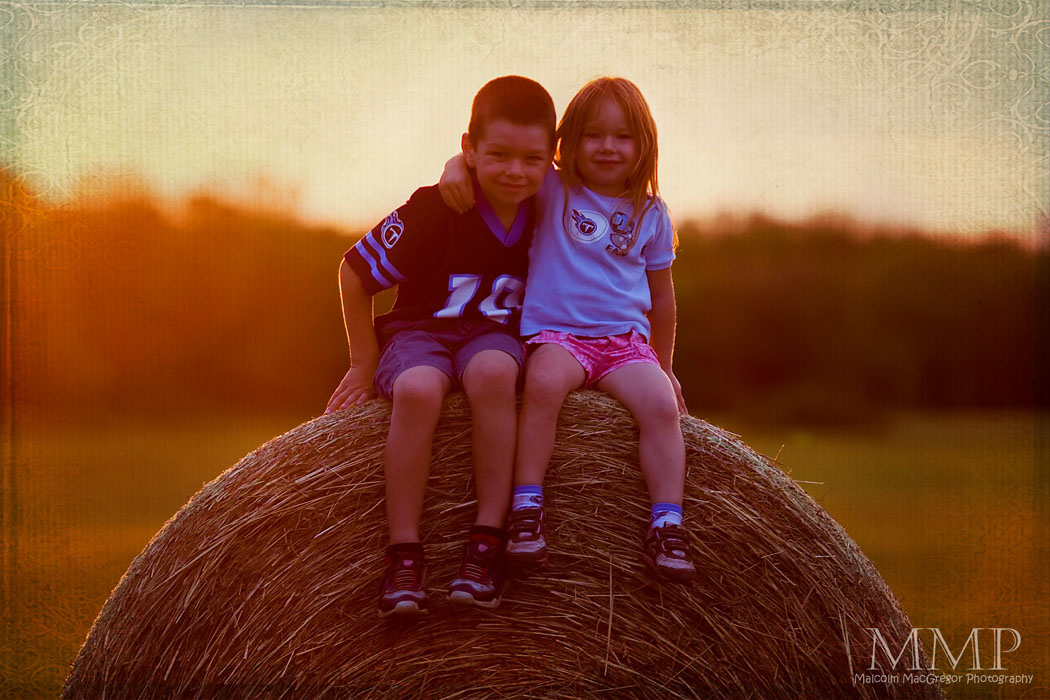
Even got a couple of the family:

This Week at the Lake – 29/52

Click the panorama above to view the full size!! Maybe not the most exciting pano ever but I spent a lot of time on it. It’s full size is about 8.5 feet long (over 30,000 pixels) and consists of 15 vertical images. The file size for the full size image 1.83 gigs! It was too large for my computer to blend in photoshop, so I had to create two panoramas using photoshops “automerge” and then manually blend those two together. Now, if only I could find someone to print an 8.5′ long photo…..

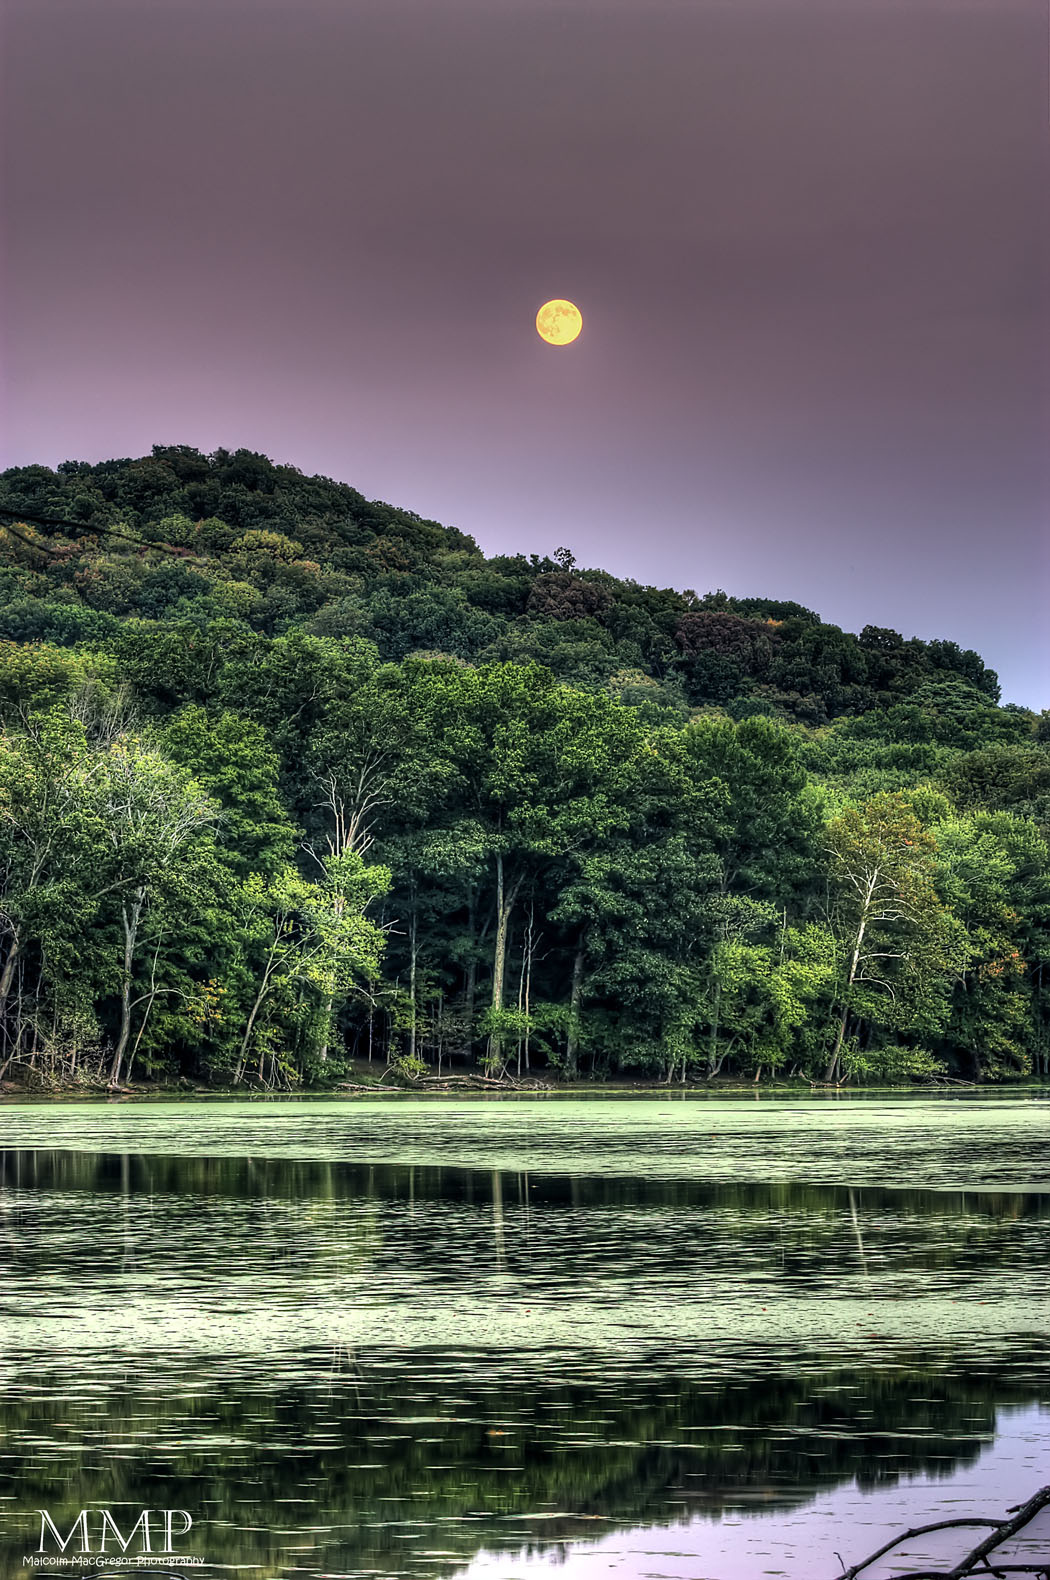
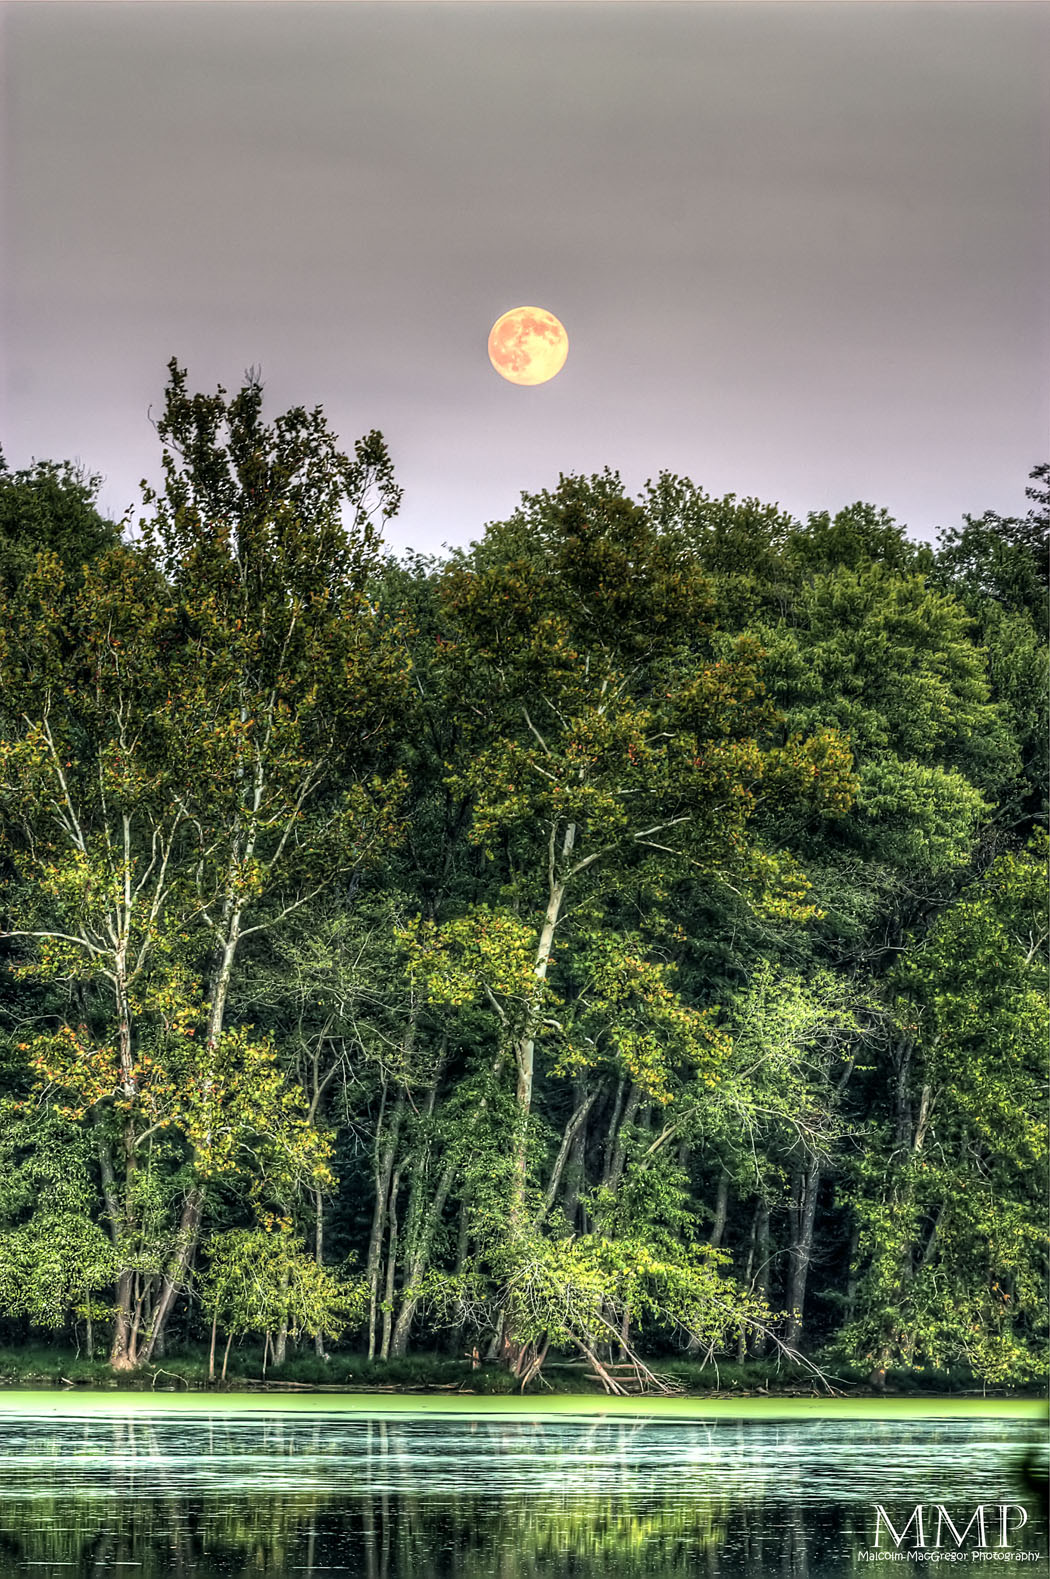
This was taken Wednesday evening. I had to shake things up a bit and visit at a different time. It’s amazing how different you can see things when the light is different. By stopping by Wednesday evening, I also lucked out and caught the harvest moon:

I feel like I was rushed taking these as it was really getting dark at this point. Radnor Lake closes at “dark” so I wanted to be sure I was back at my car before someone else considered it “dark”. After these shots, I headed quickly back to the parking lot – only to see that there were still probably 20-25 cars there. I guess I could have stayed a little while longer….

Other shots with the Wednesday evening light:

I also visited during my lunch break on Monday and Wednesday, here is the result of those trips:

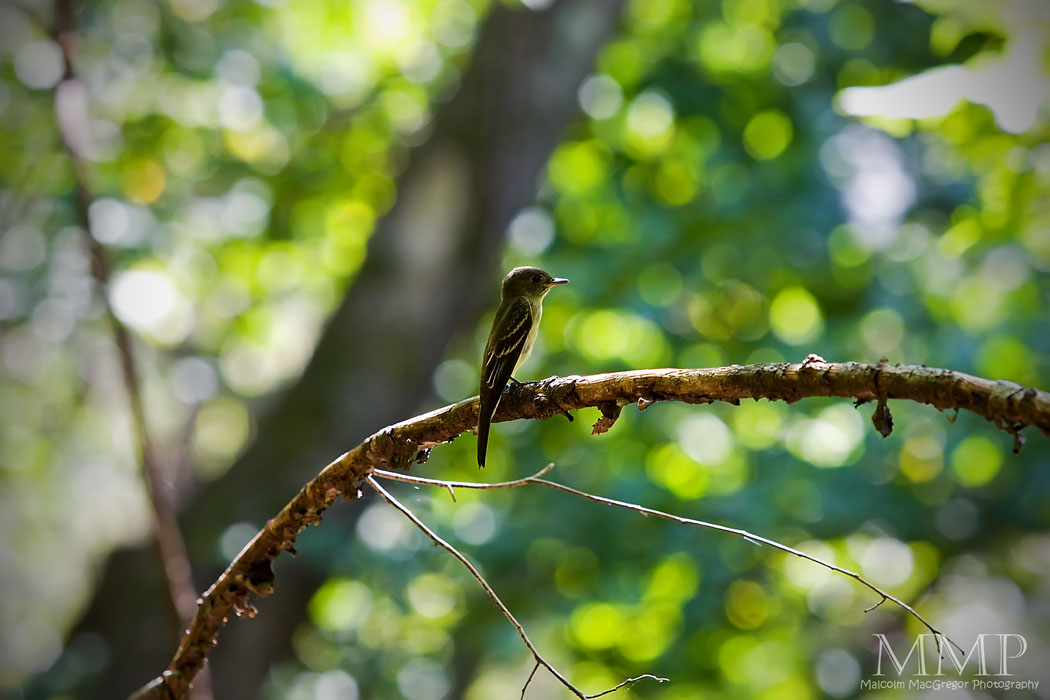
Not sure what type of bird this is but I sat and watched him catch bugs, he was very fast.

And that’s it for the week!

Thanks for looking!

Check out all the previous weeks by Clicking HERE

Don’t miss a week! Subscribe to this blog and you will receive an email every time I post something new!

Malcolm MacGregor Photography is now on Facebook, check it out and become a fan!

How I Did It – Part 5

I have another RFI as we call it in the construction industry, or a Request For Information. Someone asked how I processed a particular image, so I promised a tutorial – so here go…..

In this tutorial, I’ll show every step I took to turn this:

into this:

——————————————————————————————————————————-

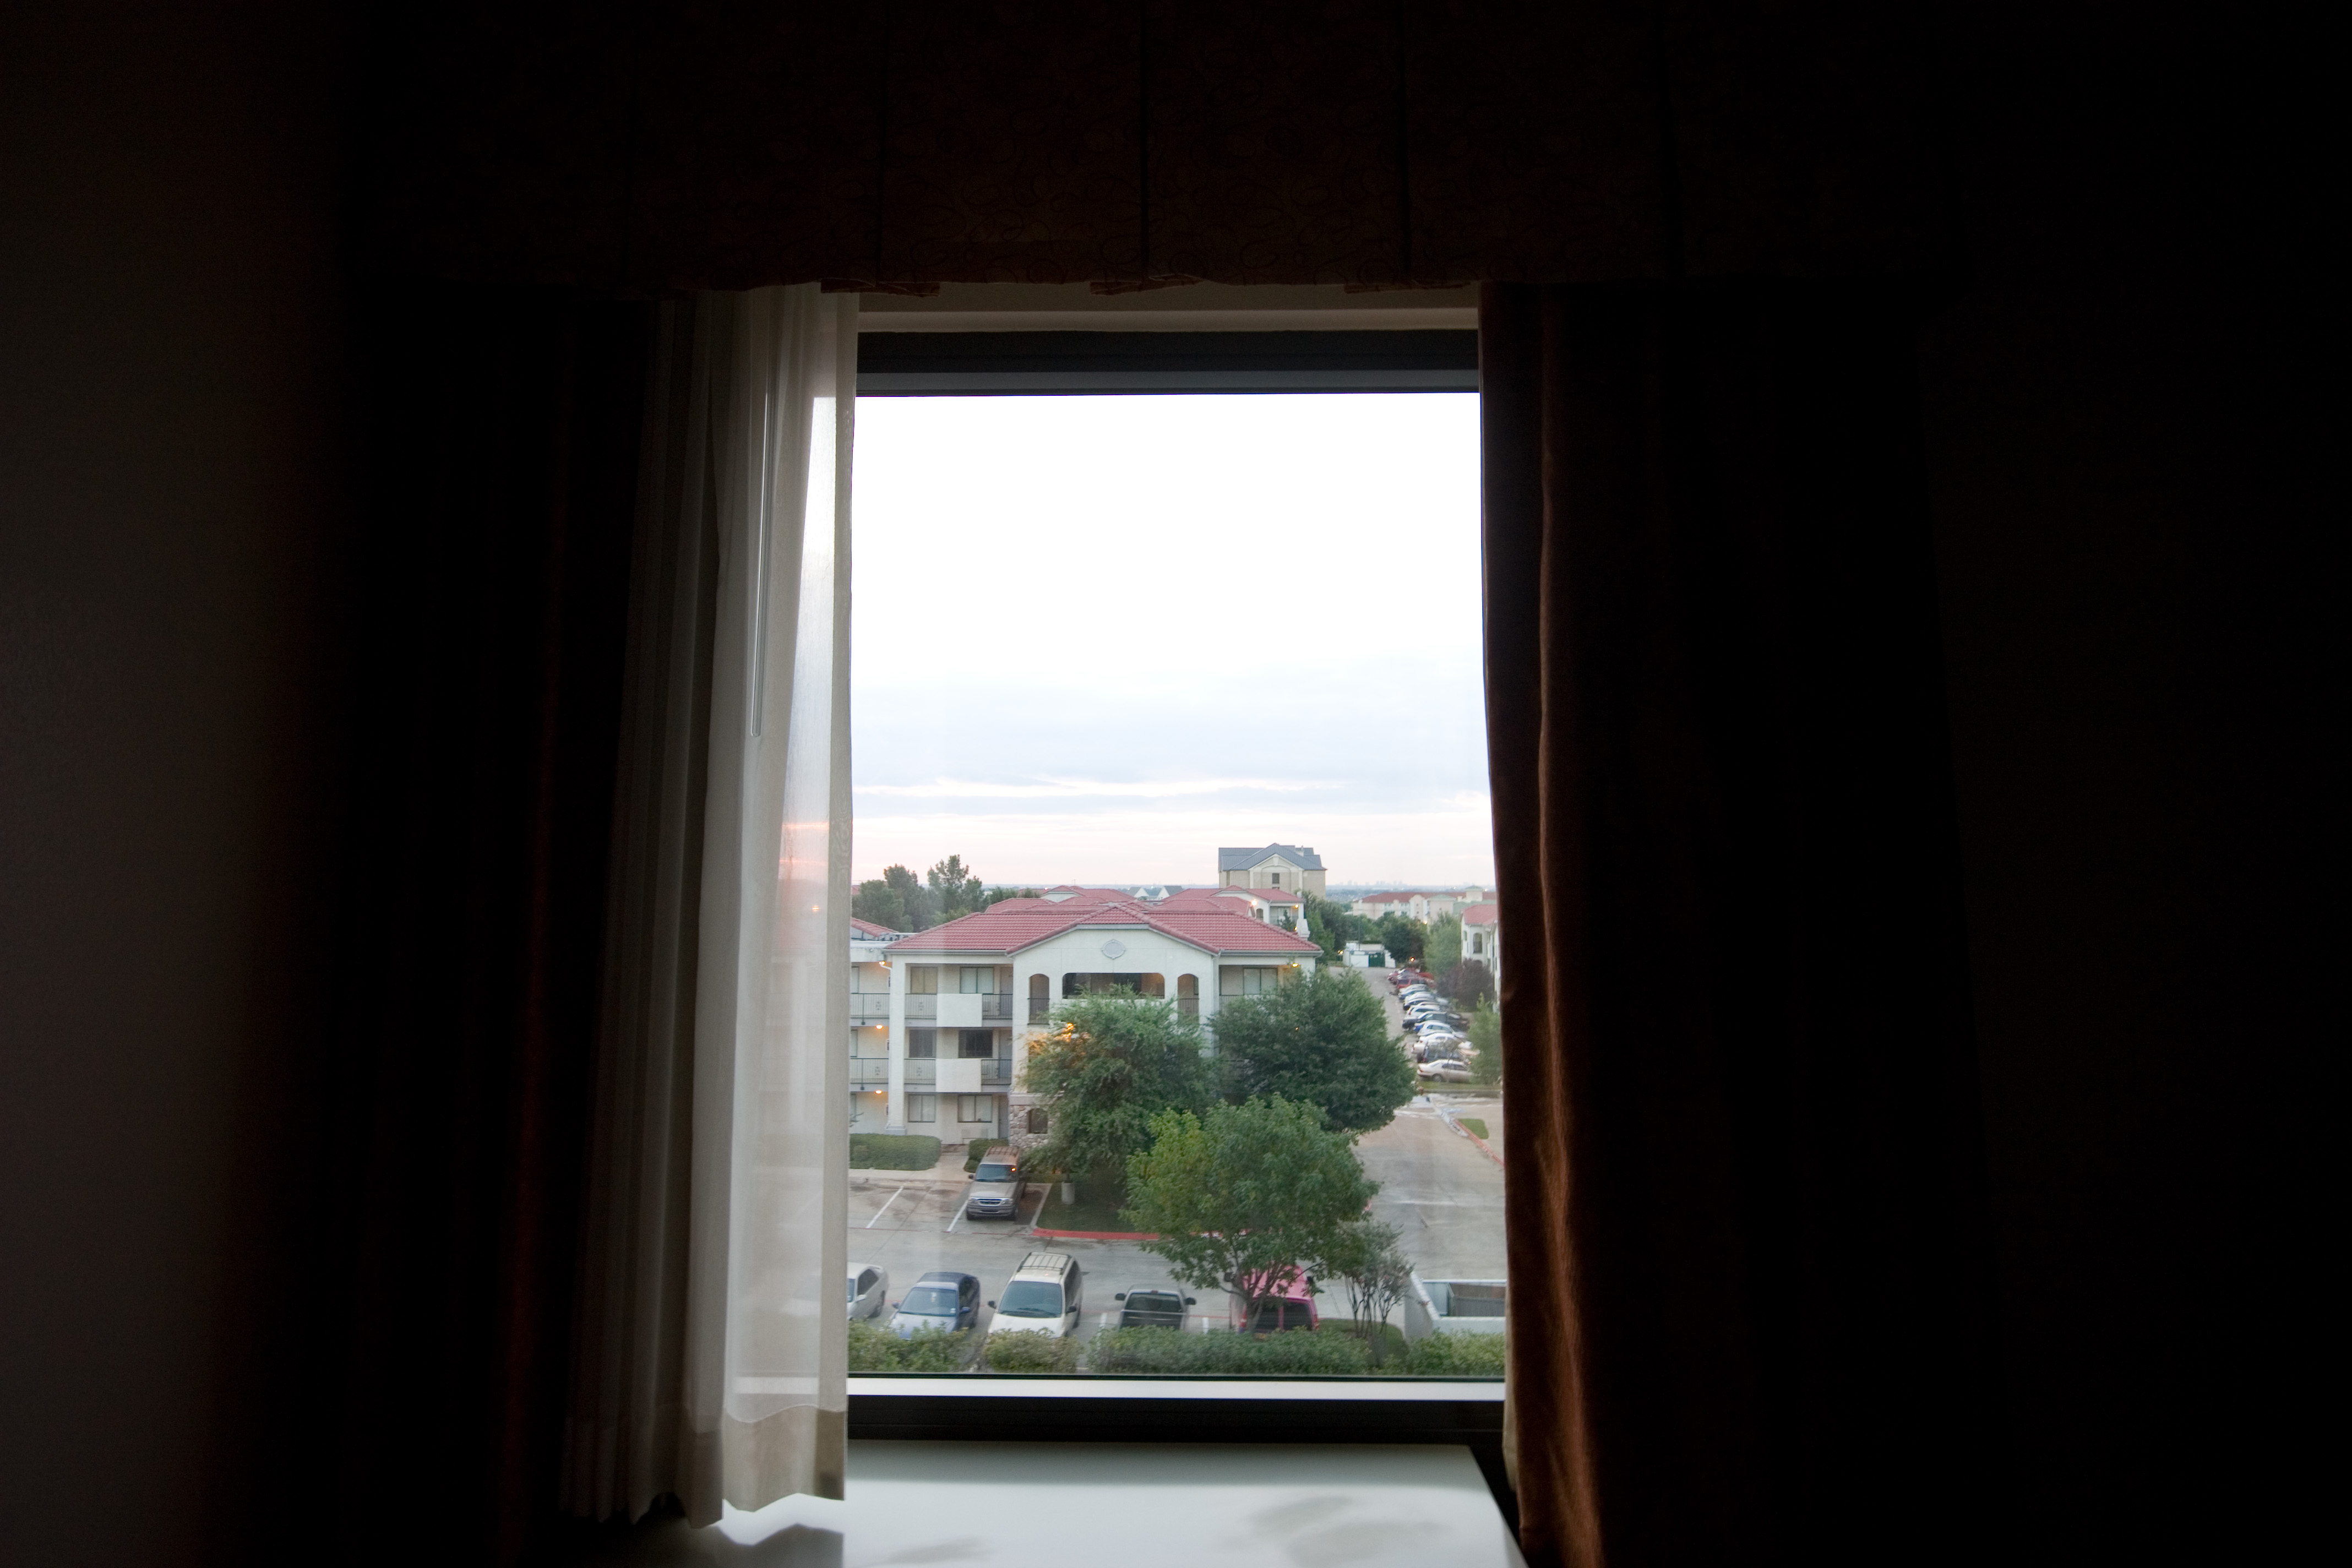
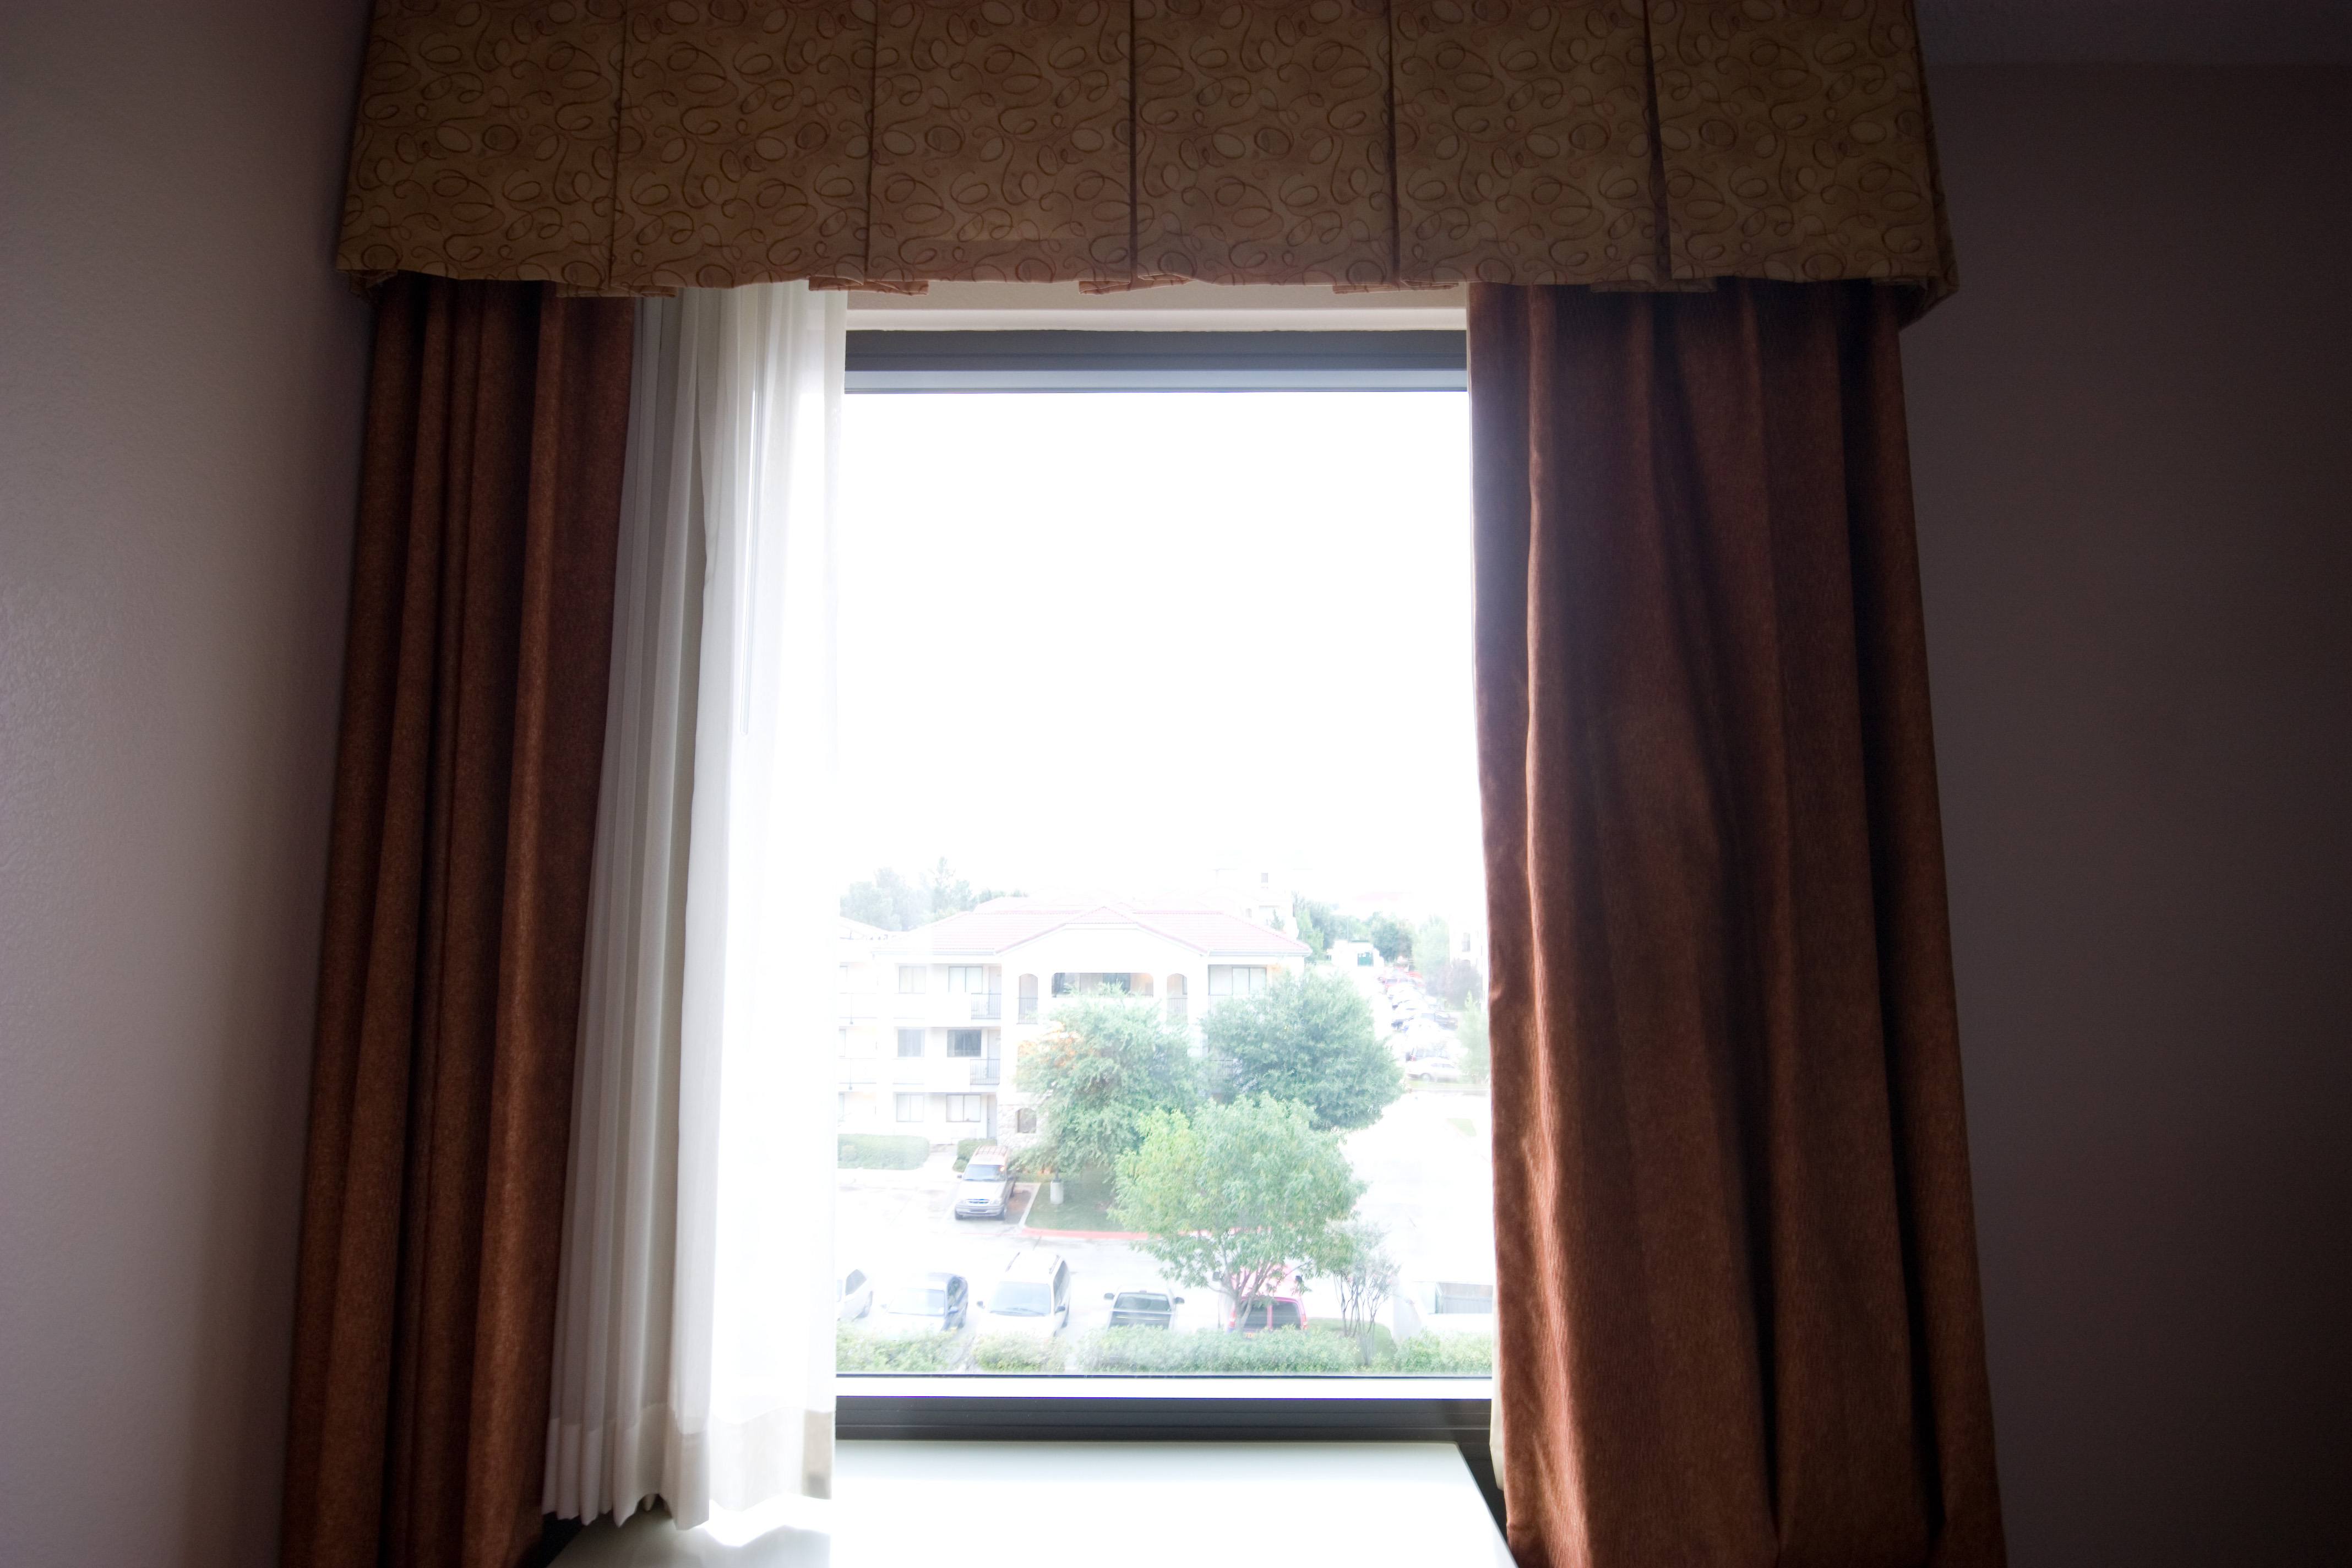
Obviously, this one is an HDR image. Unlike some of my other tutorials, there is really not much processing involved after photomatix. The only difference here (and it’s an important one) is the number of exposures used. For this shot, I used 5 exposures instead of my normal 3. The reason for this is the huge difference in light from the inside of the hotel room and the outside sunrise.

The 5 exposures I used were (-4, -2, 0, +2, +4)
Here are those 4 images:
(-4)

(-2)

(0)

(+2)

(+4)

You can see how the images gradually get brighter and end up encompassing the entire range of the scene. These 5 RAW images were then loaded into Photomatix. I use Photomatix for all of my HDR’s. If you are interested in buying Photomatix, use the coupon code “malcolmphoto” for a 15% discount! It’s already at a great price ($99) and even better with the discount.

Once Photomatix created the HDR image, I tonemapped using the Details Enhancer option:

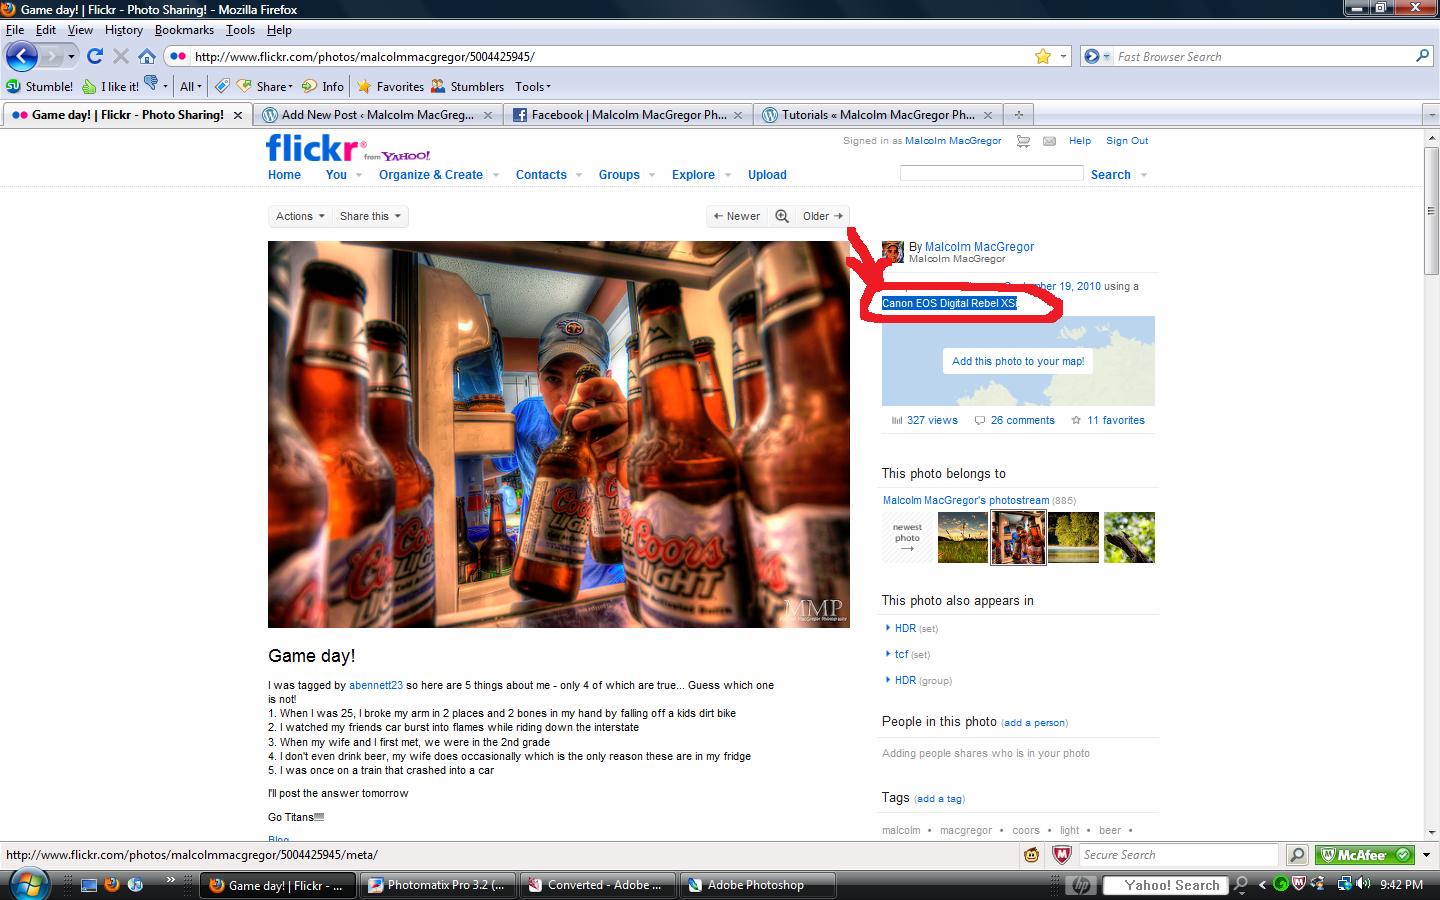
On a side note – My Detail Enhancer settings are available to be viewed for EVERY photo in My HDR set on Flickr – here’s how

On the photo page, click on the top right where it tells what type of camera was used:

That will take you to the images “exif” info:

Scroll down, and you will see a section that looks like this:
These are the Photomatix settings, they are automatically embedded in the files information. Cool huh? So now you know…..

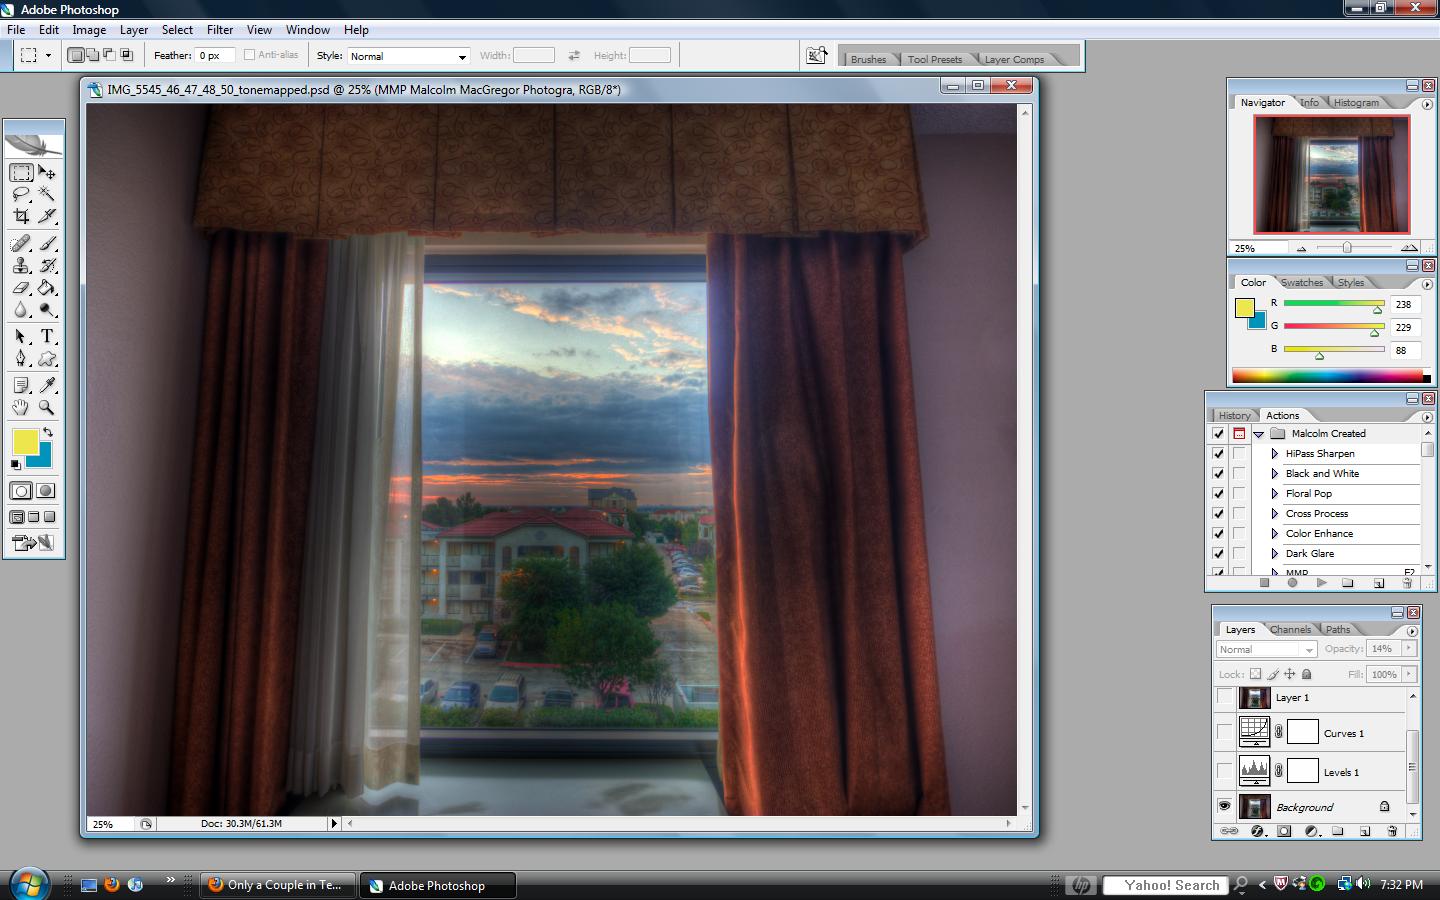
Back to the image in question, here we are starting in Photoshop CS2:

The first thing I always do it a “Levels” adjustment layer:

Then a “Curves” adjustment layer:

And then I use Imagenomic for noise:

Here is the final result:

And that’s all there is to it for this one! Piece of cake!

Now go out and shoot some HDR and let me know how they turn out!

See all my other tutorials HERE

I’m on Facebook! Check it out and become a fan!

Thanks for looking! I hope you found this helpful. Please ask questions if you have them, I’ll try by best to answer.

Remember,
If you want to know “How I Did It” for any photo on my flickr photostream, leave me a comment on this page or send me an email. I’ll be glad to make it my next “How I Did It” entry!

Also, as I mentioned in my first How I did It post, here are some helpful links for learning more about HDR:
Stuck in Customs
HDR Exposed
HDR (a flickr group)
Tutorial Collection at My First HDR flickr group

Helpful links for learning more about Photoshop:
Photoshop Support Group
Photoshop Tutorials by Allan Gengler
Actions by Allan Gengler
CoffeeShop Actions

This Week at the Lake – 27/52

It was tough getting anything decent this week. It seemed to be cloudy the entire week making it dark along the trails. My camera doesn’t do too well in dark conditions and I ended up with dozens of blurry images this week. It’s also getting too dark for my early morning trips. The sun doesn’t seem to come over the hills until 7:15 or so, by 7:30 I should be back at the car to get ready for work.

Here are this weeks best shots:

I liked the idea for this but I think the deer is too far away

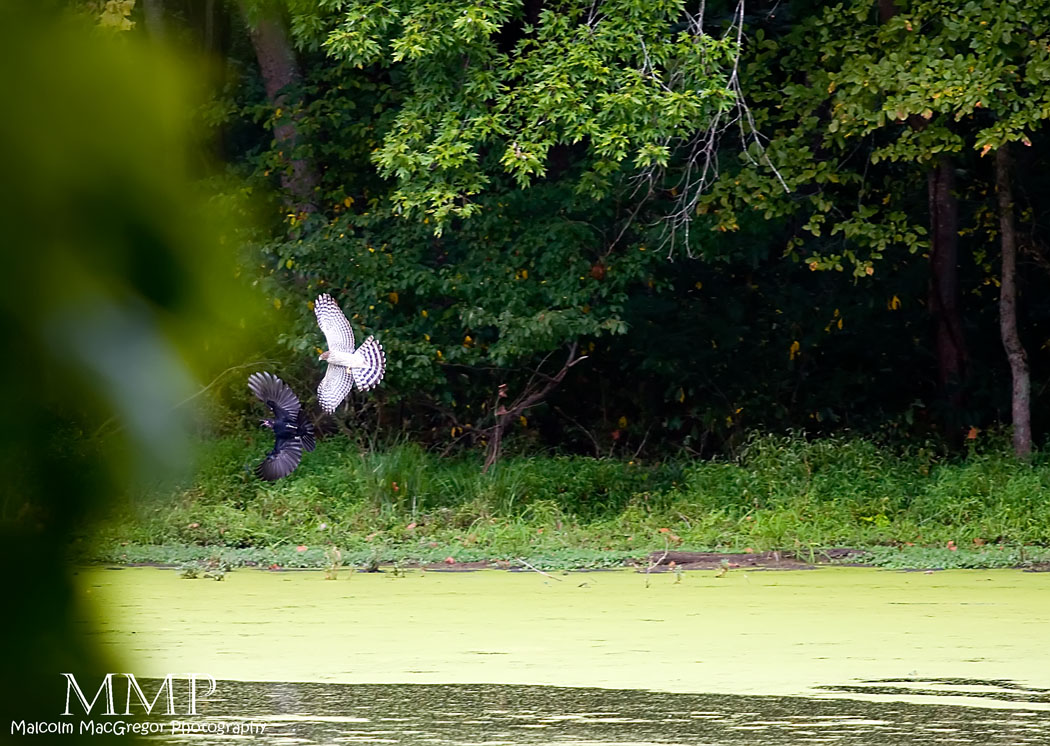
This is heavily cropped but it was so cool to watch I wanted to share it. This hawk and about 5 black birds were going at it for a while. Was the hawk trying to eat a black bird or were the black birds trying to get the hawk to leave? Most of the time, I couldn’t even tell who was chasing who! At the time of this shot, it’s clear that the hawk is chasing the black bird. But shortly after this, the hawk landed on a log and another black bird came down and provoked the hawk. None of the chases ever lasted very long as the hawk gave up the chase quickly and easily. Very fun to watch, wish I could have gotten closer but this was all happening on the other side of the lake!

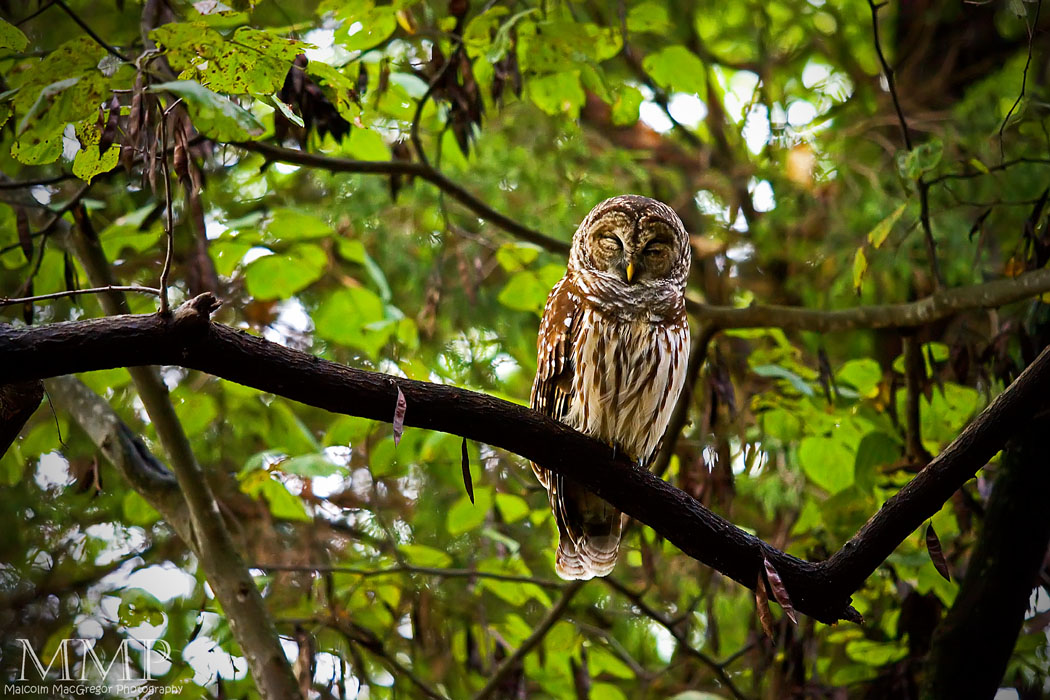
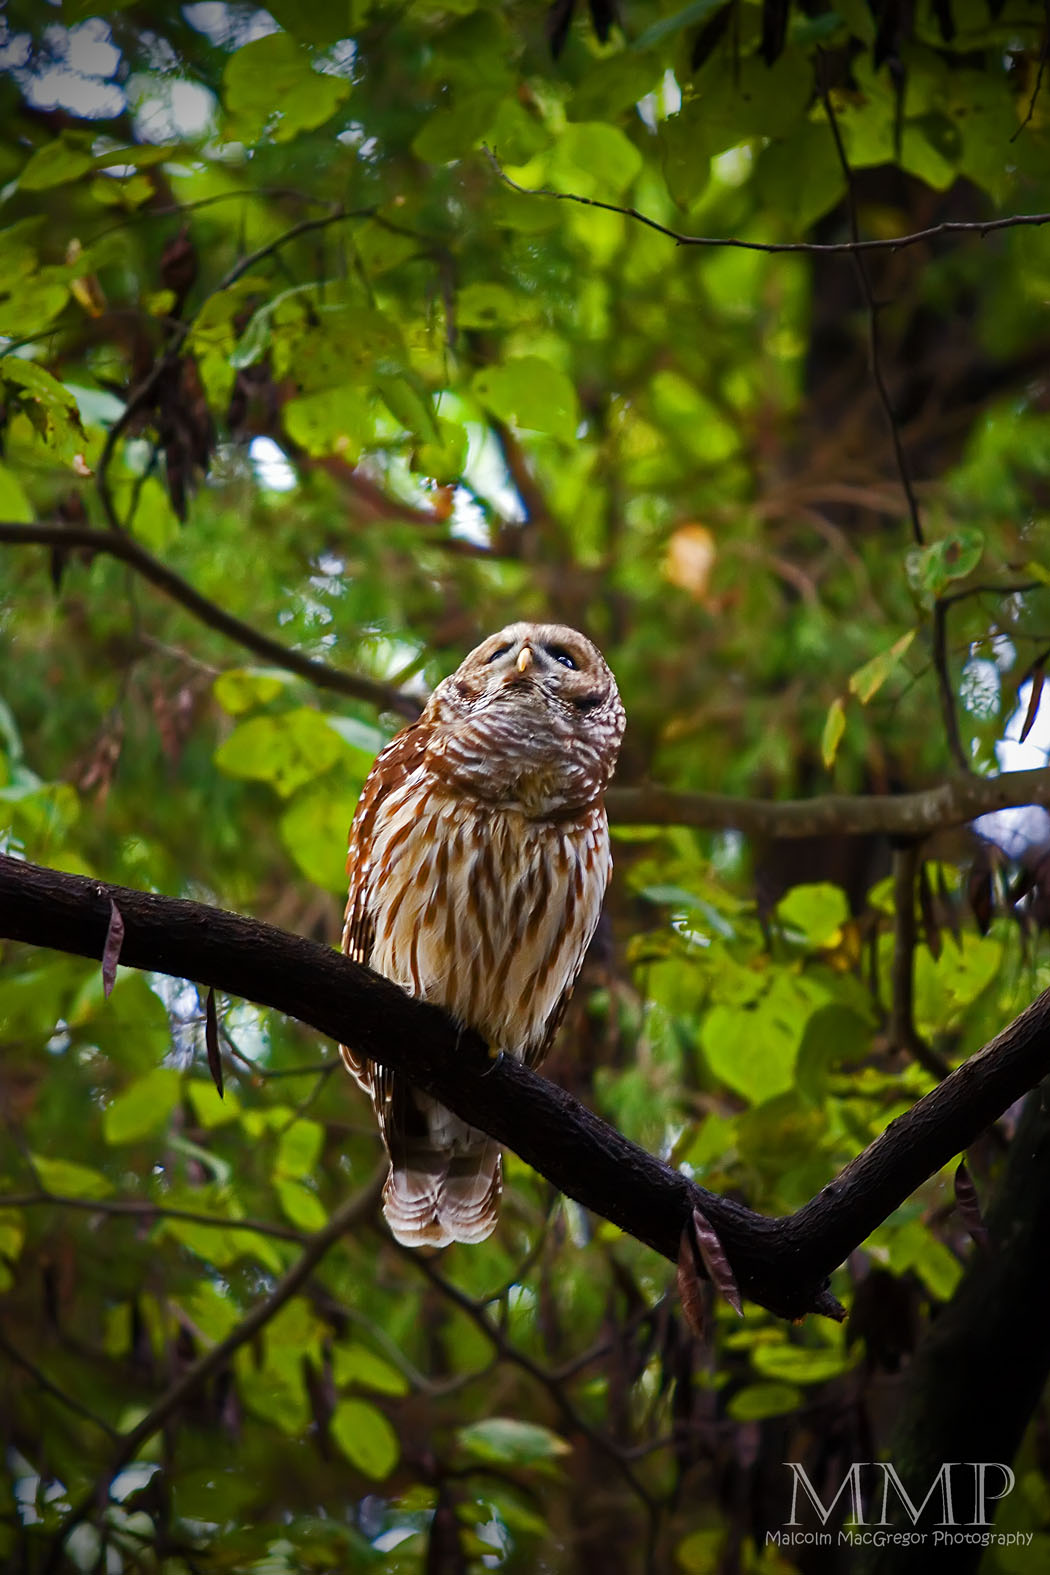
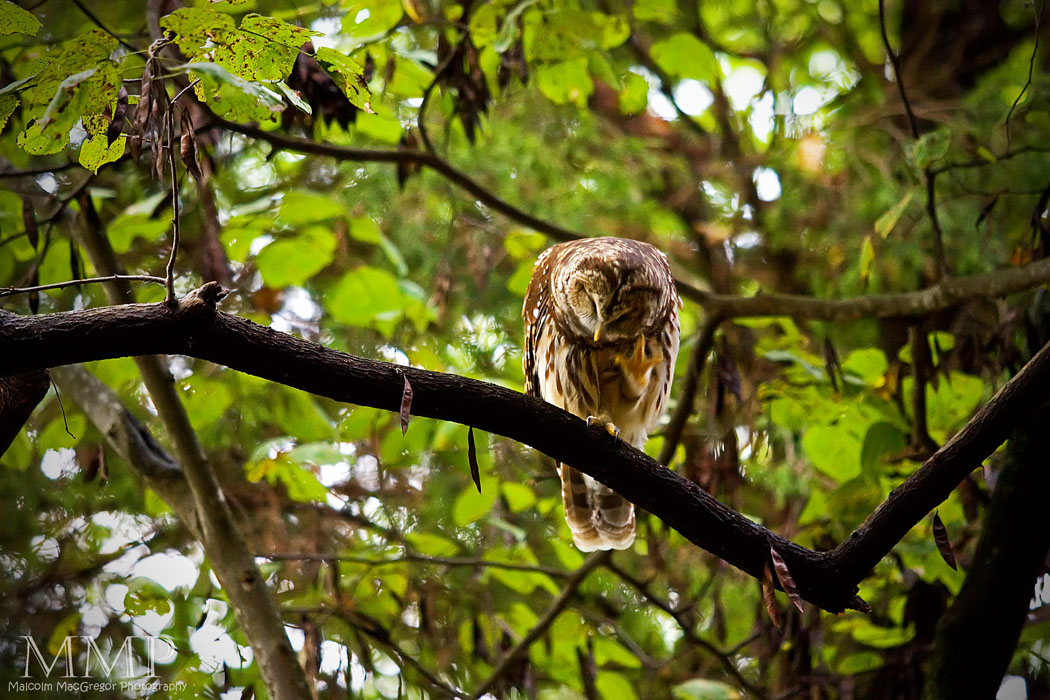
spotted this owl Friday evening. I set up the tripod without scaring him off, and fired off a few shots. While taking these shots it really started raining. Not much rain was making it to me under the trees but I didn’t want my gear sitting out any longer.

Bad formation! But pretty cool photo with the added textures…

Thanks for looking!

Check out all the previous weeks by Clicking HERE

Don’t miss a week! Subscribe to this blog and you will receive an email every time I post something new!

This Week at the Lake – 26/52

The half way point!
It’s hard to believe that I’m half way through this project. These weeks have been flying by but I know I’ve got the hardest weeks coming up. I think I’ll be fine into November but then – who knows! I’m not a fan of winter at all and I always have a hard time finding interesting things to shoot in the dead of winter.

This week was great, the weather has turned pretty mild (at least compared to the 100+ degree days).

The shot above was taken early Monday morning
Here are the rest in chronological order:
After getting the lead shot, I noticed this deer all the way across the lake. I applied some textures for a vintage feel.

More texture fun!

The “baby” deer are getting so big! I can’t help but think this is the same deer as seen in Week 19 and Week 15. They were all taken in the same area and I frequently see a doe and a fawn in that area.

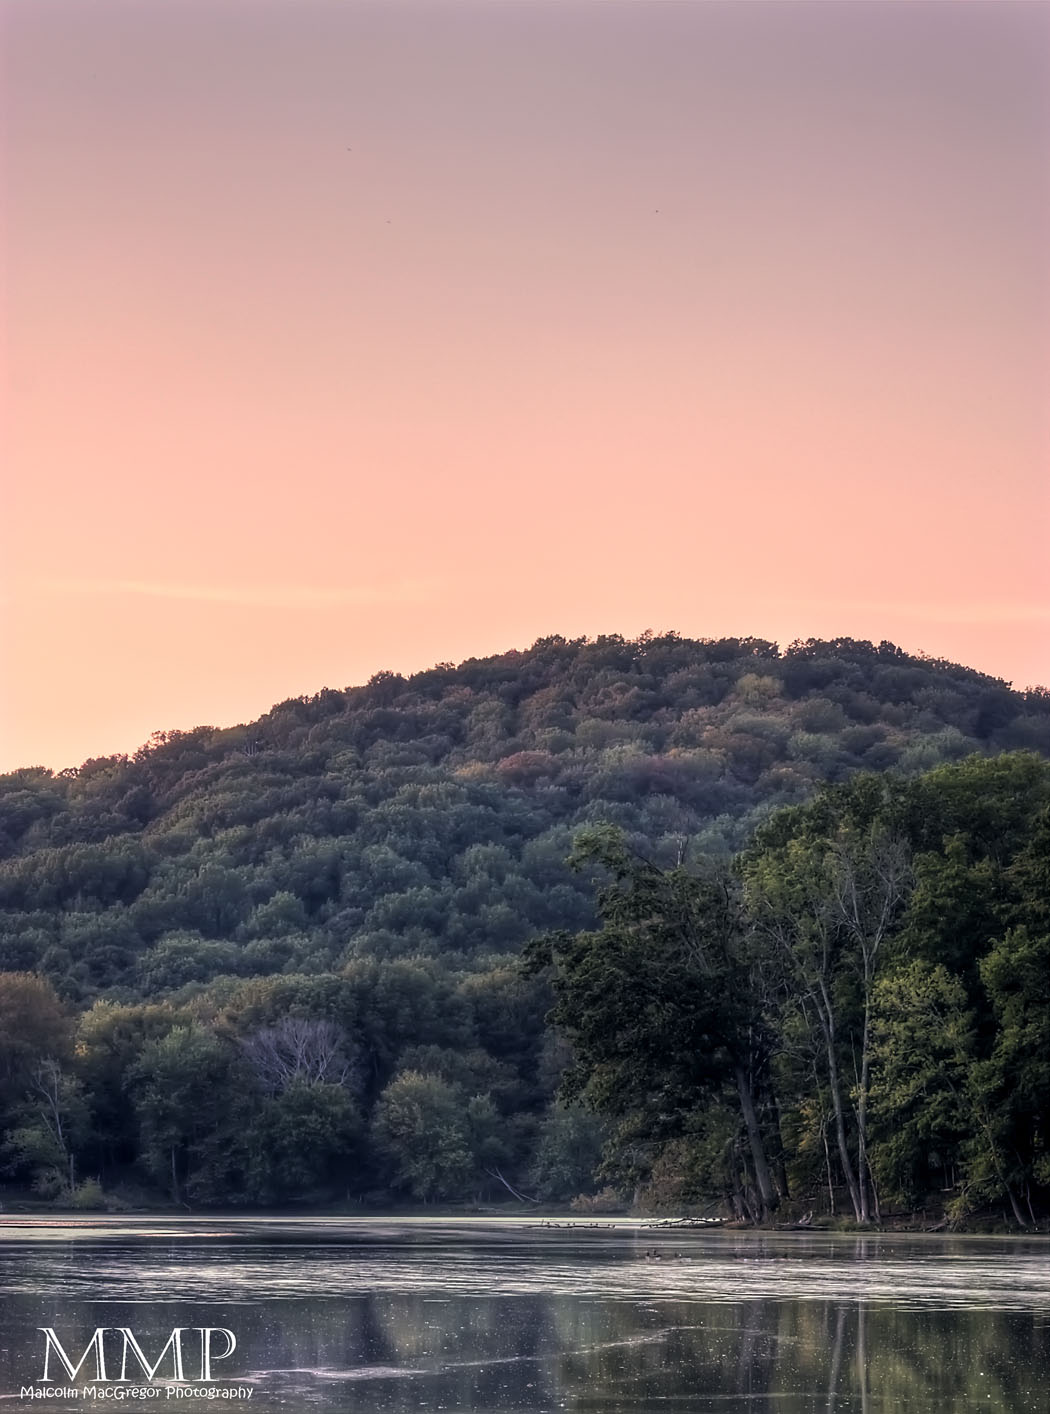
A lakescape taken in the middle of the day, this is the same spot as Week 15‘s sunrise

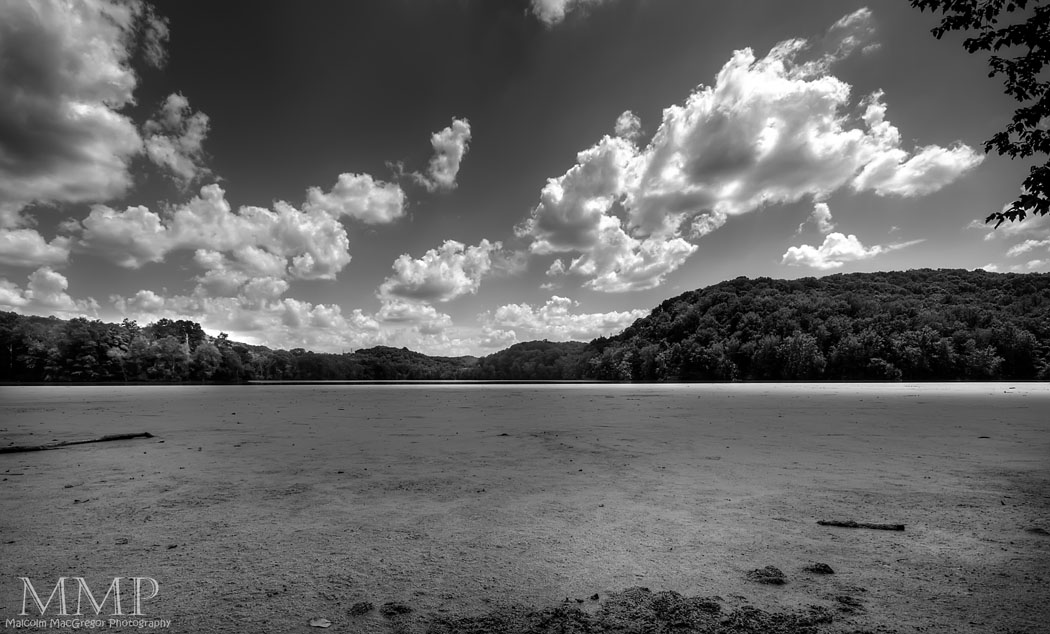
Another from this spot, in black and white

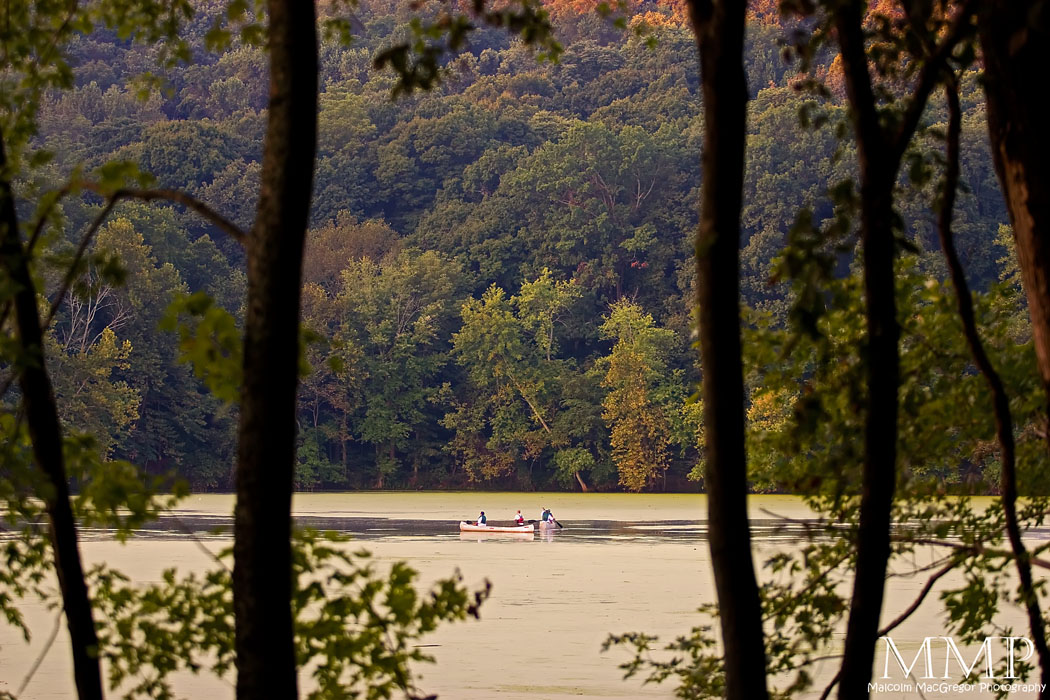
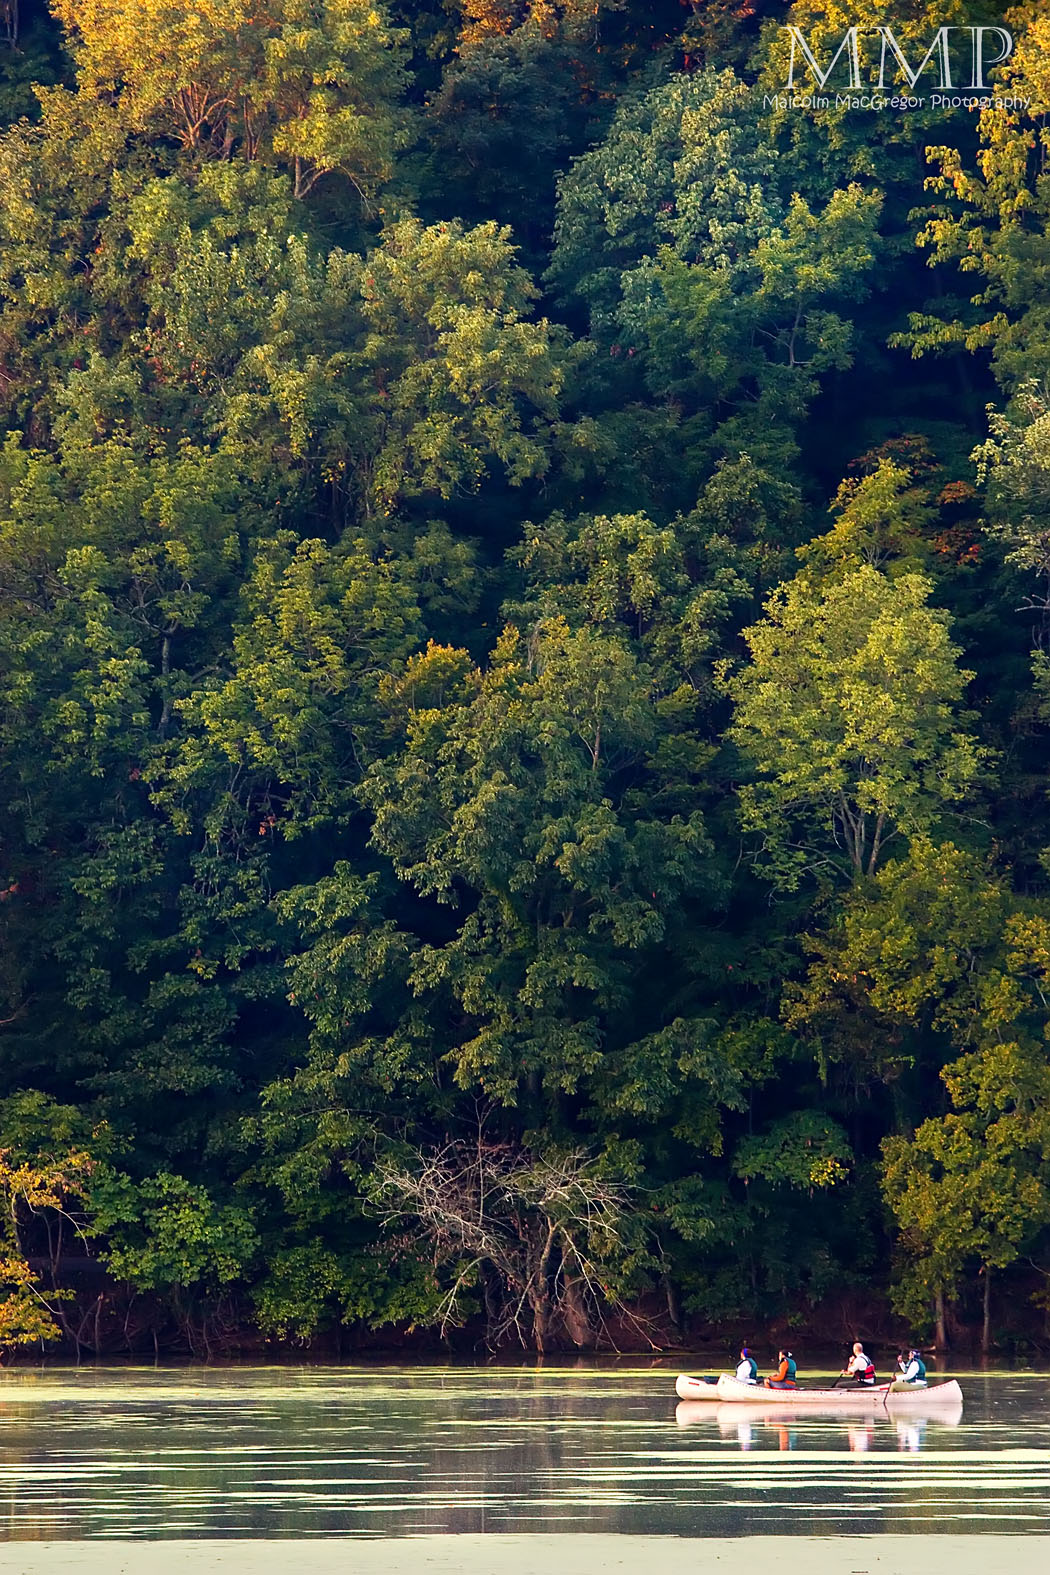
I don’t know who was lucky enough to get to go out on a canoe on Wednesday morning. Typically, canoes are not allowed. One of the canoes had a park ranger in it.

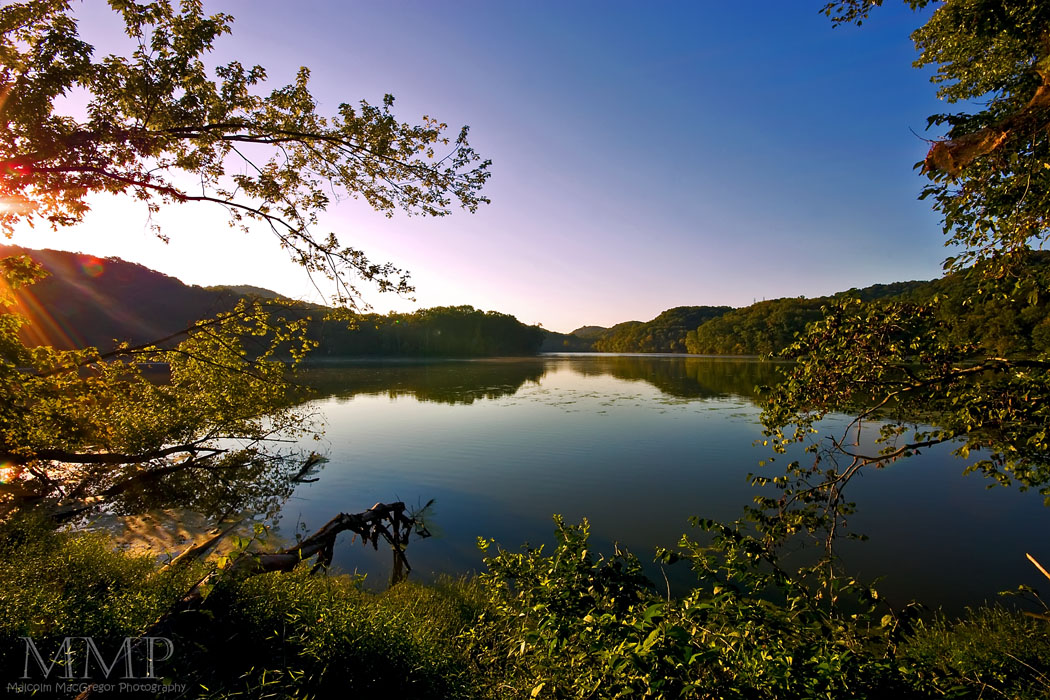
There are 4 really good “lakescape” spots around Radnor Lake. I’ve posted shots from all the other views before but I think this is the first week from this spot. The lead shot is also from this vantage point, just very different days! Also, this shot marks one of the extremely rare instances where I processed the shot in both HDR and Non-HDR and preferred the Non-HDR version! This shot was inspired by this shot by flickr contact abennett23. I’ve been looking for a while now for the best location and timing to get something similar to his.

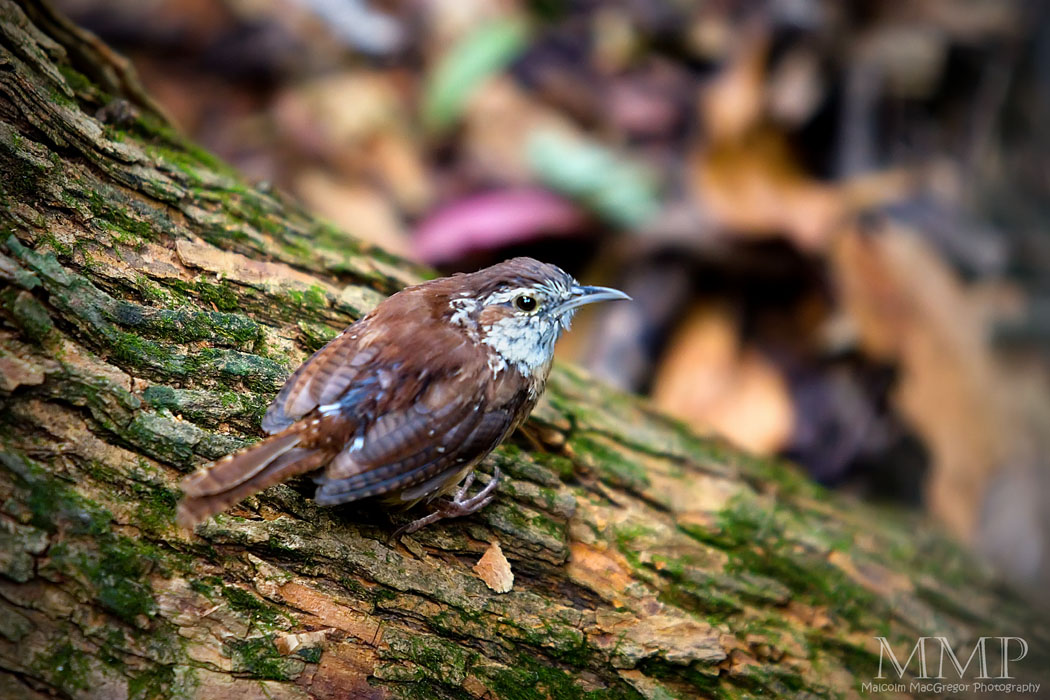
These little birds have made several appearances through out the weeks. Probably because they will come so close to you if you are quiet and still

Thanks for looking!

Check out all the previous weeks by Clicking HERE

Don’t miss a week! Subscribe to this blog and you will receive an email every time I post something new!

Oaklands Historic House

Recently, the company I work for has started a competition for all the employees. We are all wearing pedometers and reporting how many steps we take each day. The competition is sponsored by our health insurance company.

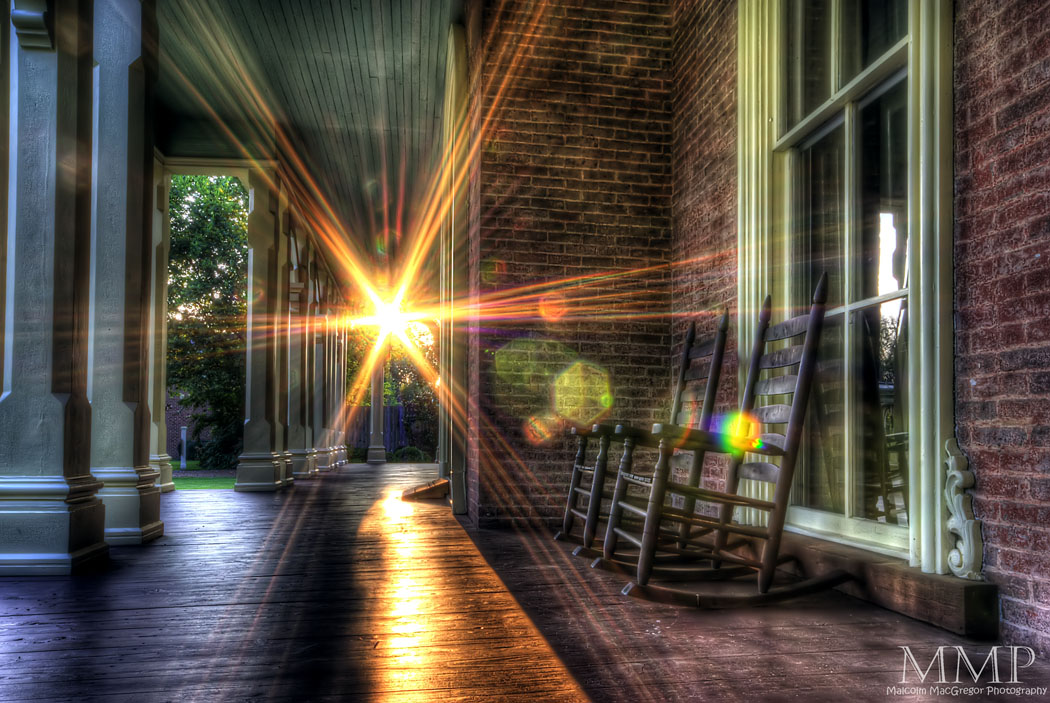
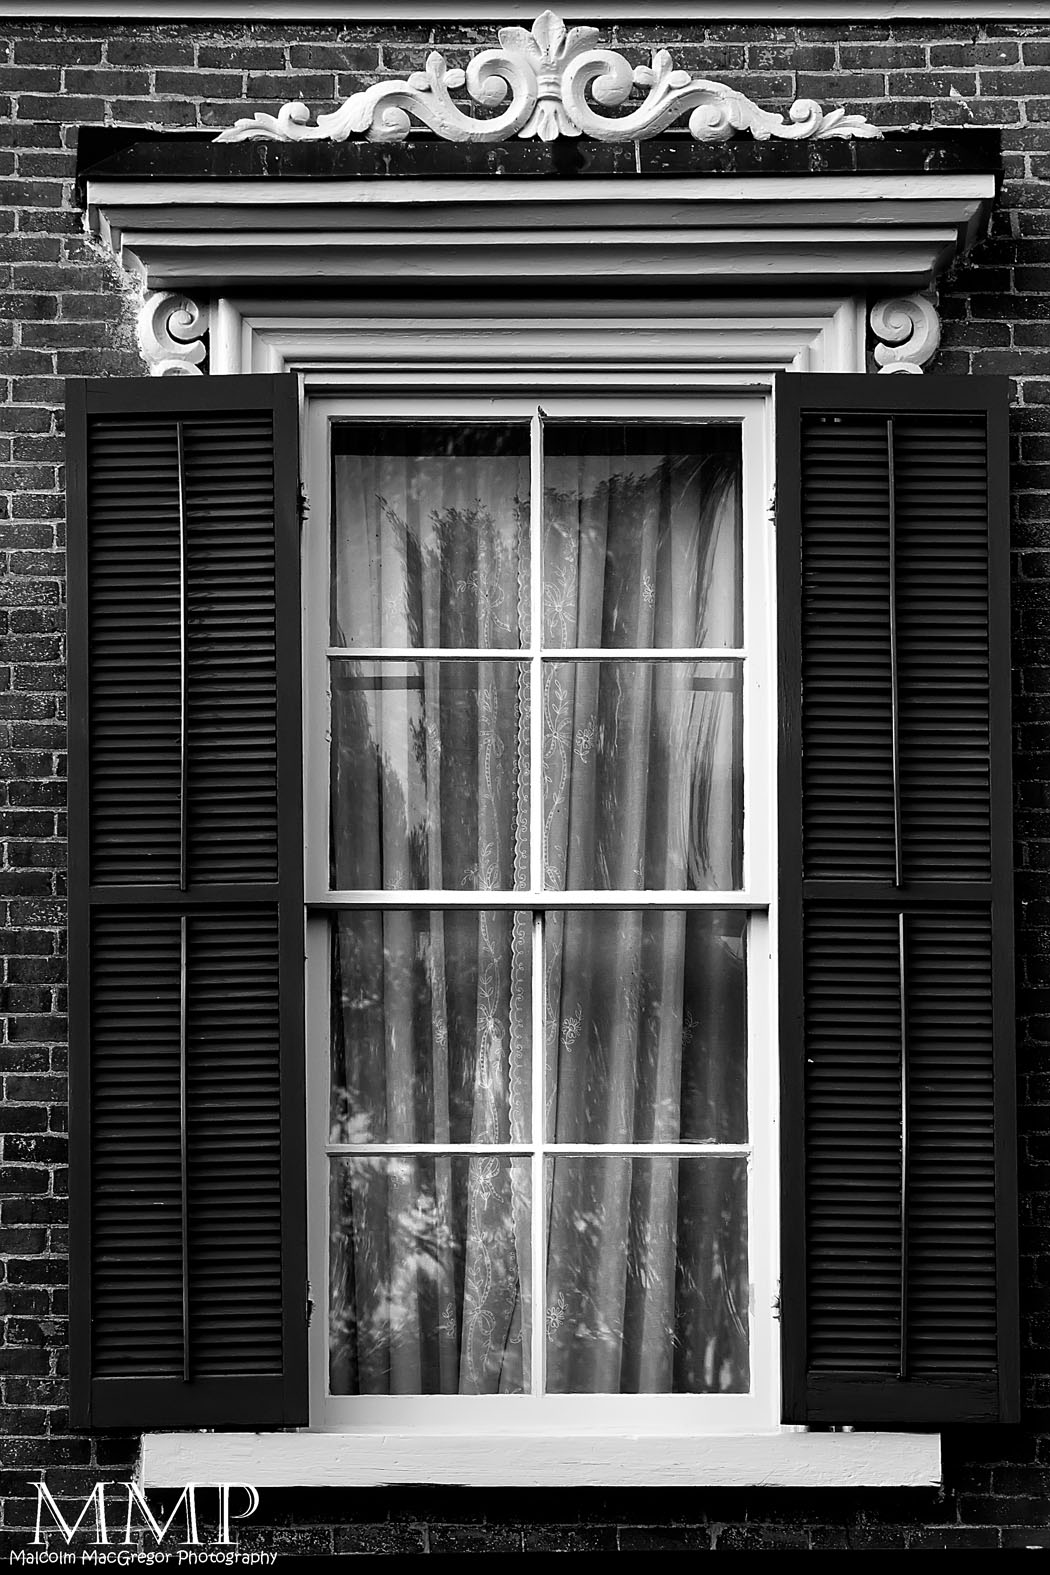
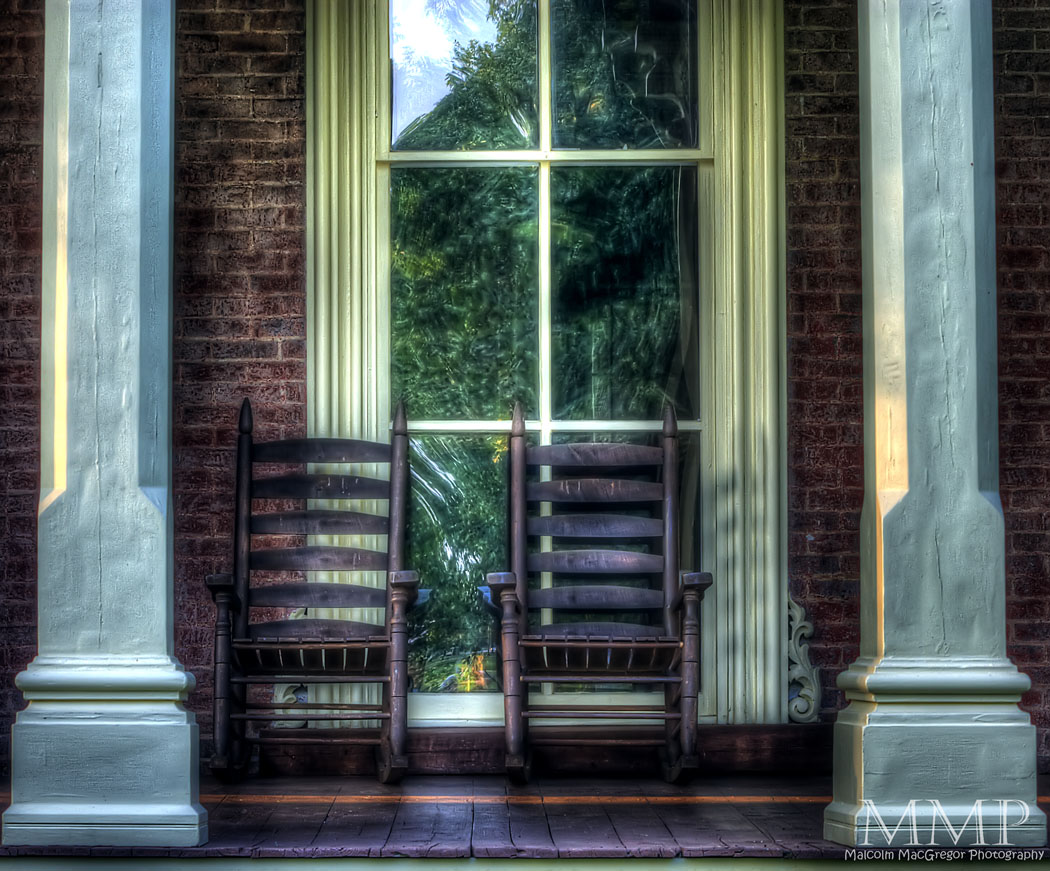
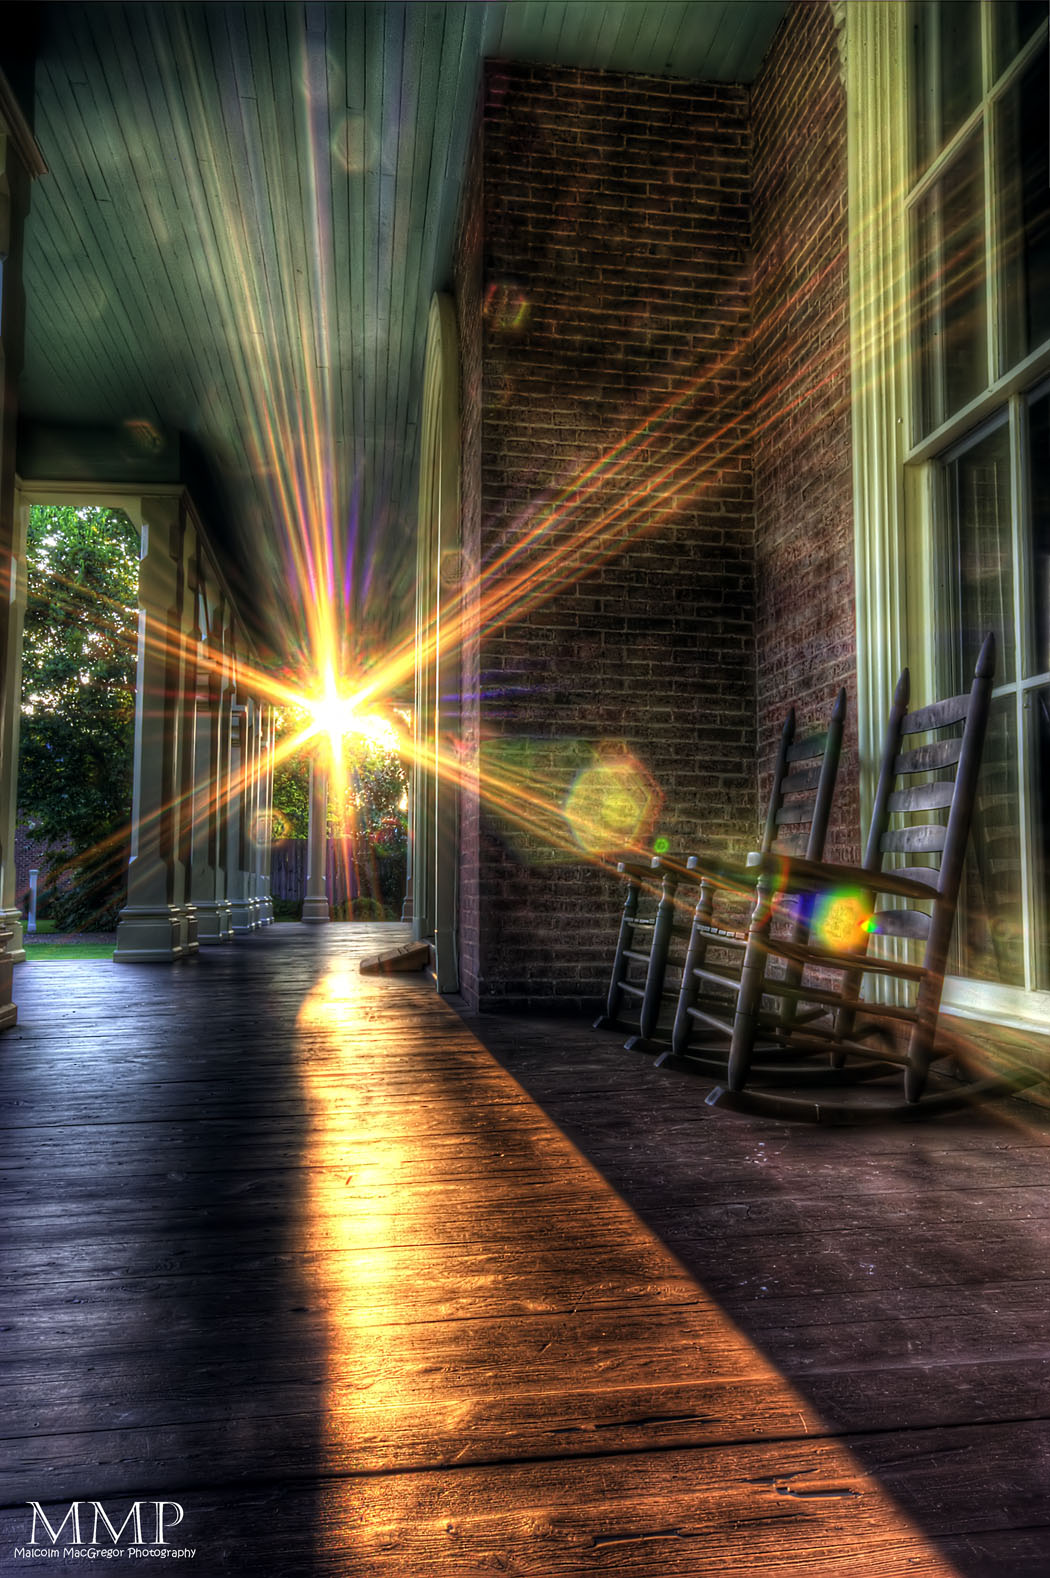
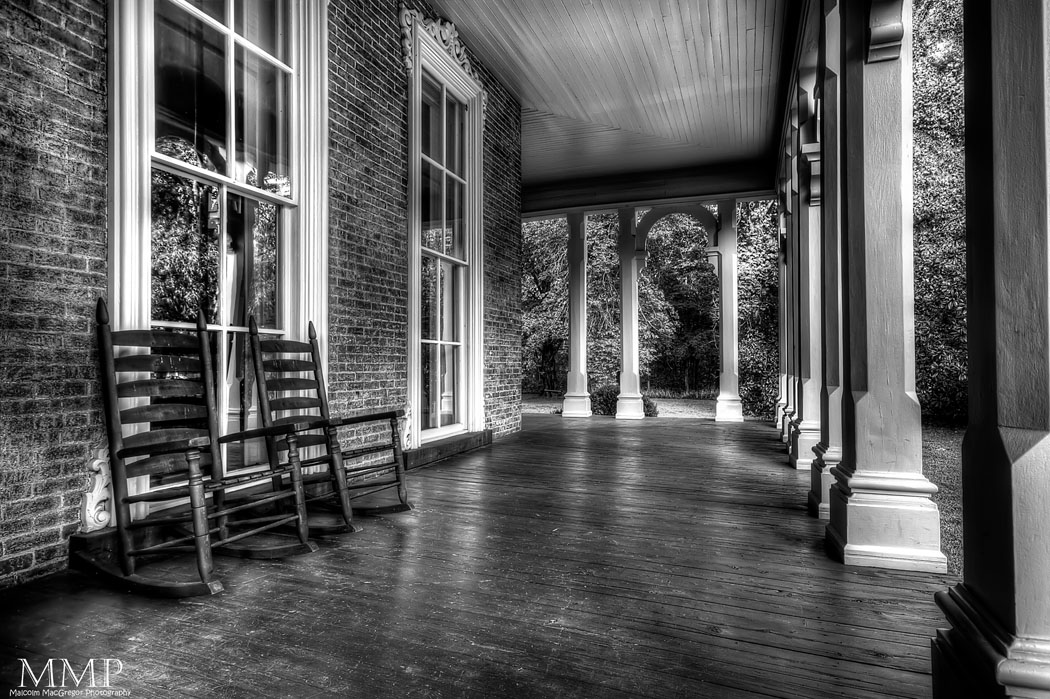
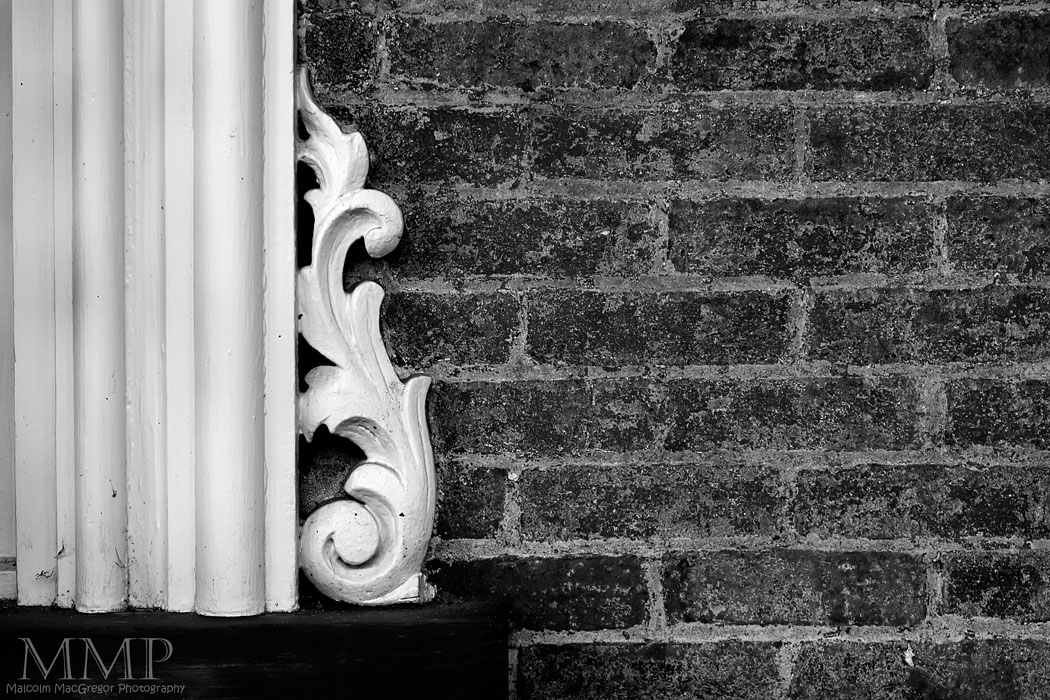
So, in an effort to get more steps each day, I’ve been visiting more places around town and walking around with my camera. One of those places was the Oaklands Historic House. The house is closed in the evenings but we were able to walk around the grounds and get shots of the exterior.

None of these shots actually show the house so if you are interested, here is a shot of the house I got earlier this year

Oaklands Historic Mansion

More info on the house can be found HERE

Thanks for looking!

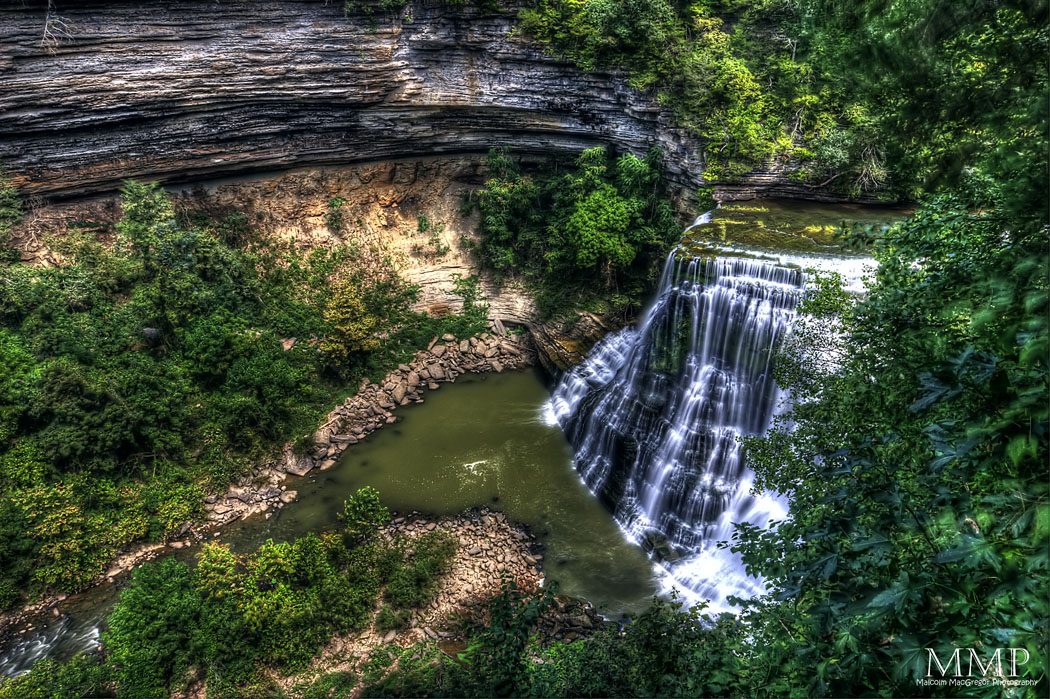
Burgess Falls


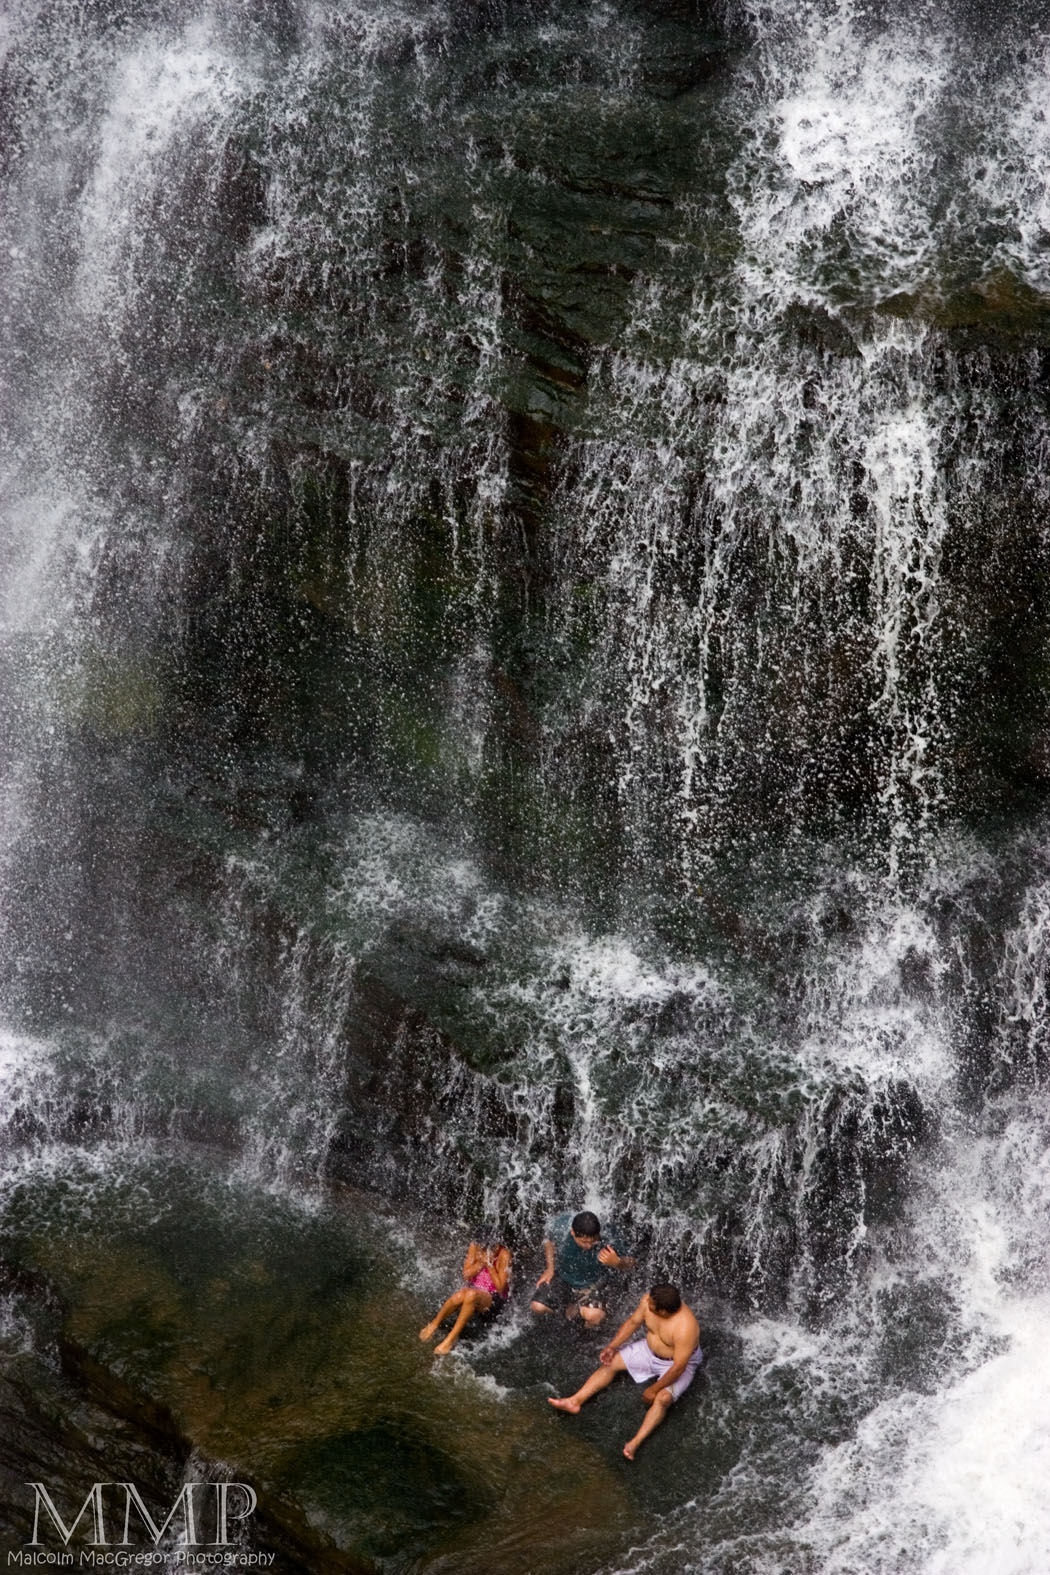
This past weekend we visited Burgess Falls State Natural Area. Nothing original here, in fact I had to wait 10 minutes or so while other photographers got this same shot. I only took one shot (the one above) and then switched lenses. When the sun came out there was a rainbow across the falls, but of course once I switched lenses, the sun didn’t come back out. It really was an impressive waterfall, the trails are just too crowded for my liking. Plus, the only good shot you could get of these falls is the same one everyone else has. We took this shot then we went back to the park area to cook out for lunch. After lunch, the kids went to the playground and I went back down the trails. By then, there were tons of people swimming in the water so I never hiked to the bottom because I wouldn’t have wanted a waterfall shot with lots of people in it!
Here are a couple others I got along the way:

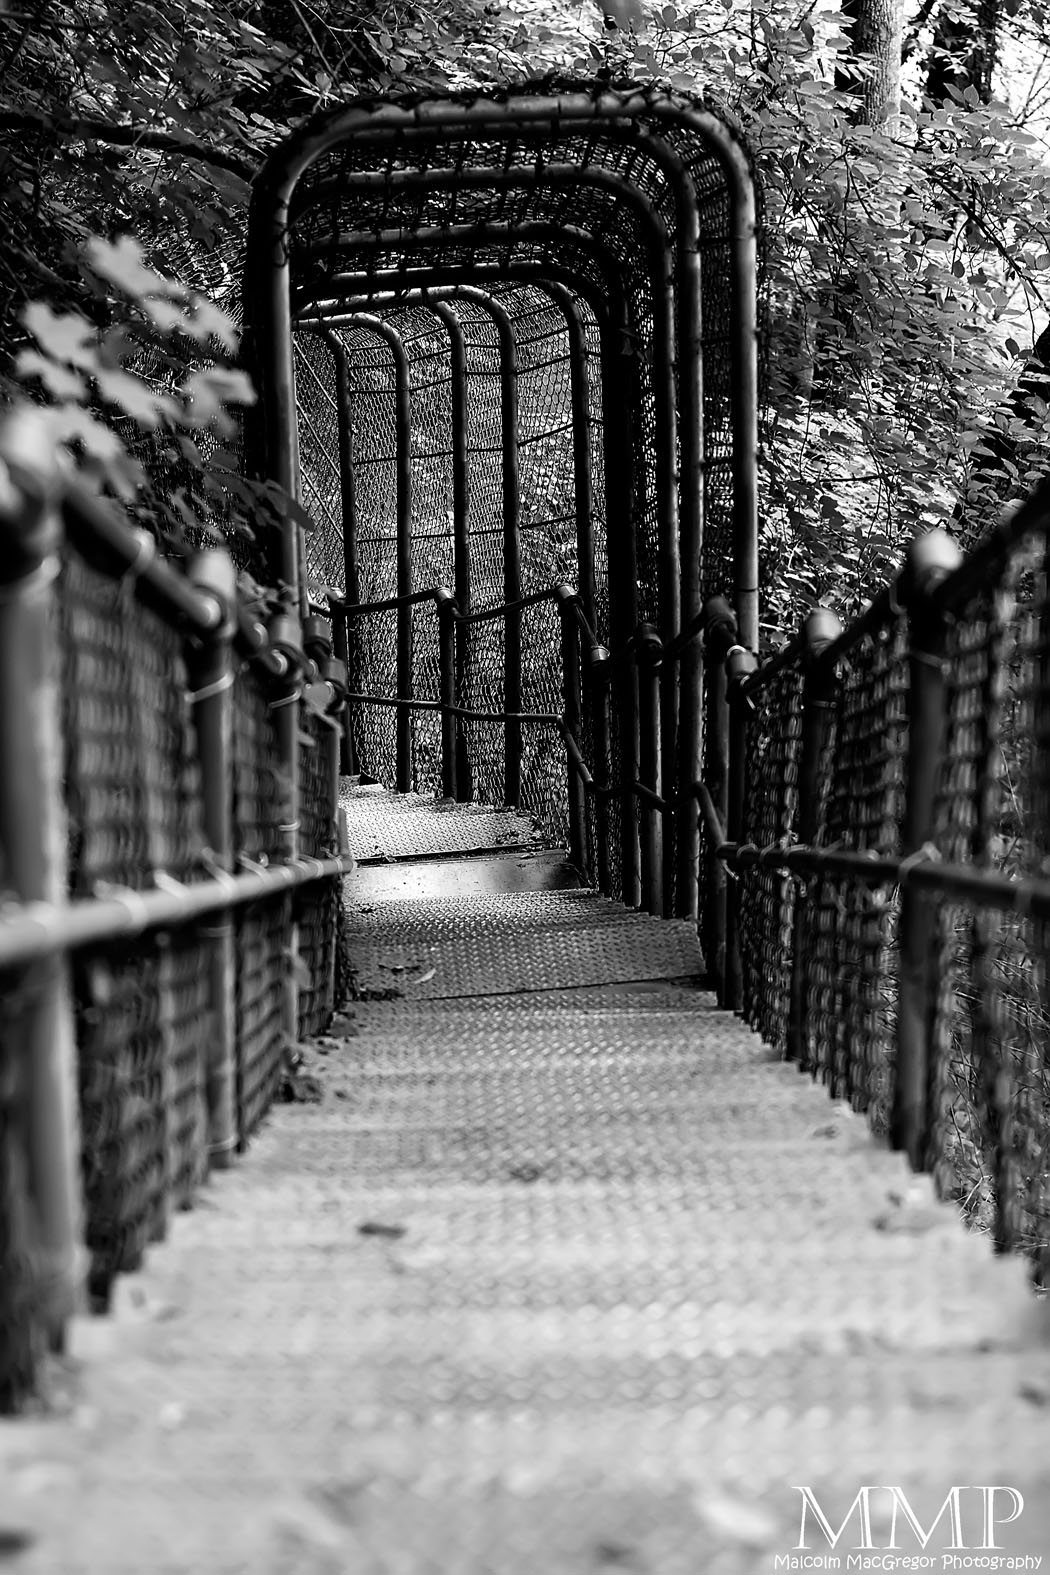
This was the stairway leading from the top of the falls to the bottom

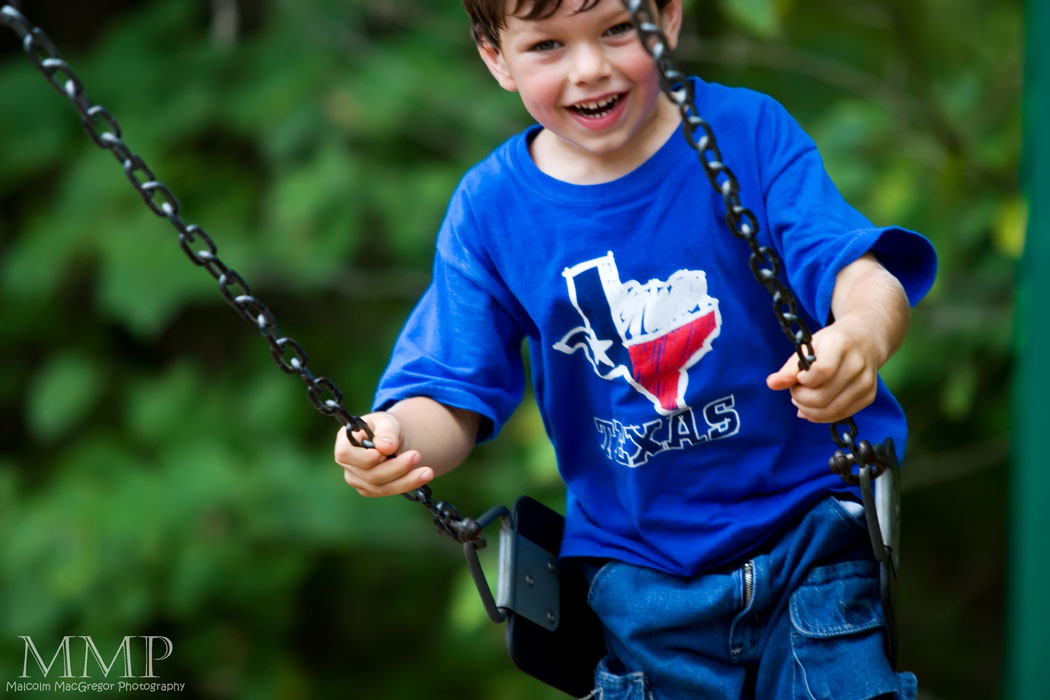
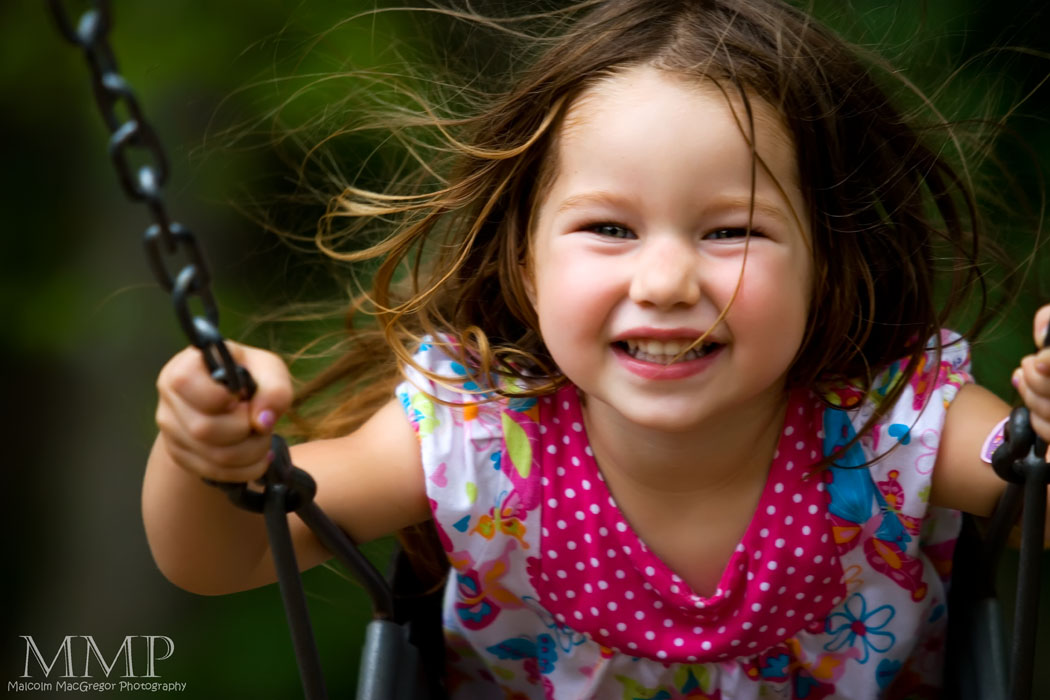
And of course, a couple of the kids enjoying the playground:

If you are interested in going to Burgess Falls, check out the map
[googlemaps http://maps.google.com/maps?hl=en&ie=UTF8&ll=36.071857,-85.581779&spn=0.16428,0.494385&z=12&output=embed&w=425&h=350]
Fairly easy hikes (my kids made it!) and an impressive waterfall.

Thanks for looking!

How I did it – Part 4

Another Tutorial! Don’t worry, I’ll get back to the photo posts soon!

I’ve had another request for a tutorial. This time someone would like to see how I convert to black and white. Believe it or not, there are TONS of ways to convert an image to black and white. However, there is one particular method that I use often. I believe I got it from a Scott Kelby photoshop book for CS2 purchased on Ebay. It’s a very easy process that makes for a great action.

Here we go…..
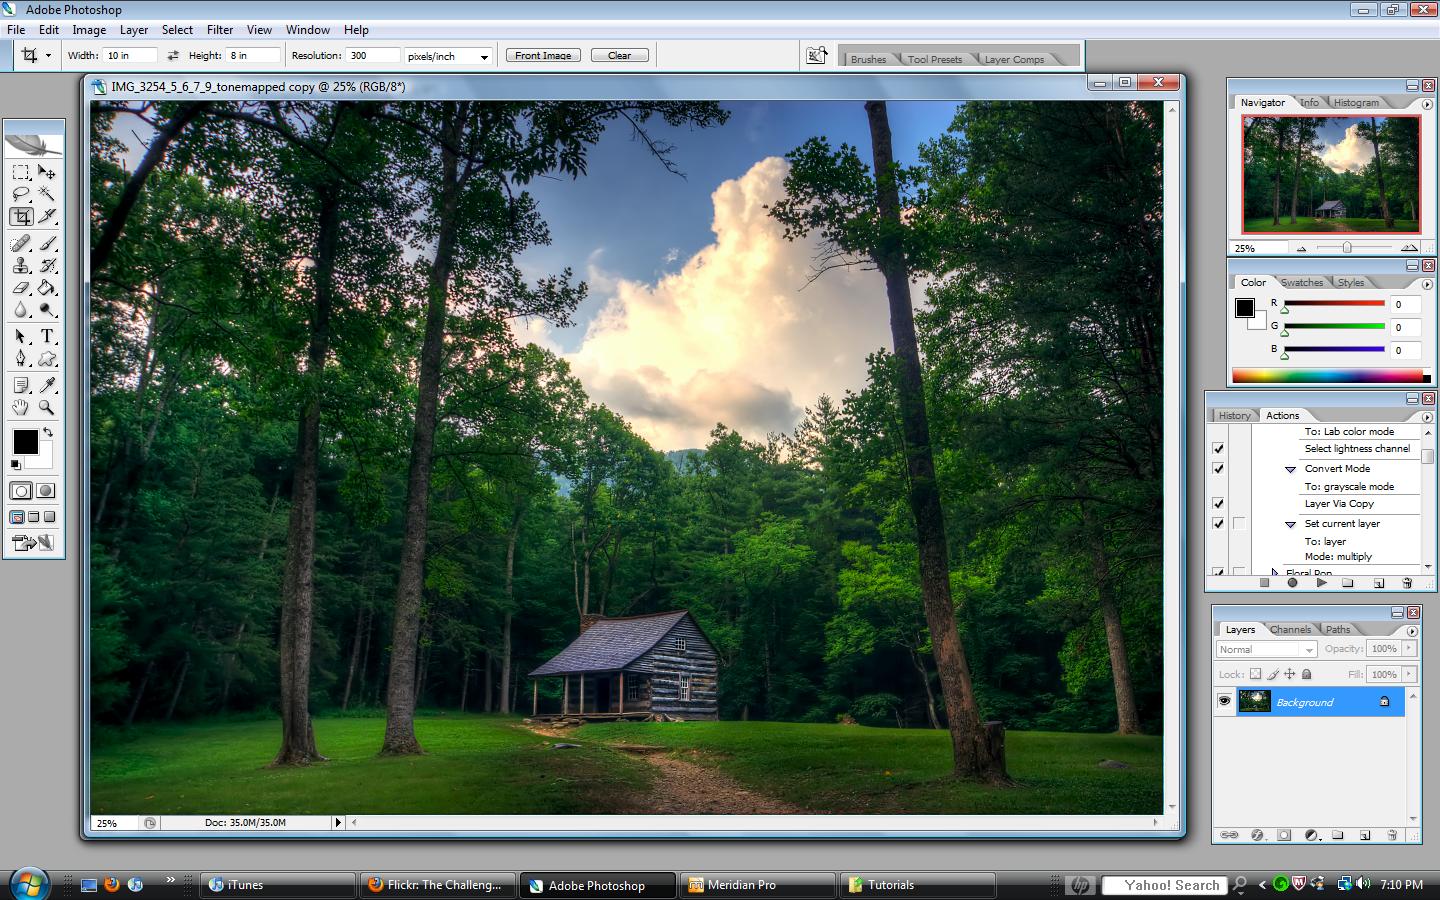
Here is what we are starting with:

Now, this is an HDR image and I am already finished with my normal processing. You can check out my other tutorials to see those steps. So now I decide I’d like to see it in black and white.

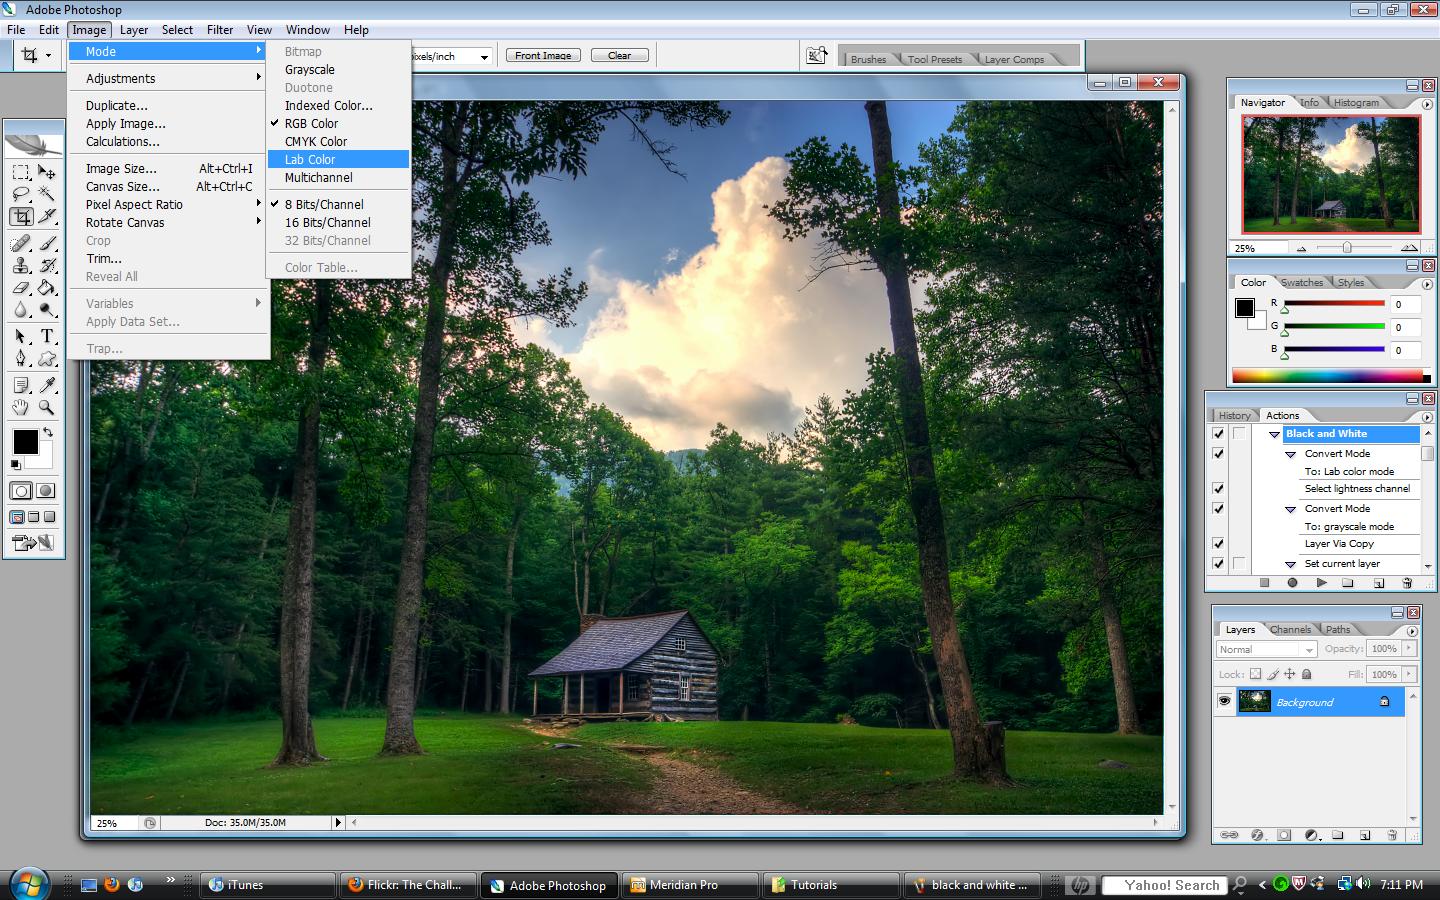
First step is to convert the image to LAB mode — Image, Mode, Lab Color:

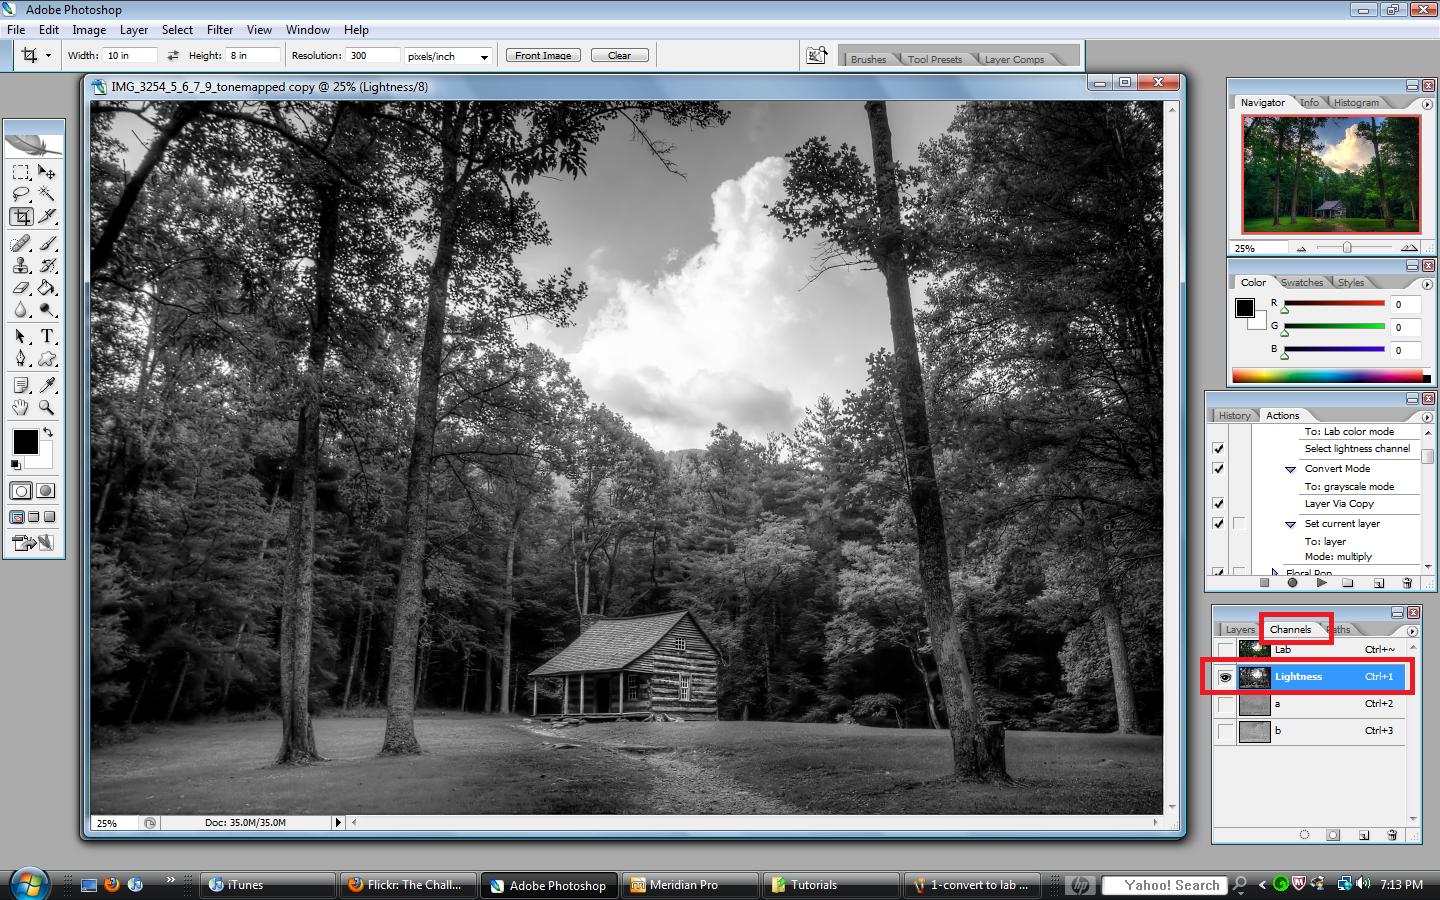
Next, in the “Layers/Channels/Paths” box, click on the “Channels” tab. You’ll see all the channels are selected, select the “Lightness” channel (which turns the others off)

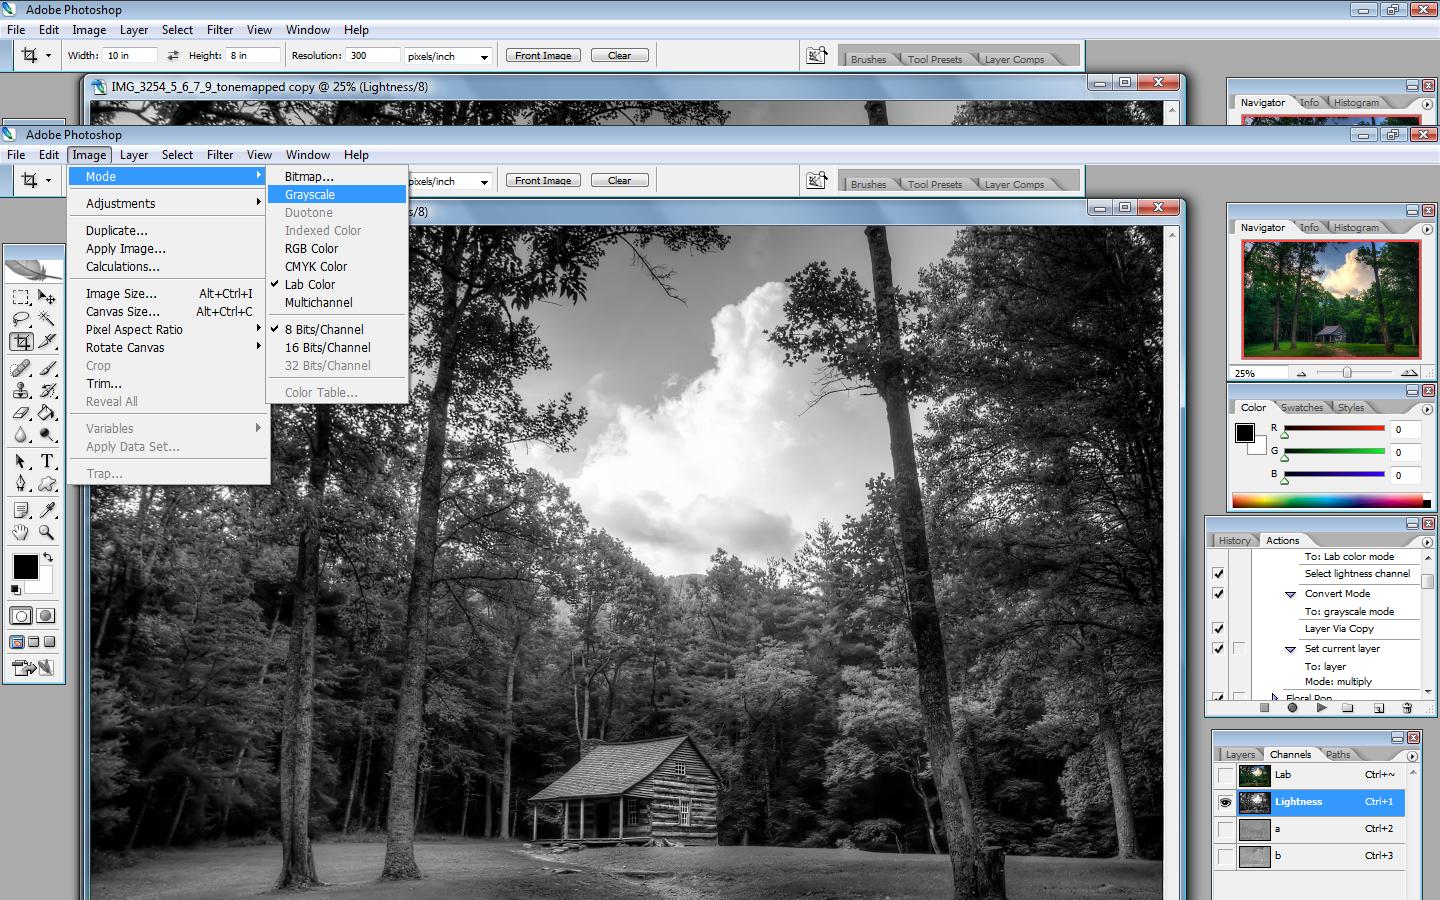
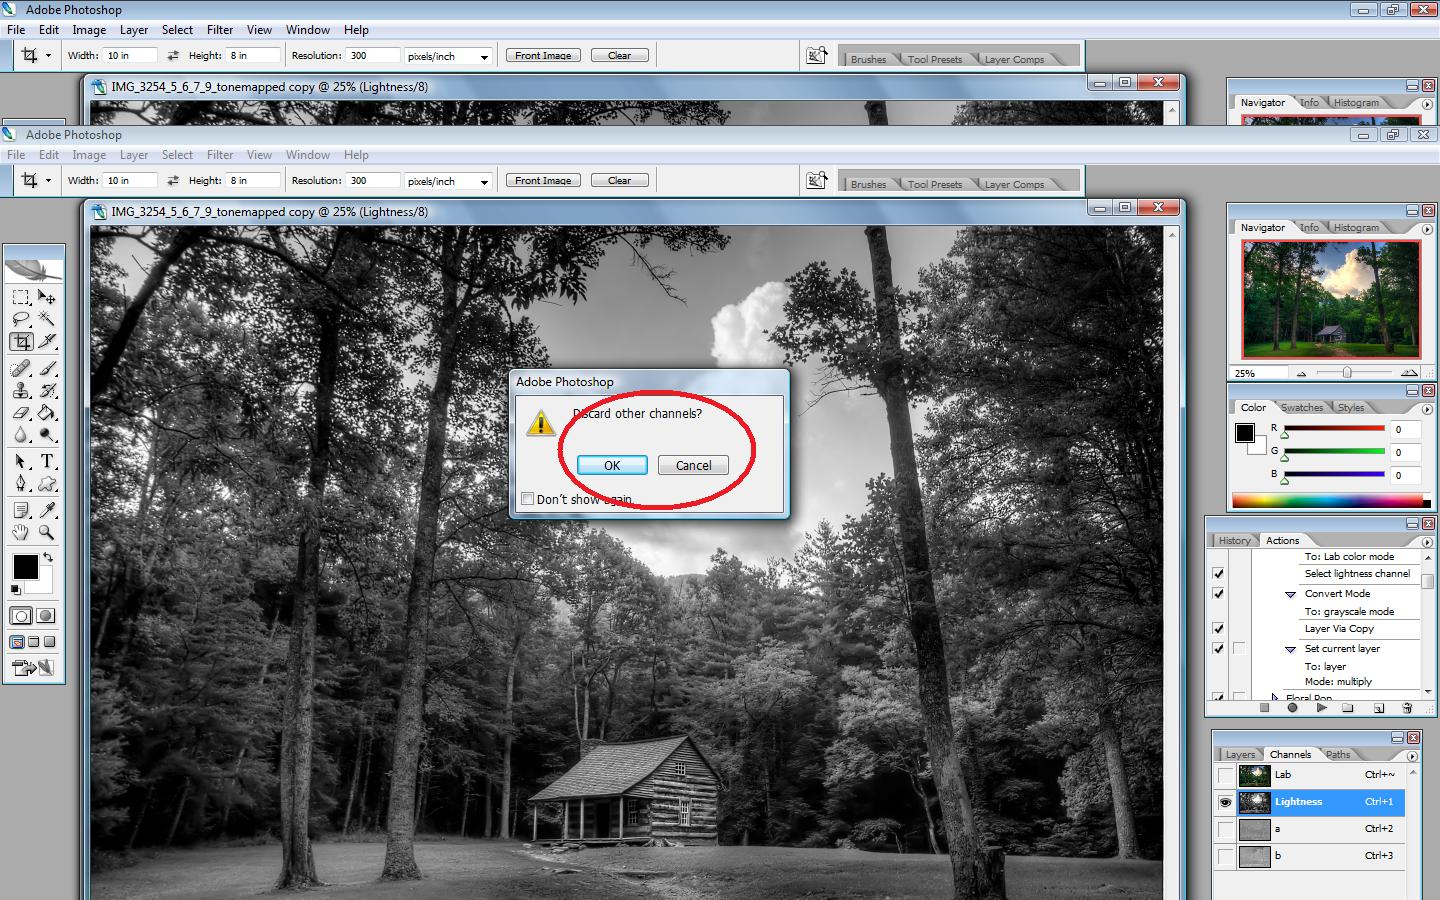
With the “Lightness” channel selected, we want to convert it to grayscale — Image, Mode, Grayscale

It will ask you if you want to discard the other channels, say yes:

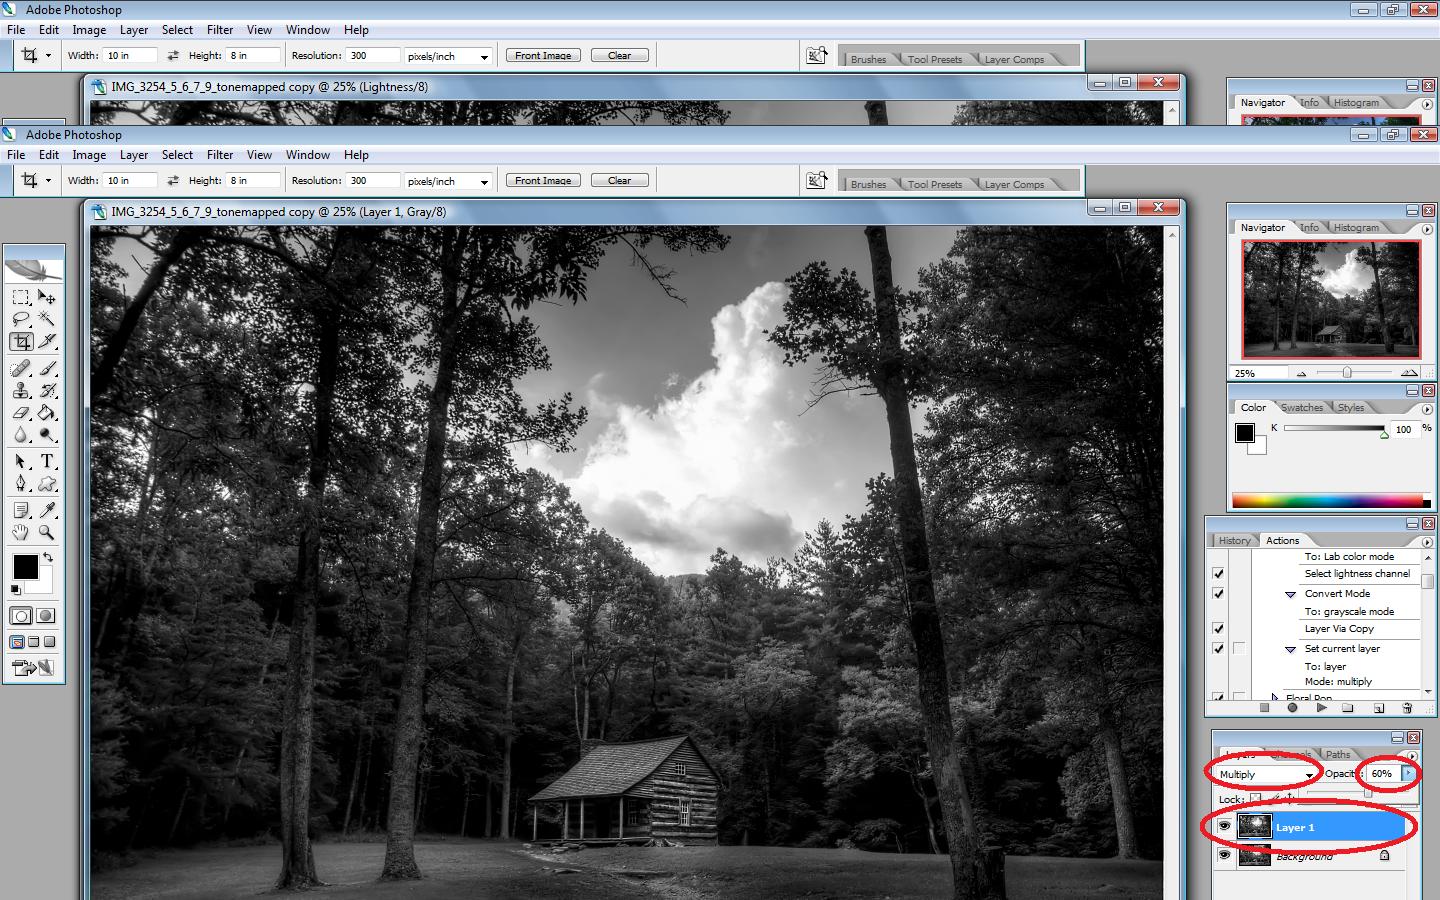
Now, back on the “Layers” tab, do a CTRL+J. This duplicates the layer. Put that top layer in “Multiply” blend mode and adjust the opacity to taste:

And that’s it! Black and white complete. If you write this as an action, leave the opacity at 100%, that way you can adjust it differently for each image you convert.

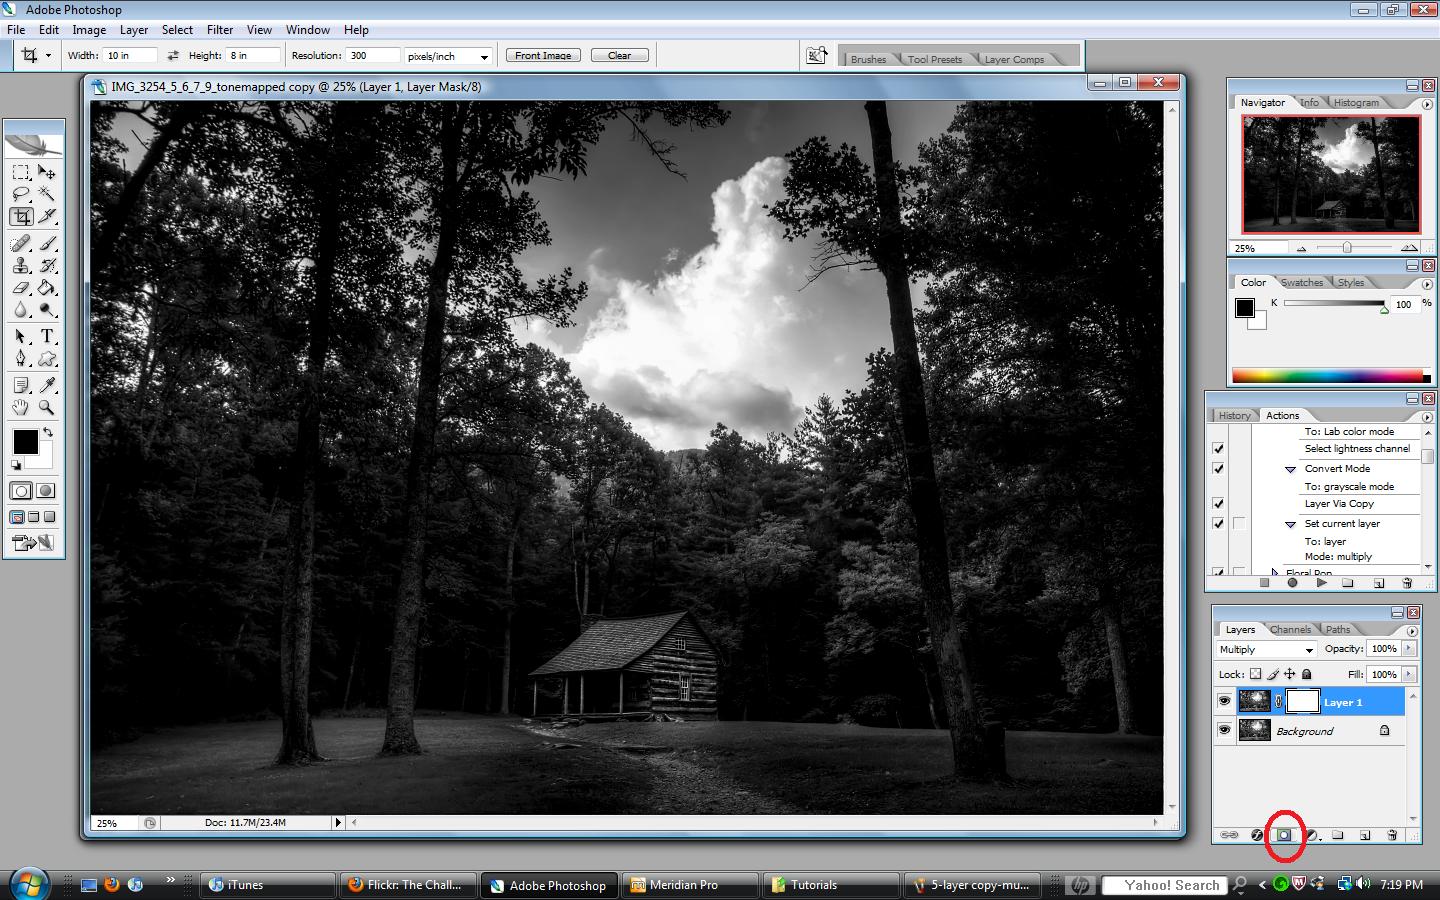
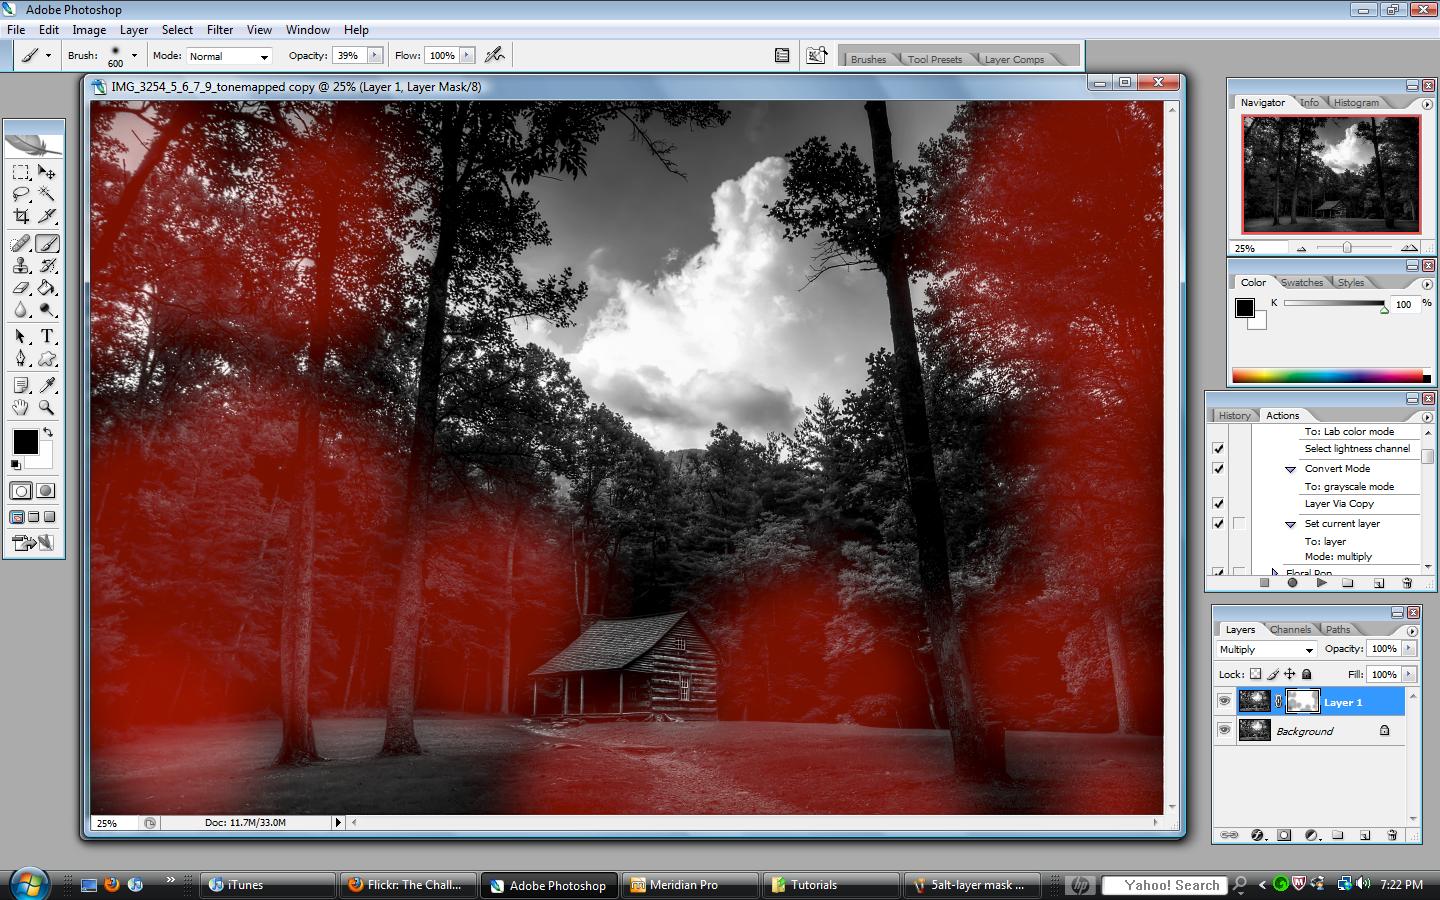
An alternate to changing the opacity, you could add a layer mask:

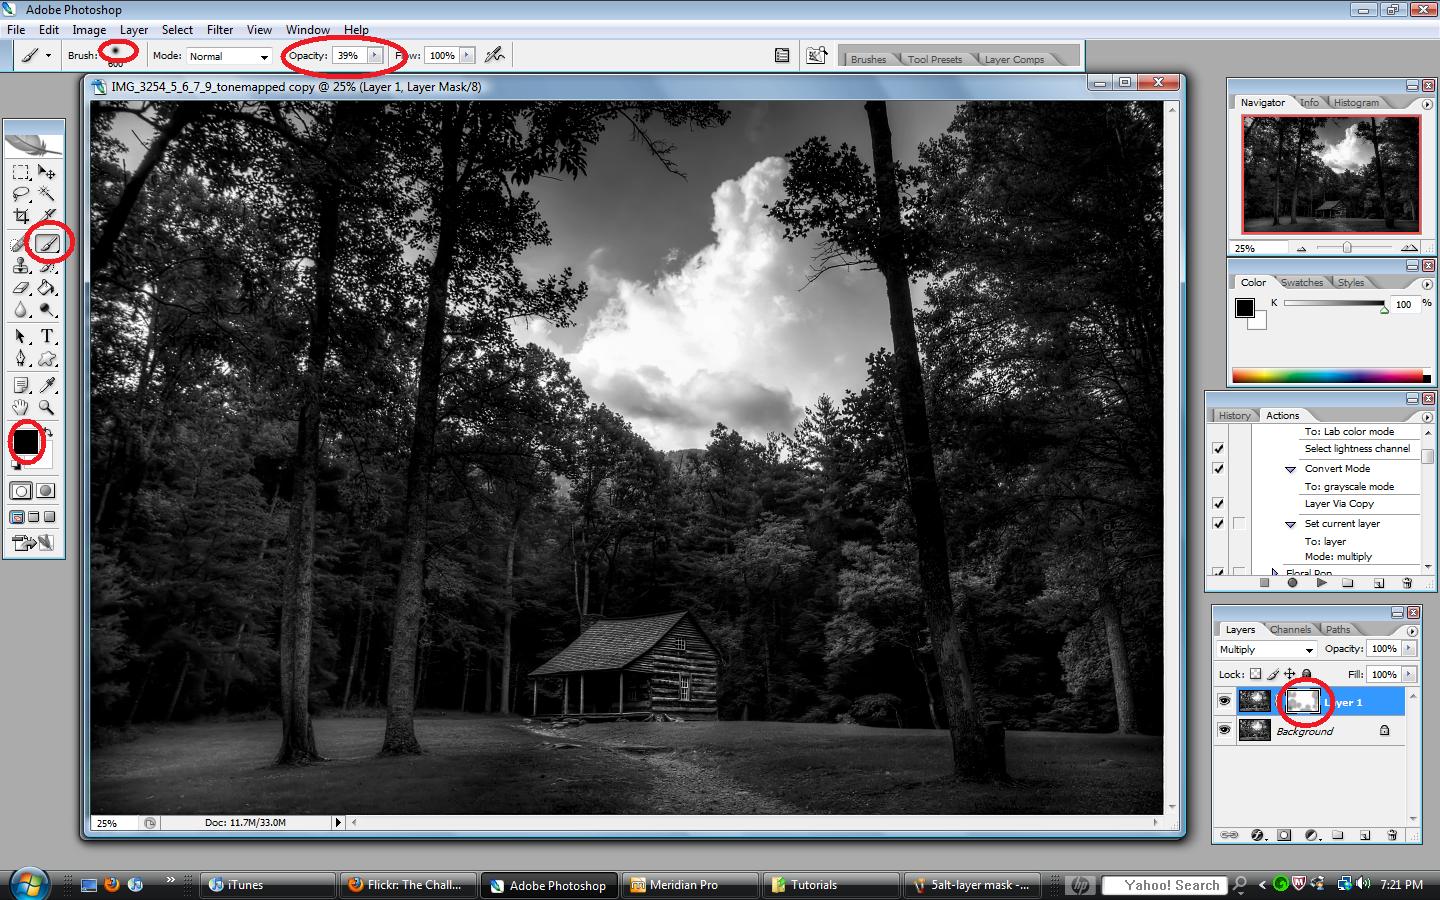
and then grab a soft black brush:

And paint the areas that you think are too dark:
(this image shows where I have painted)

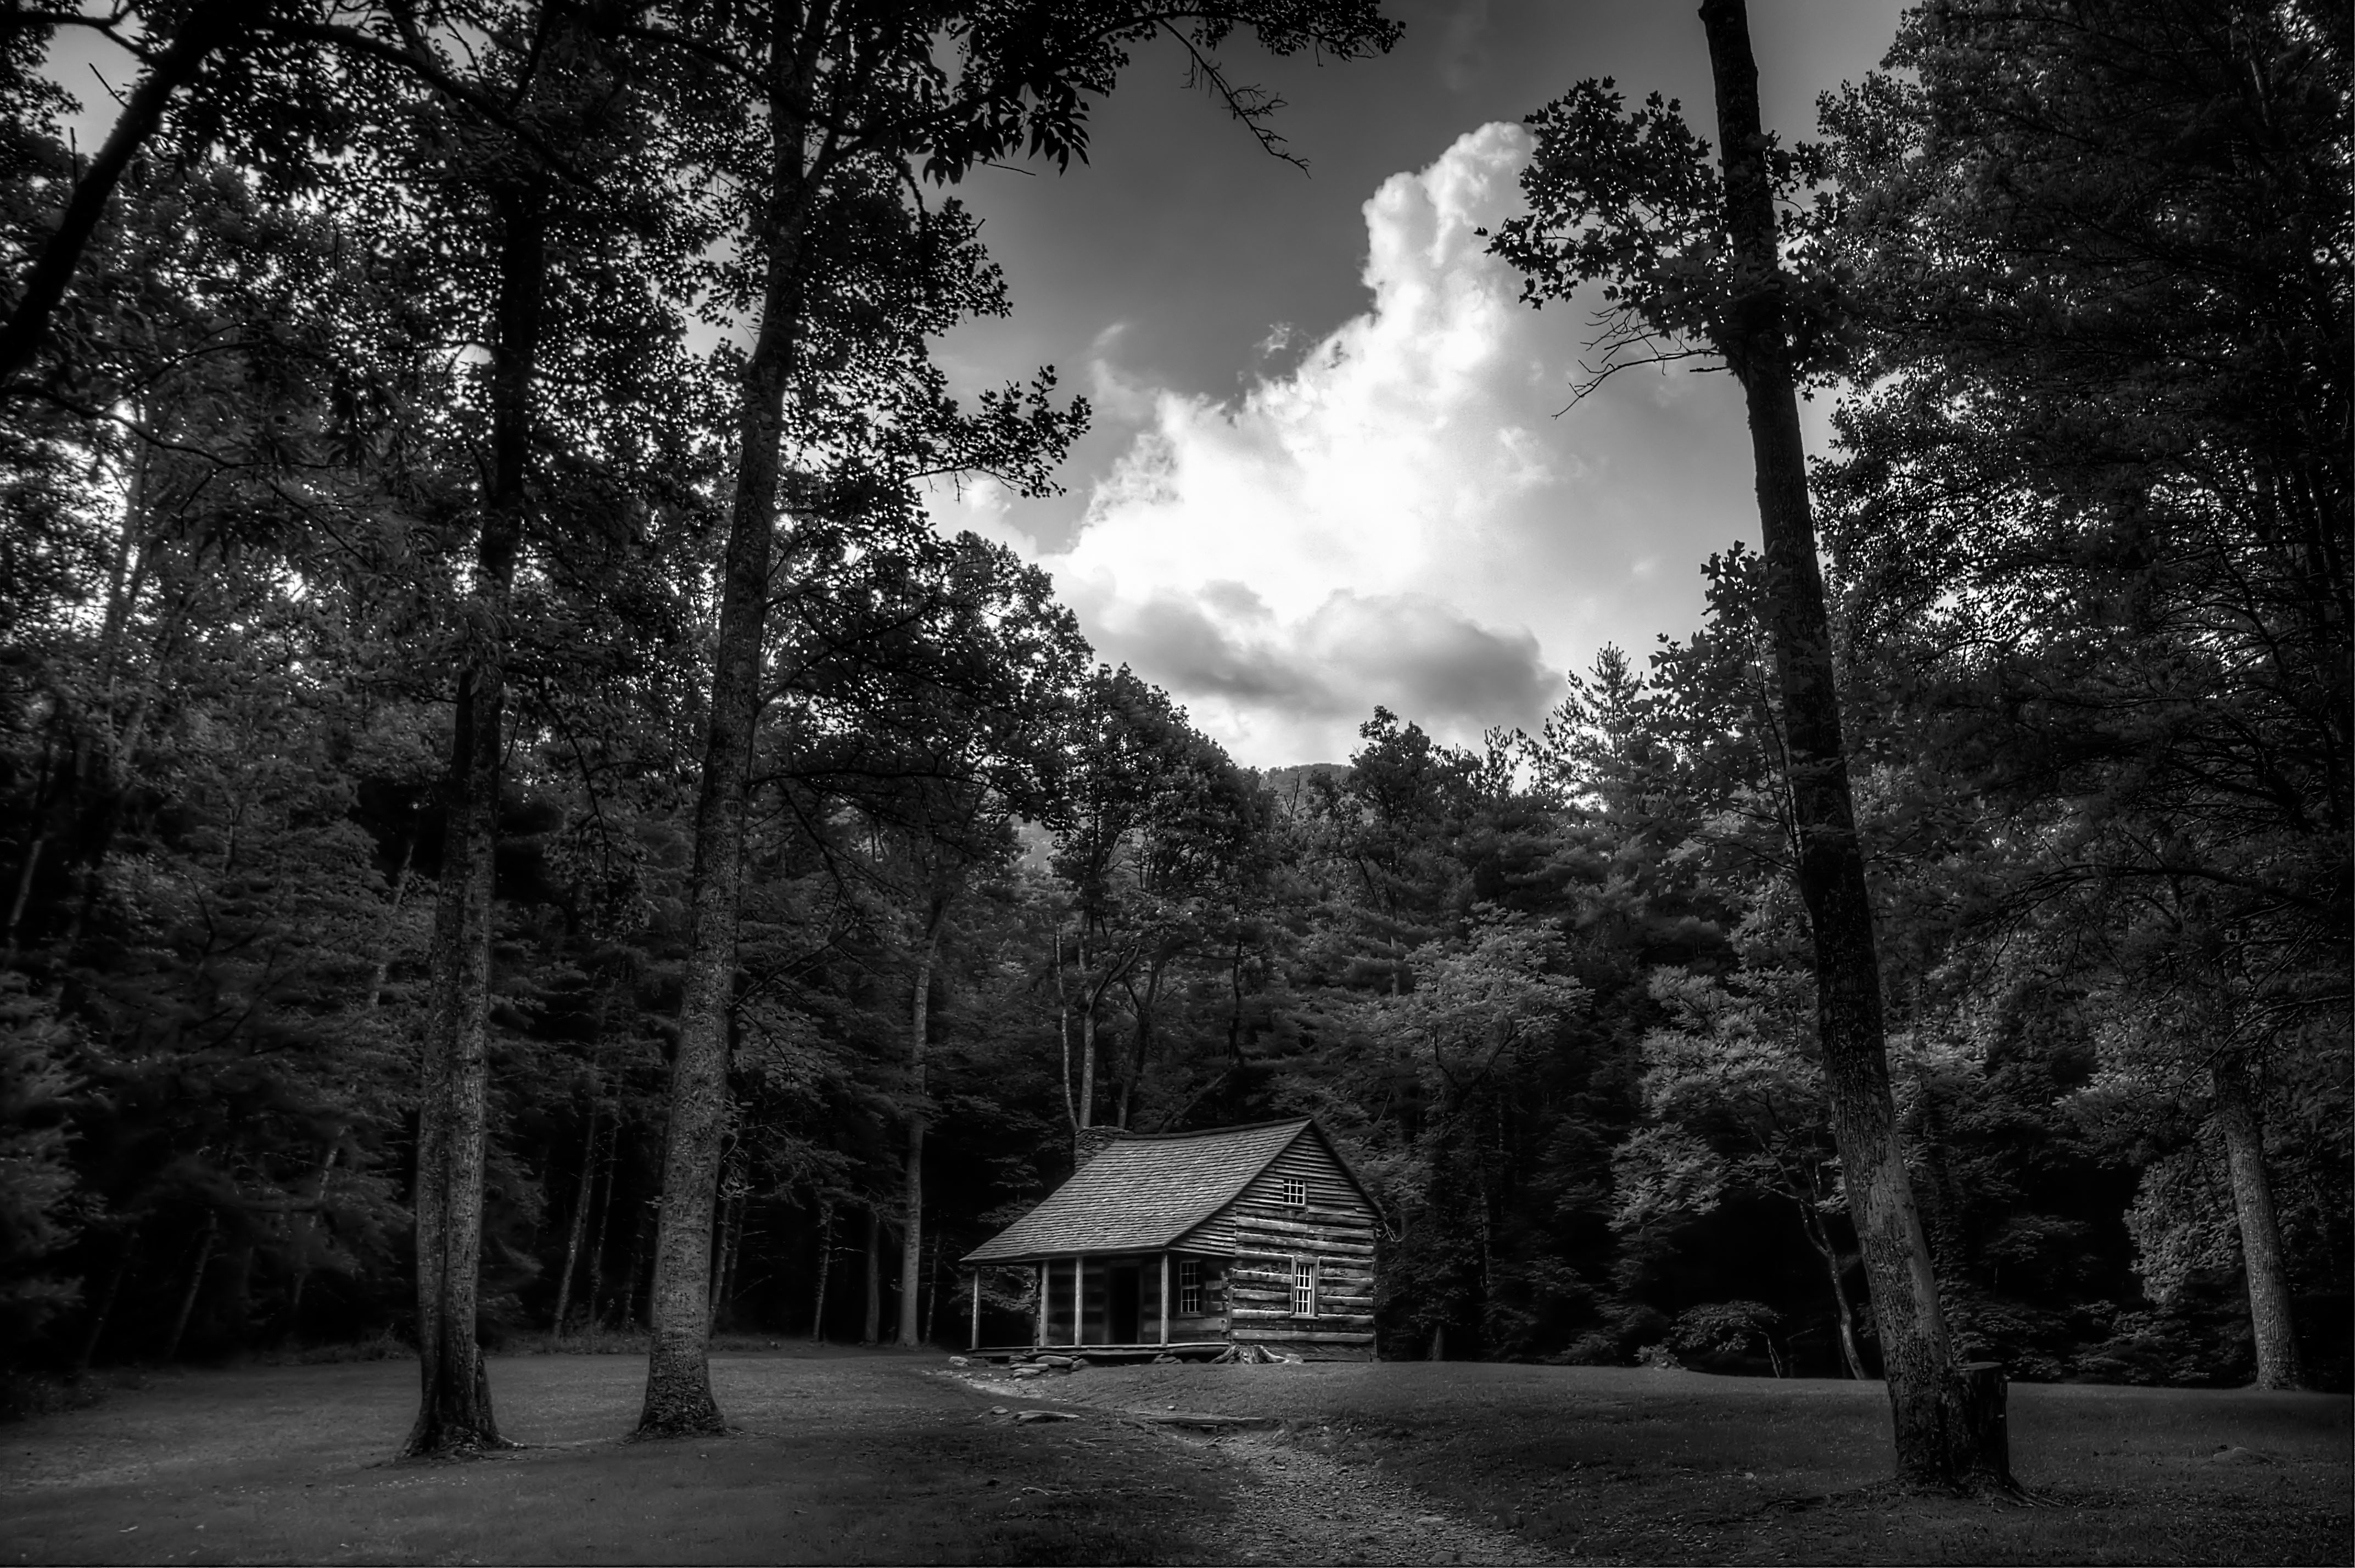
Here is the final result:

Now, to answer the question that was posed regarding my First Tutorial. If you’ve read that one, you’ve seen that I often layer a black and white image on top of a color HDR image to make it dark and achieve a dramatic look. When I do that, I do not copy the layer and put it in “Multiply” blend mode. After I convert to grayscale, I copy that layer and paste it on top of my color image.

Hope this provides some useful information.

Here are some helpful links for learning more about Photoshop:

Photoshop Support Group
Photoshop Tutorials by Allan Gengler
Actions by Allan Gengler
CoffeeShop Actions

How I Did It – Part 3

I had a request from a fellow photographer for a “How I Did It” post. For this tutorial, I’ll show you everything I did to turn this:

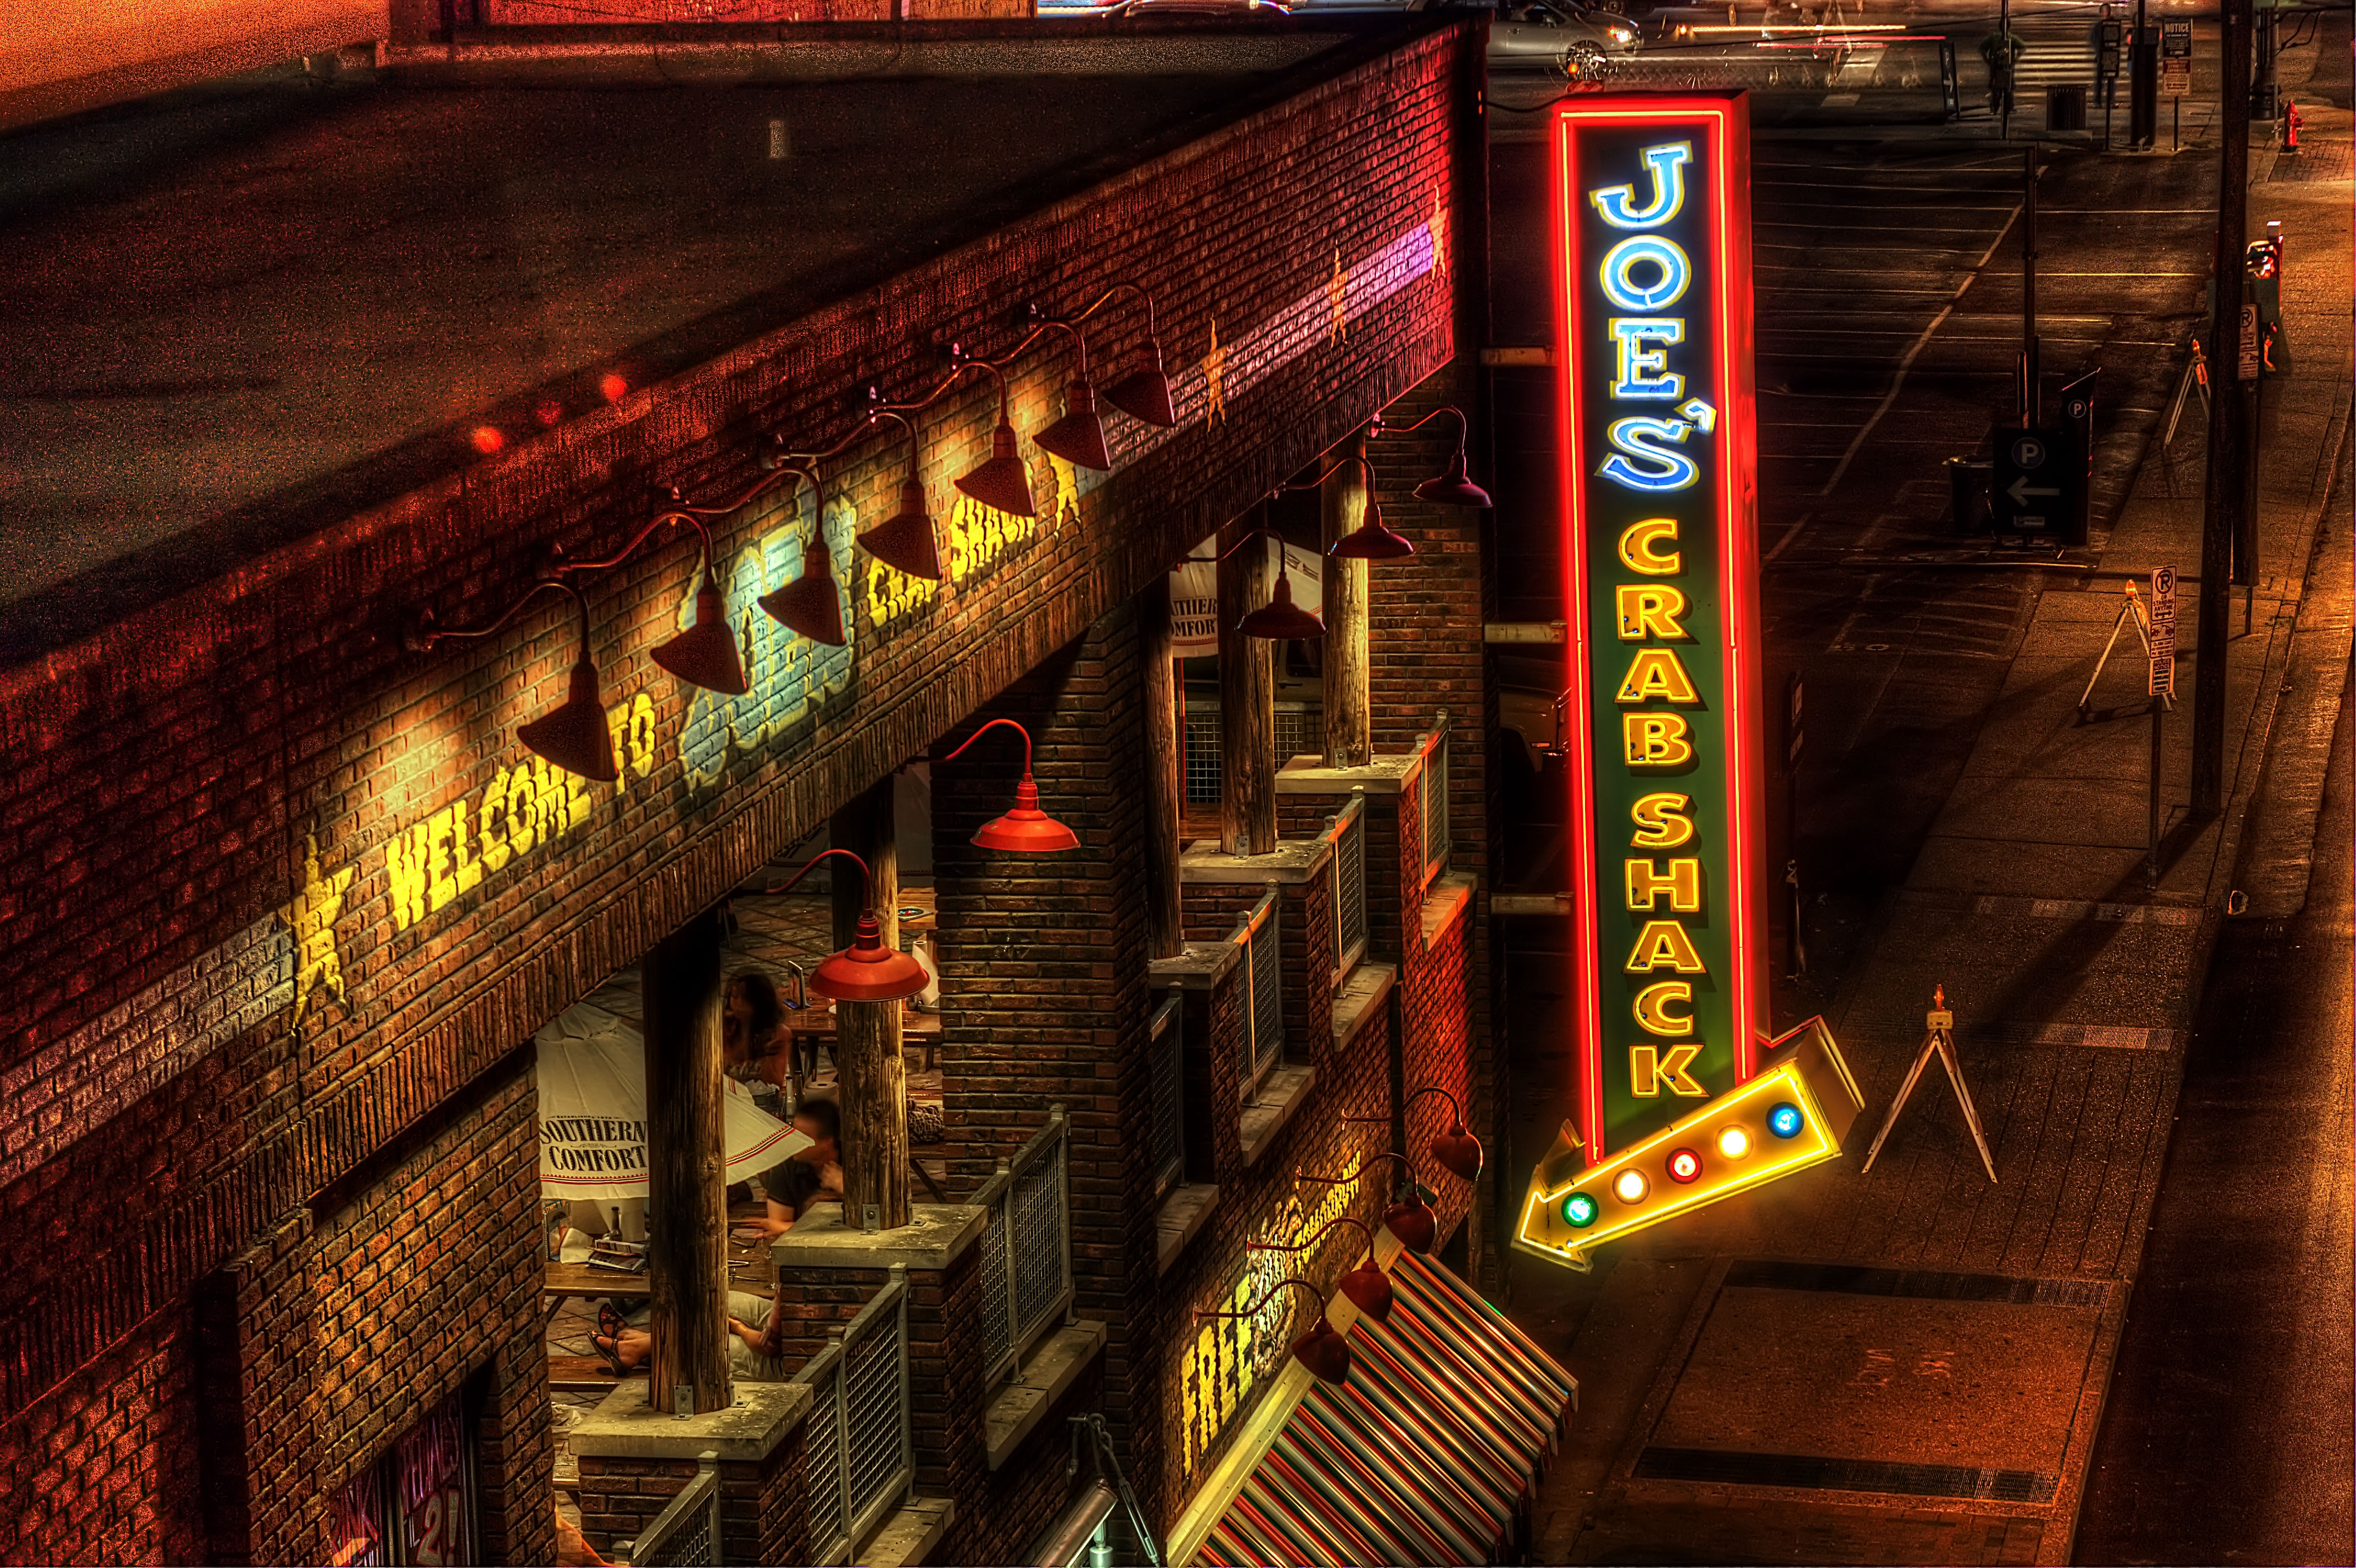
into this
_______________________________________________________________________________________________________________

Once again, this is an HDR or High Dynamic Range Image. To create an HDR image you need to take multiple exposures (usually 3 but can be us many as you want) of the same scene.

To do this, I put the camera mode in Aperture Priority and set the auto bracket to (-2, 0, +2). This will make the camera take 3 consecutive shots, one exposed properly, one underexposed by 2 stops, and one overexposed by 2 stops.

Here are the 3 shots with their exposure values:

0 ev 0.6 seconds @ f/8


-2 ev 1/6 seconds @ f/8


+2 ev 2.5 seconds @ f/8

Always ISO 100 and always a tripod when shooting HDR

These 3 images are opened directly into Photomatix. I use Photomatix for all of my HDR’s. If you are interested in buying Photomatix, use the coupon code “malcolmphoto” for a 15% discount! It’s already at a great price ($99) and even better with the discount.
You are then presented with “Generate HDR – Options” – here is what I choose:

I always use the “Details Enhancer” option. Here are my settings there:

It’s important to remember that while I used these settings on this image, they may be completely different for my next image. You really need to play with the sliders and get a feel for what they do to your image. Then you can make adjustments that suit your taste. It’s also important to remember that is doesn’t stop here! There are many things that need to be corrected/adjusted in photoshop.

At this point I save it as a .tiff and head to photoshop……….

_______________________________________________________________________________________________________________

Now we are in Photoshop, here is what we have

Not too bad as it is, but could look a lot better!

As in my other tutorials, I start off with a levels adjustment:

I found that this adjustment blew out the Joe’s Crabshack sign so I grabbed a black brush and painted over the areas (on the layer mask) that got too bright. This image shows where I painted:

By doing this, you are applying the levels layer to the entire image EXCEPT where you painted on the layer mask.

Next I’ll do a curves adjustment layer:

Next is one of my favorite adjustments to do, a slight color balance adjustment for the shadows and highlights:

You can see I click the “shadows” dial and set it to -5, 0, +5. This adds a bluish tone to the shadows. In the case of this image, I also did the same adjustment to the “Highlights” dial. This helps get rid of some of the reddish, orange colors.

Next I did a saturation adjustment layer where I desaturated the yellows.

Again, I didn’t like what this did to the sign so I painted on the layer mask with black in these areas:

Now I do a “Stamp Visual” or CTRL-SHFT-ALT-E. This adds a new layer at the top of all the previous adjustment layers.
On this layer I run an Unsharpen Mask

Normally at this point I would run a noise reduction software, however, on this particular image I did not mind the noise. It’s a dark image (certainly a lot darker than an HDR could have been) but I liked it that way. This is because I wanted the big Joe’s Crabshack sign to be the focal point. I actually set the 0ev exposure for the sign. I knew it would be a dark image overall but that is what I wanted.

So, that’s it!
Here is out final result:

Thanks for looking! I hope you found this helpful. Please ask questions if you have them, I’ll try by best to answer.

Remember,
If you want to know “How I Did It” for any photo on my flickr photostream, leave me a comment on this page or send me a flickr mail. I’ll be glad to make it my next “How I Did It” entry!

Also, as I mentioned in my first How I did It post, here are some helpful links for learning more about HDR:
Stuck in Customs
HDR Exposed
HDR (a flickr group)
Tutorial Collection at My First HDR flickr group

Helpful links for learning more about Photoshop:
Photoshop Support Group
Photoshop Tutorials by Allan Gengler
Actions by Allan Gengler
CoffeeShop Actions