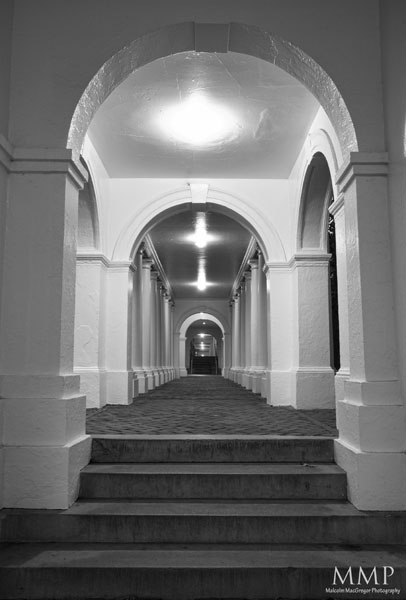
April’s New Spot – Hurricane Creek Recreation Area

I’ve got some catching up to do on this series!


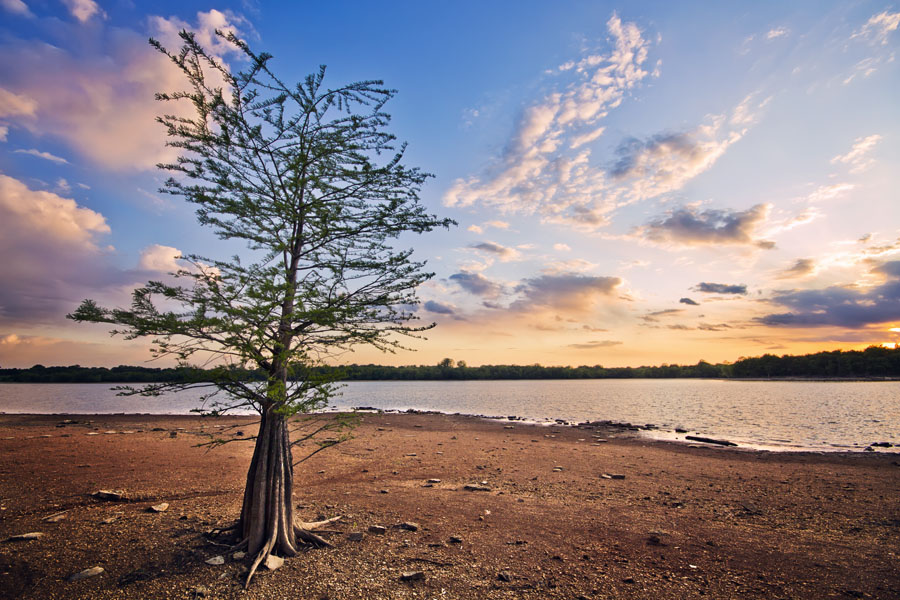
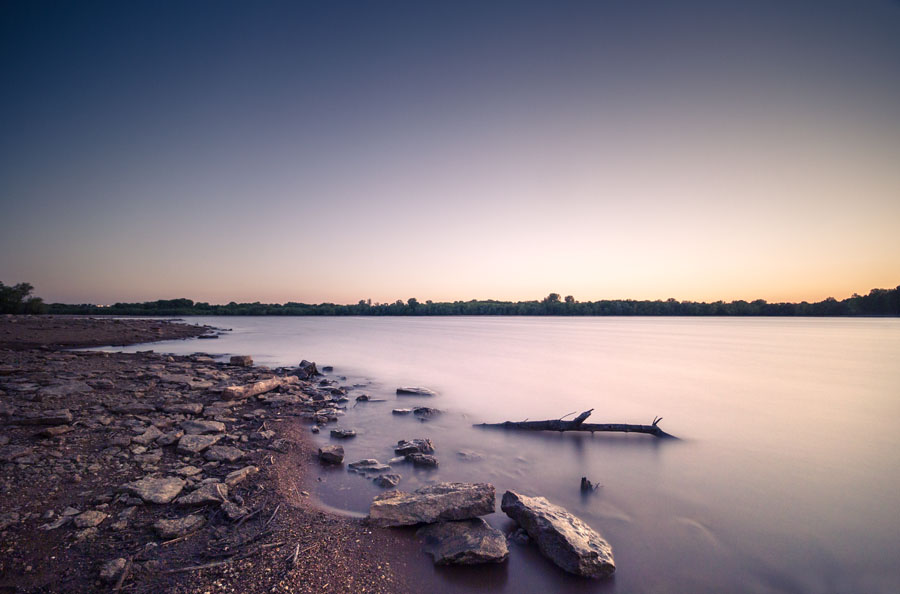
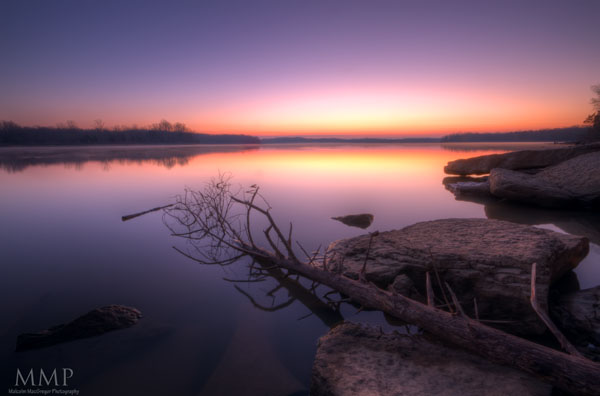
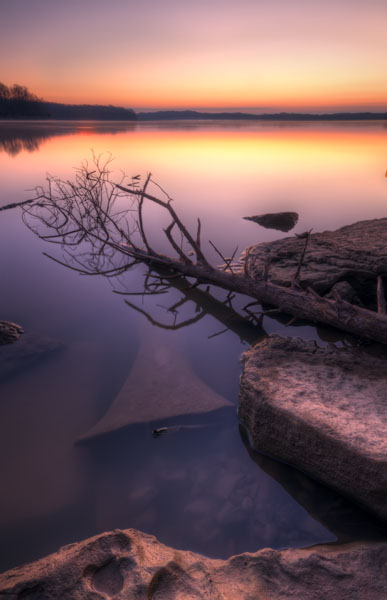
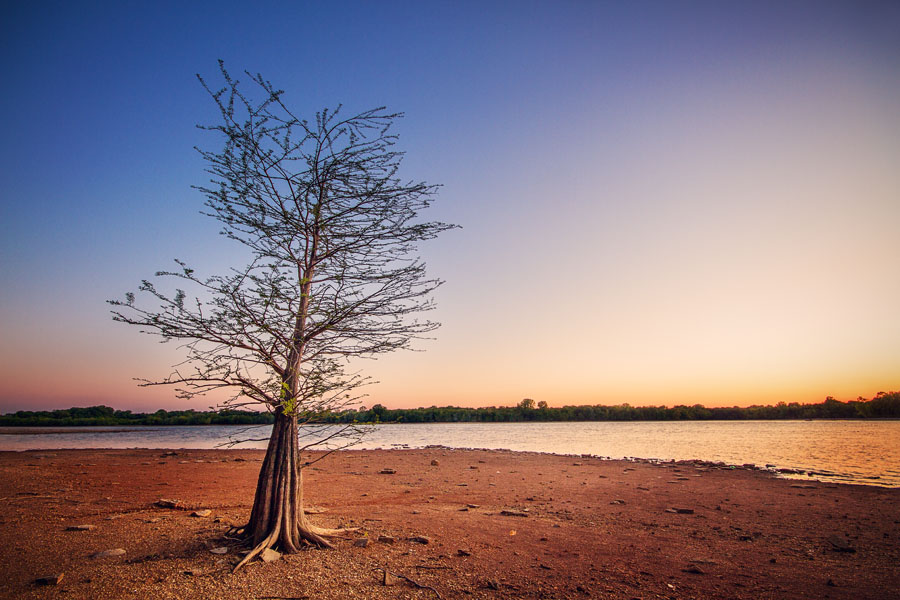
April’s new spot for me was Hurricane Creek Recreation Area on Percy Priest Lake. There are many of these little “recreation” areas all around Percy Priest Lake. In January, I showed you Pooles Knob and now it’s Hurricane Creek. Pooles Knob is good for sunrises, Hurricane Creek is good for sunsets.


I visited several times in April, each time to capture the sunset.


The first shot is from a cloudless evening.

The next time I visited, I got better skies so I had to head back to that lone tree on the shore:


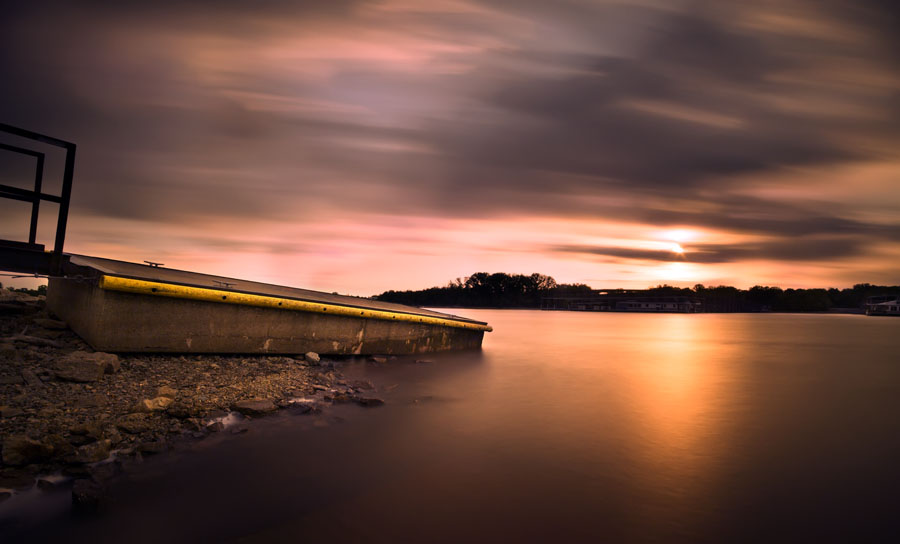
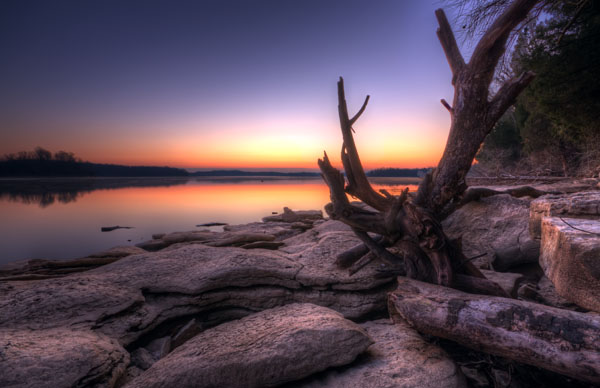
Other shots from the trips include:


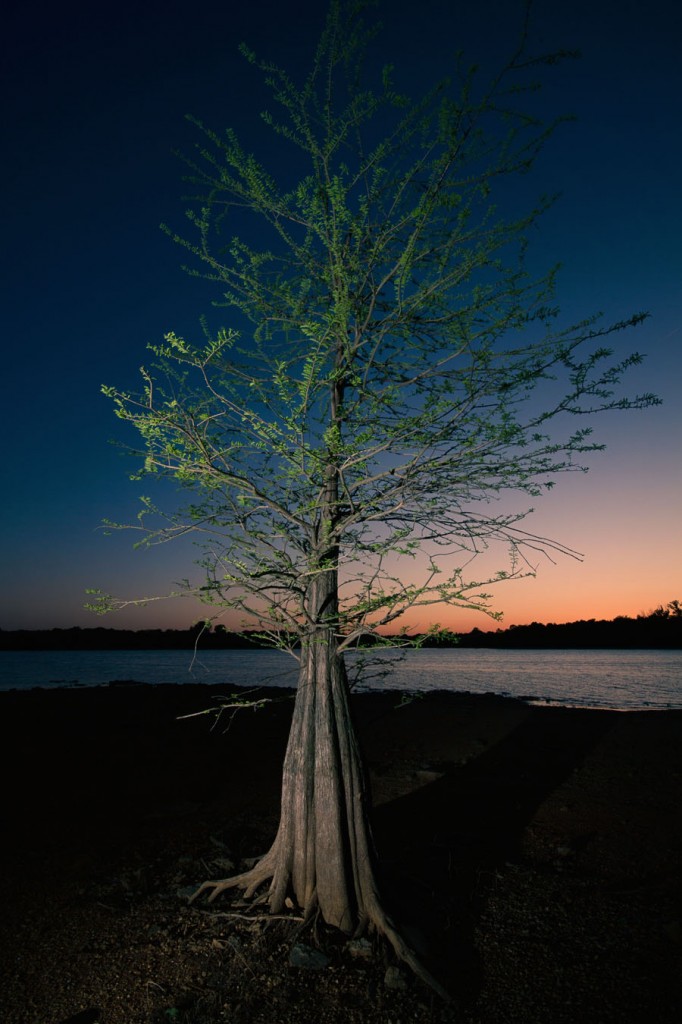
This particular evening I was shooting with photographer and friend Chriss. It was his idea to light the tree, you can see his version on flickr.


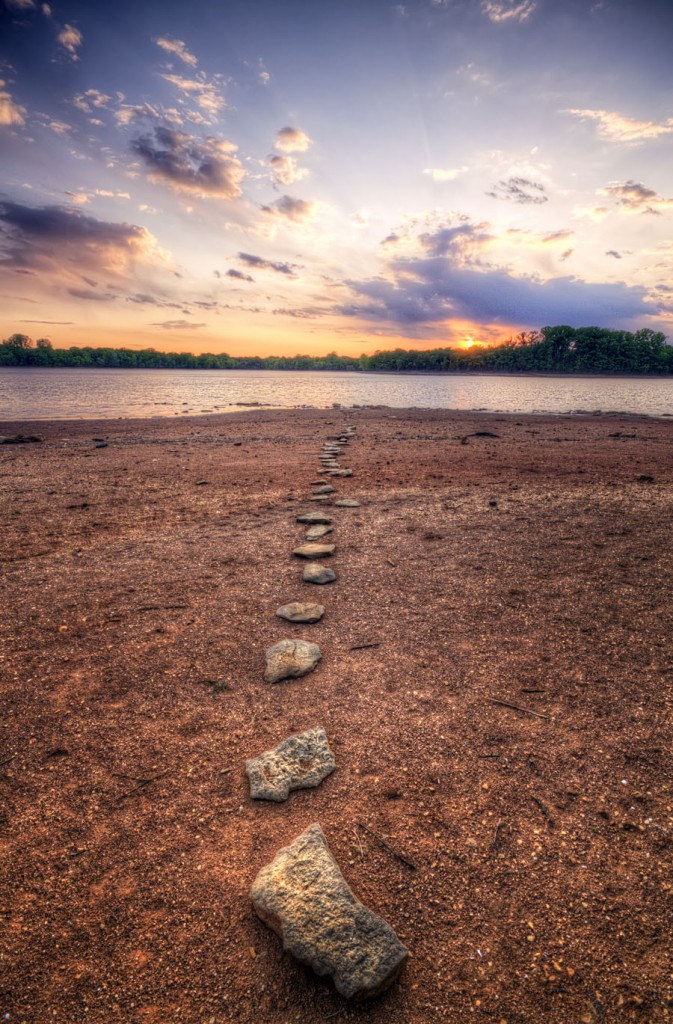
This is a long exposure that was inspired by my aunt, MariAnne MacGregor, who is a photographer in the D.C. area. She was in the process of a completing a project on long exposures and they are amazing. Check those out and her new work on her facebook page.


We found these rocks like this


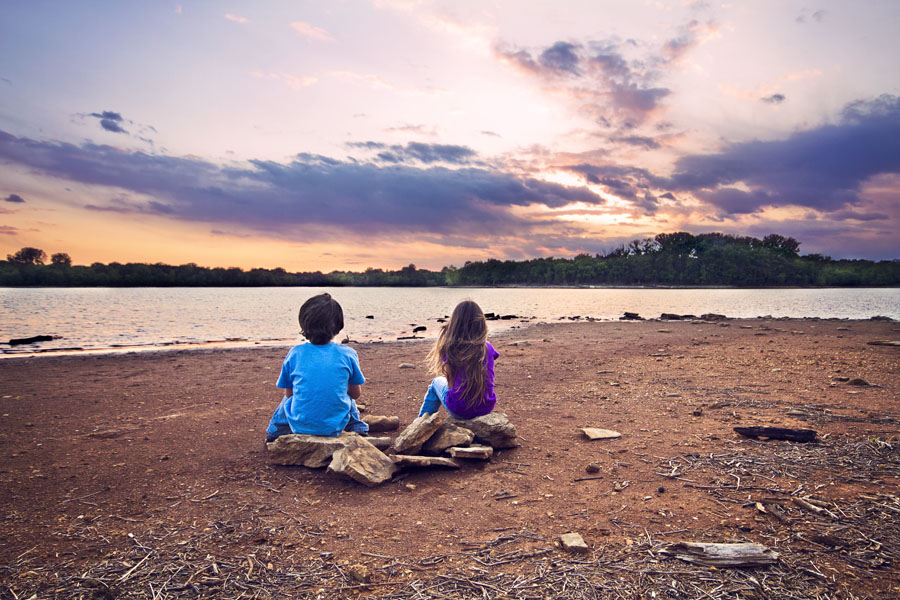
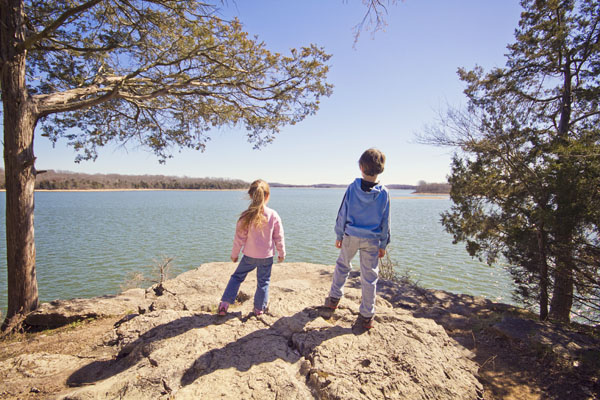
My kids enjoying the sunset 🙂


If you have an idea for a place you’d like to see me shoot, let me know! Leave a comment here or send me an email!

Nashville’s Second Avenue


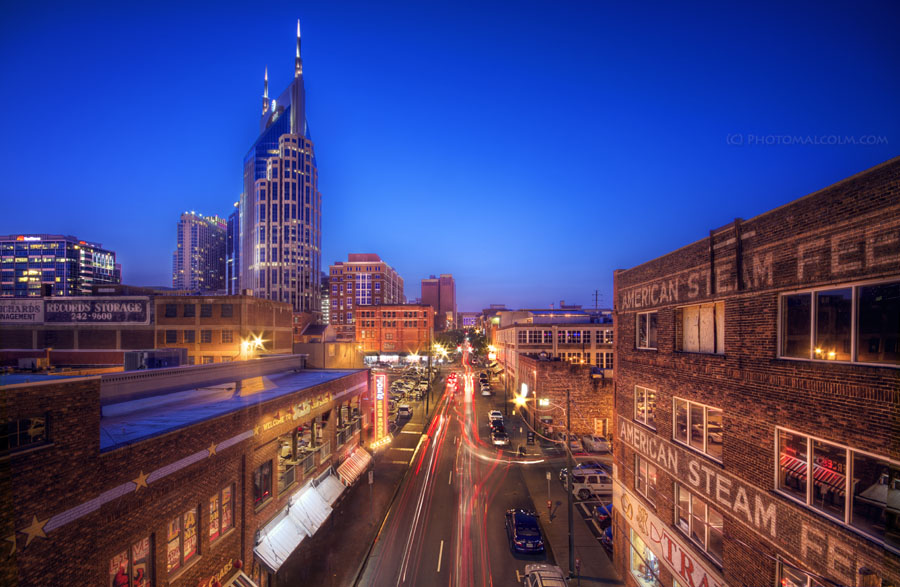
Another shot to add to my collection of photos of Nashville during the “Blue Hour”. The blue hour is the time of day right after sunset or right before sunrise. The camera can capture a brilliant blue in the sky. This is a shot of Second Avenue from the Shelby Street Pedestrian bridge, taken this past Saturday night.

This photo is available for purchase – CLICK HERE to be taken to the all new online store!

This is a 6 shot HDR, camera on a tripod. Merged in Photomatix and processed in Photoshop CS5. If you are interested in producing HDR images, pick up a copy of Photomatix and use coupon code “malcolmphoto” at check out for a 15% discount.

Reflection Self Portraits

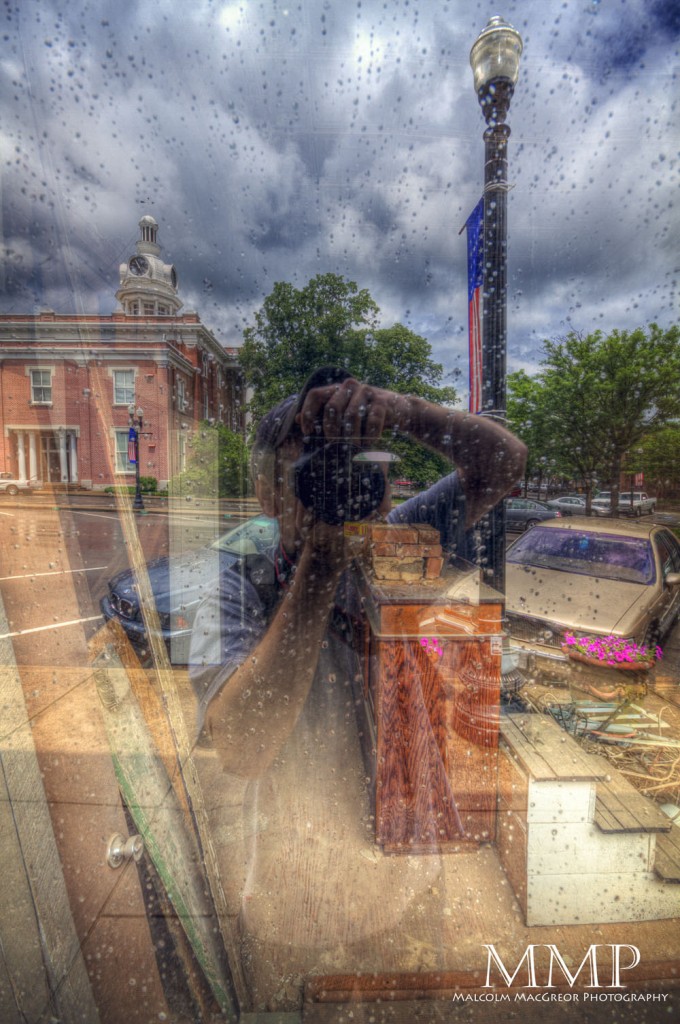
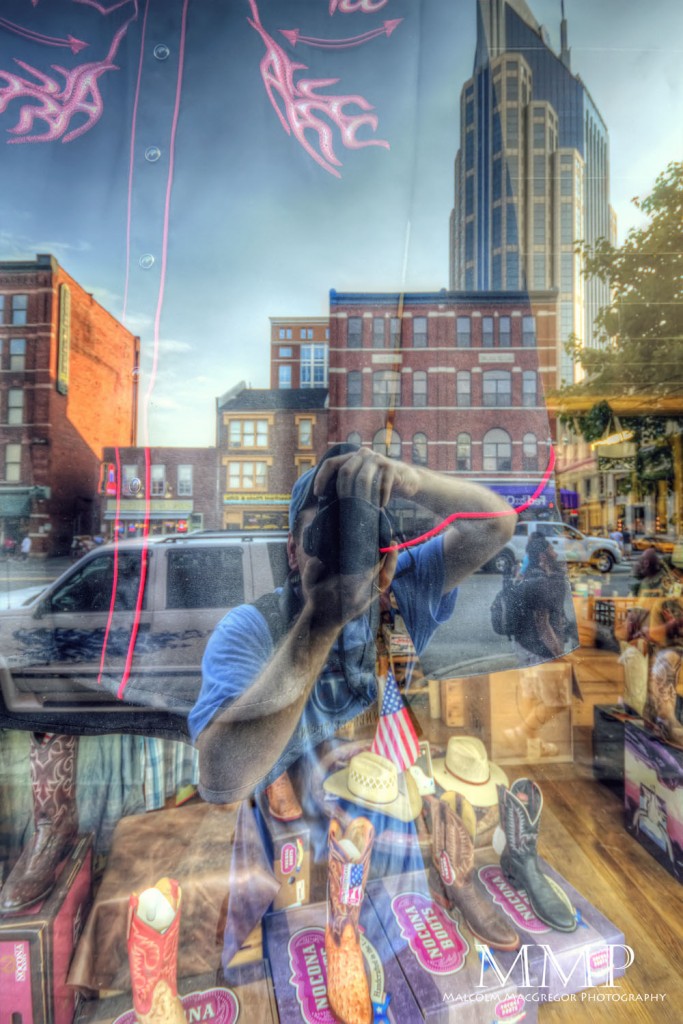
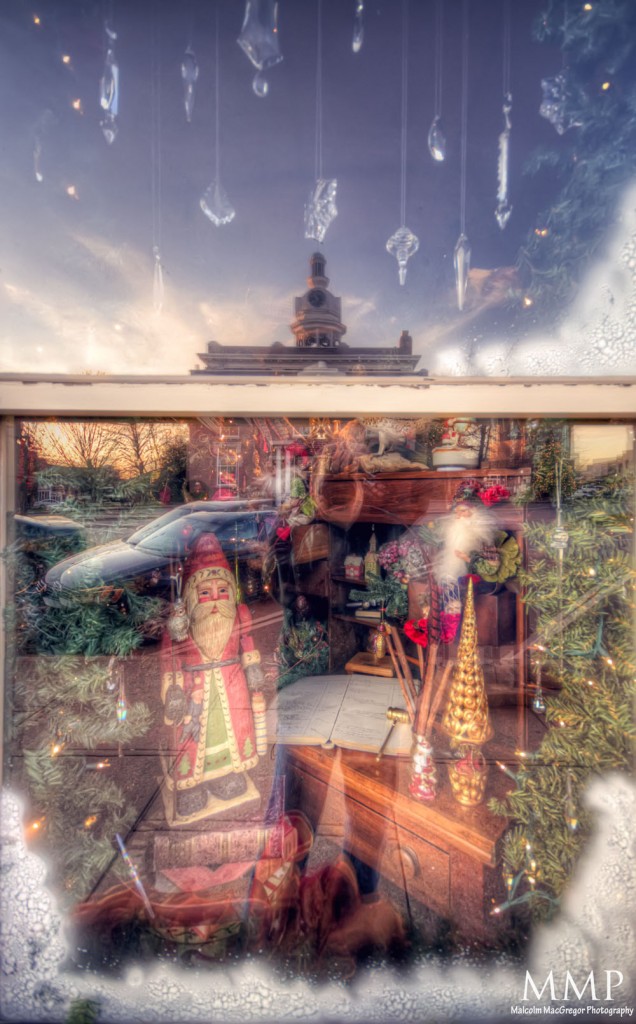
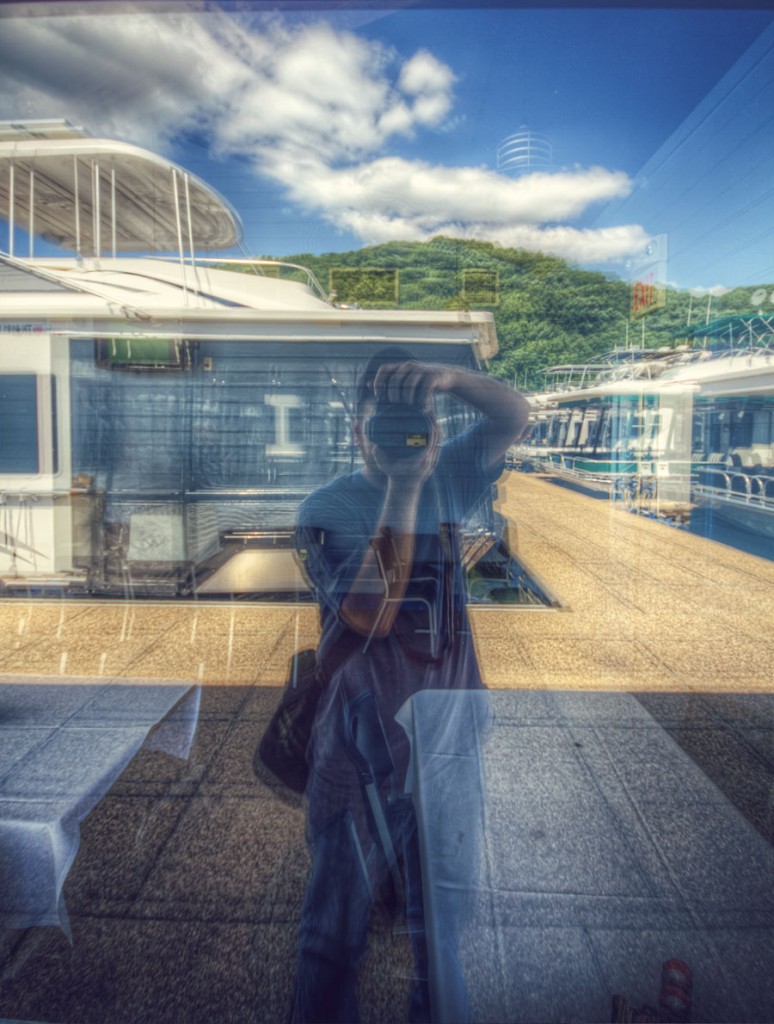
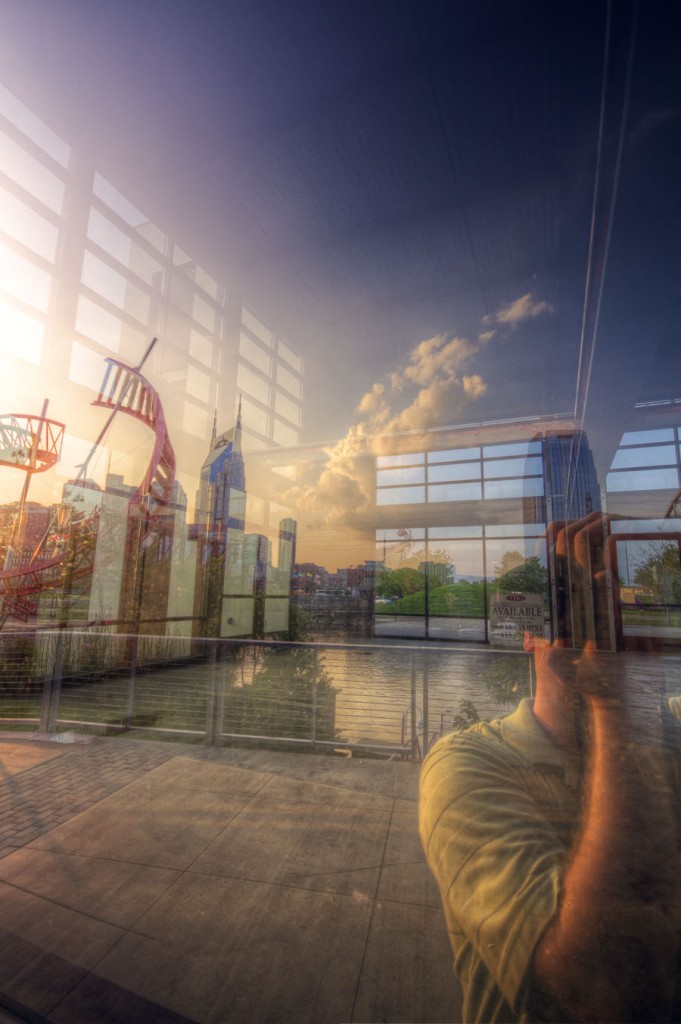
Here’s a fun series I’ve been working on for about a year now. I’ve been taking reflection “self portraits” in shop windows. I find them very interesting to look at, trying to determine what’s inside the window and whats reflected.

This first shot was taken in the window of the City Cafe, downtown Murfreesboro.  It was around the 4th of July last year, so the window was decorated with American Flags.


This next one is another from downtown Murfreesboro. Taken on a stormy, rainy day in the window of an empty shop. You can see that some construction is going on inside the shop.


Here’s one of my favorites of the series, taken in downtown Nashville. Lower Broad and the Batman tower are easily seen, as well as the cowboy boots and hats in the shop.


This one is another taken in downtown Murfreesboro. This window was decorated for the Christmas season and the courthouse is reflected.


Although it looks like it could be in a very bad neighborhood, this next shot was taken somewhere in rural northern Virginia. I liked the dirt and grunge and of course the bars.


This is a window at the Croft House at the Nashville Zoo. The pattern on the curtains is what prompted me to shoot this one.


This is from the Blue Water Grille on Center Hill Lake. The skies were great and the boats added something new


And here’s the latest, taken yesterday across the river from downtown Nashville.  You can see the Pinnacle and the Batman towers and you can also see all the way though the empty building


All of these are HDR images. Hand held 3 exposures (-2, 0, +2), merged in Photomatix and processed in Photoshop CS5

Free Desktop Background – The Nashville Skyline

After several requests lately, I’ve decided to offer up a free desktop wallpaper. Feel free to download this photo and make it your wallpaper at home or at work. It is full resolution and should fit full size monitors. Thank you all for your continued support and keep me in mind for your photographic needs 🙂


Click on the image below, then right click on it and select “save image as”


Share my facebook page with your friends! When we reach 1,000 likes, I’ll upload another free background!!


As always, thanks for stopping by!


Malcolm

March’s New Spot – The Natchez Trace Bridge

In March, I decided to visit yet another location that I’ve been meaning to get to for a while now. I headed out to the Natchez Trace bridge near Franklin, TN. The Natchez Trace is a scenic parkway that runs from middle Tennessee all the way to Natchez, Mississippi. The best part about the bridge (and something that I wasn’t expecting) is that it was wide enough for people to walk out on. There was even a parking lot at one end. This allowed us to park and walk out to catch an amazing view of the sun setting:


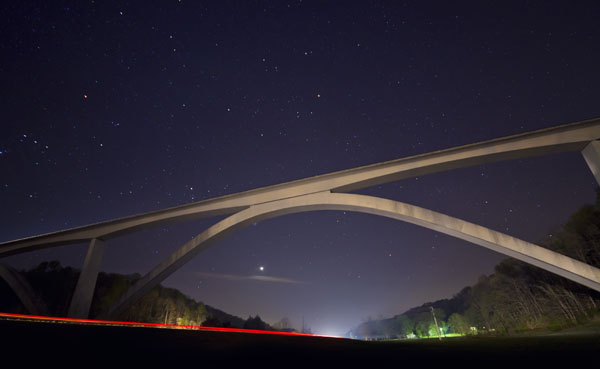
When looking up images of the bridge, I couldn’t find any shots of it at night so I decided to head out there for sunset with the idea of staying late to shoot the bridge at night.

Once the sun went down, I was able to shoot the bridge from Highway 96 below.

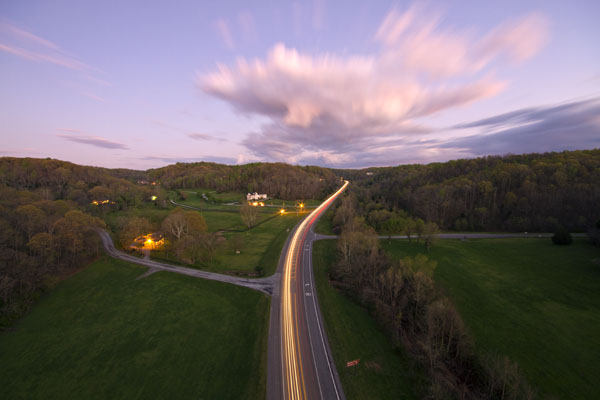
This is one 30 second exposure. I ended up taking about 80 of these shots, stacked them together and that’s how I got the lead photo that shows the motion of the stars. That’s how far the stars move in about 40 minutes.


From Wikipedia:

The Natchez Trace Parkway Bridge is a concrete double arch bridge located in Williamson County, Tennessee, 14 km (8.7 mi) from the northern terminus of the Natchez Trace Parkway. It is 479.1 m (1,572 ft) long and carries the two-lane Natchez Trace Parkway 44.2 m (145 ft) over State Route 96 and a heavily wooded valley. The 177.4 m (582 ft) long main span is symmetrical, while the 140.8 m (462 ft) long second arch is not, due to the slope of the valley at the southern end of the bridge.[2] The bridge is unique in that it does not use spandrel columns to support the deck from the arch. Rather than being evenly distributed along the arch’s length, the weight of the bridge is concentrated at the crown of the arch. The lack of spandrel columns results in a clean, unencumbered appearance.

The bridge, also known as the Natchez Trace Parkway Arches, is the first segmentally constructed concrete arch bridge in the United States.[2] The arches comprise 122 hollow box segments precast in nearby Franklin, each of which was about 3 m (9.8 ft) long and weighed between 26 and 41 metric tons (29 and 45 short tons) .[2] The deck consists of 196 precast post-tensioned trapezoidal box girder segments, each typically 2.6 m (8.5 ft) long. The sections atop the crown of the arch are 3.9 m (13 ft) deep.[2] The foundations and piers of the bridge were cast in place.[2]


Thanks for stopping by!

If you have an idea for a place you’d like to see me shoot, let me know! Leave a comment here or send me an email!

How I did it – Black and White Zoo Animals

I’ve had several people ask about my processing on the photos of the zoo animals. So I decided to create this tutorial to give you a little “behind-the-scenes” look at my processing.

This is what I started with. A fairly simple photo of an elephant taking a drink of water at the Nashville Zoo. This photo was taken with a Canon 7d with the 70-200 2.8L lens.


So the first thing I wanted to do was isolate the elephant from the background. There are many ways to do this and this tutorial does not really cover that. You can find many great tutorials on this by searching Youtube. I will say that I use a program call ReMask by Topaz. It’s really a great program and is very easy to use. Here it is with a black background:


Now, in order to really bring out the textures and wrinkles on this elephant I started messing with the curves tool. I created a curves adjustment layer and gave it a very basic s-curve adjustment to the entire image. This increases the contrast to the entire image


Now I wanted to begin to create a bit of a “strobist” effect. I wanted it to look like the elephant was lit by a single light source overhead. So I ctrl+shift+alt+e, which creates a new layer, and I grab the burn tool. I set it to “midtones” and a very low exposure. I begin to paint the edges with the burn tool. There difference is subtle, but you can really see it on the right hand side, the photo below is darker on the right than the photo above.


Next, because the burn tool darkens the highlights, I did another Curves adjustment layer to brighten the highlights. You can see it is a very simple curves tool where all I did was grab the box on the top right and drag it to the left.


Next was another curves adjustment layer, this one will be used to create a vignette. You can see below, I drag the curves line way down to the lower right. This will darken the entire image but I don’t want to apply this to the entire photo so I mask in the areas that I don’t want to change. Do this by painting with a black brush on the areas you don’t want the curves adjustment to effect. So in this case, the only areas I wanted darker with this layer was on the right hand side of the photo and a little on the trunk of the elephant. You can see how this really darkens the edge and keeps the viewers focus on the center of the image.


Now that I have the contrast pretty close to where I want it, I’ll convert the image to black and white. Again, there are many ways to do this. I use a photoshop plug-in called Topaz BW Effects. There are many options within this plug-in, play with the sliders until you get what you want.


Next, after another ctrl+shft+alt+e, I grab the Burn tool, set it to “shadows” and to a low exposure. I start to “paint” over the image. This will darken the shadows which really makes the textures and wrinkles come out.


After I get that the way I wanted, I needed one more curves adjustment layer to bring back any highlights I may have lost with the burn tool. By dragging the right side of the line up, you brighten the highlights.


And finally, I wanted to add some subtle tones to the image. So, it’s another curves adjustment layer. This time, drag the RGB drop down box to “Red” and drag the top portion of the line up. This will add a slight red hue to the highlights.


After that, while still in the same curves adjustment layer, drag the drop-down box to blue and make another slight adjustment.


Together, these add a nice, but very subtle, tone to the image.


And that’s it! Here is our final product.


Thanks for stopping by. I hope you found this somewhat useful. I realize that this is not the ideal way to show a tutorial of this magnitude but I think you get the idea. Just keep trying and playing with curves etc until you get it how you want it. I actually worked on this image for a little more than an hour, slowly making subtle adjustments until I felt it was just right.


See more of my tutorials HERE including HDR tutorials. Let me know if you found this or any of my other tutorials useful by leaving me a comment!
 

February’s “New Spot” – Long Hunter State Park

First, I have to give a shout out to Crovean Web Hosting, Design and SEO. Crovean is who I use for my web hosting. For the last couple weeks I haven’t been able to write new posts because I couldn’t upload new photos. I was having a problem with my sites template. Chriss, with Crovean, spent a lot of time late at night diagnosing and fixing the problem. If you need web hosting or web design work, you should definitely visit his site.


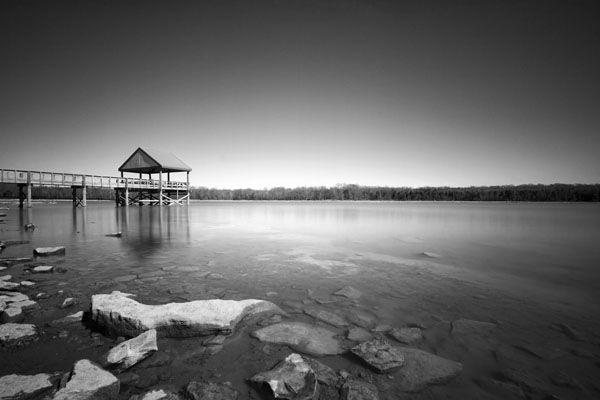
Thanks to this project, I finally visited a place I’ve had in mind for a long time. On a Sunday afternoon, the family and I headed out to Long Hunter State Park. It was really a beautiful area and we plan on visiting again. We also learned a couple things while we were there, for example they don’t allow dogs on the scenic hike around Couchville Lake. We brought our little dog so we weren’t able to take that hike, but the ranger pointed us in a direction that was open to pets. I did hang out there long enough to get a photo though:


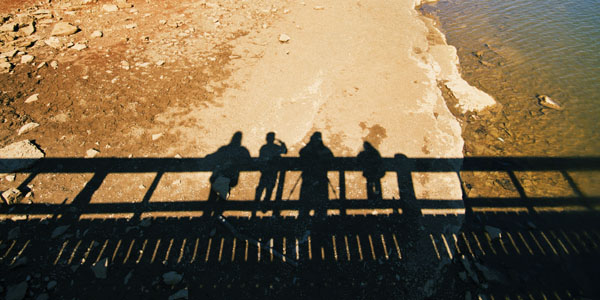
Walking down the pier, we all stopped for a new family photo 🙂


After that, we headed out to another picnic area. There was a short trail that led to the lake that started out on a bluff that overlooks Percy Priest Lake:


Along the trail:


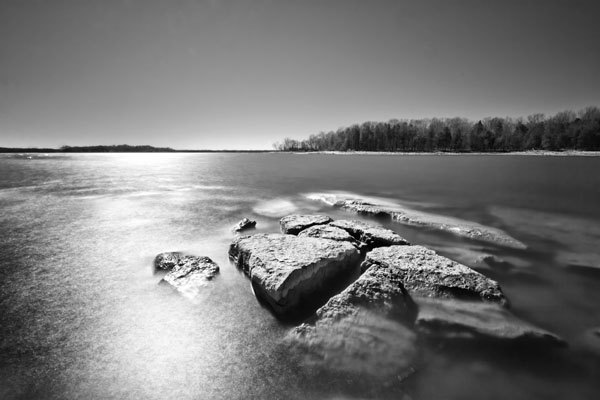
And finally, down on the water of Percy Priest Lake:

The last spot is definitely a location I want to shoot at again. With a better sky and different time of day, it could be awesome!
 

If you have an idea for a place you’d like to see me shoot, let me know! Leave a comment here or send me an email!


January’s “New Spot” – Poole Knobs Recreation Area on Percy Priest Lake

So this year I’ve decided that I’m going to start a monthly challenge for myself. I find that when I get out to take photos I often head to the locations that I’m familiar with. This year, I’m going to attempt to get to at least one new-to-me location every month. I’m hoping this helps me to find many more great places to shoot in middle Tennessee.


January’s “New Spot” was Poole Knobs Recreation Area. Less than 30 minutes from my house, I can’t believe I’ve never been there. It’s an absolutely beautiful spot and perfect for sunrise photography. There was tons of drift wood and rocks lining the shore of Percy Priest Lake, something you don’t get at the lake I usually shoot – Radnor Lake.


These were all shot early one Sunday morning in January. Enjoy!


If you have an idea for a place you’d like to see me shoot, let me know! Leave a comment here or send me an email!


Most of these photos are HDR photos processed with Photomatix. If you are interested in creating HDR photos like these, you can get a 15% percent discount on Photomatix by using the Coupon Code “MALCOLMPHOTO” – Read this blog post for more information! 


Thanks for looking!


Rural Northern Virginia

After leaving UVa, I headed north to meet my aunt, MariAnne. MariAnne is a great photographer, I encourage you to visit her blog. She is a master of black and white images and long exposures.


We rode all around some rural back roads looking for photo opportunities:


This is a new addition to a series I’ve started of self portrait reflections. This one was much different than any of my others with the curtain, and bars. I also liked how dirty the windows were.


This one is my favorite from the day.


At the end of the day, I stopped by Herndon Virginia to visit my brother. This is a shot of downtown Herndon at sunset


Thanks for looking!

The University of Virginia

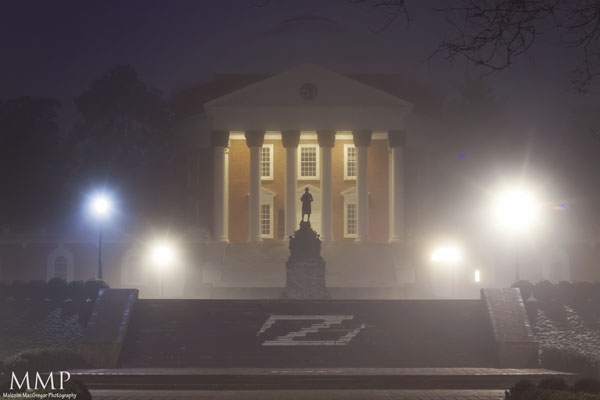
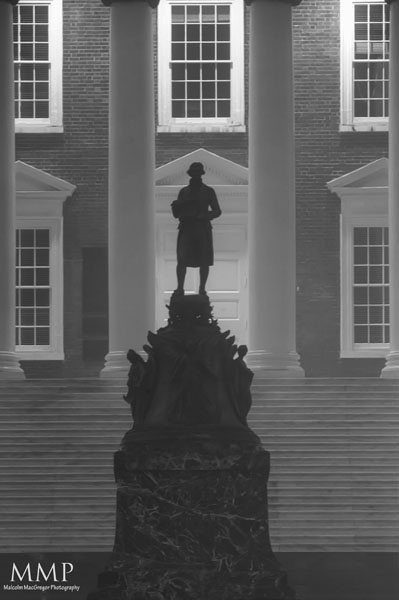
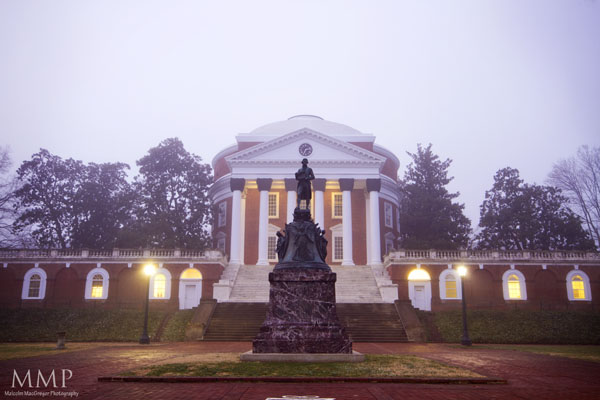
A few weeks ago I had to take an unexpected road trip to Charlottesville, Virginia. My wife and I both grew up in Charlottesville and we have family and friends who still live there. Early one morning, I decided to head into town to get some photos of the University of Virginia. UVa has a beautiful campus. I only had an hour or so so I decided to shoot the Rotunda as the sun came up. Turns out it was very foggy so there wasn’t much of a sunrise, but I still managed a few good shots.


Rotunda

The statue shown is a statue of Thomas Jefferson.

Later, once it got a little brighter out:

Here are a few others from the grounds:

This last photo is of Scott Stadium. I was not inside, I was laying on my belly shooting under a fence, the things we’ll do to get a shot…
Scott Stadium

After I left UVa, I headed to Northern Virginia to meet up with my Aunt MariAnne, who is also a photographer. Photos from that outing coming soon!

Thanks for looking!