How I Did It – Part 5
I have another RFI as we call it in the construction industry, or a Request For Information. Someone asked how I processed a particular image, so I promised a tutorial – so here go…..
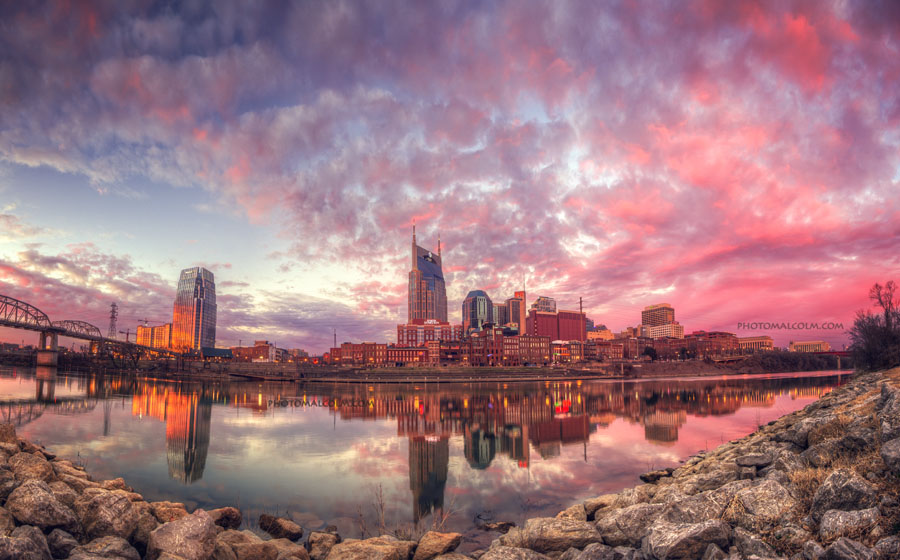
In this tutorial, I’ll show every step I took to turn this:
——————————————————————————————————————————-
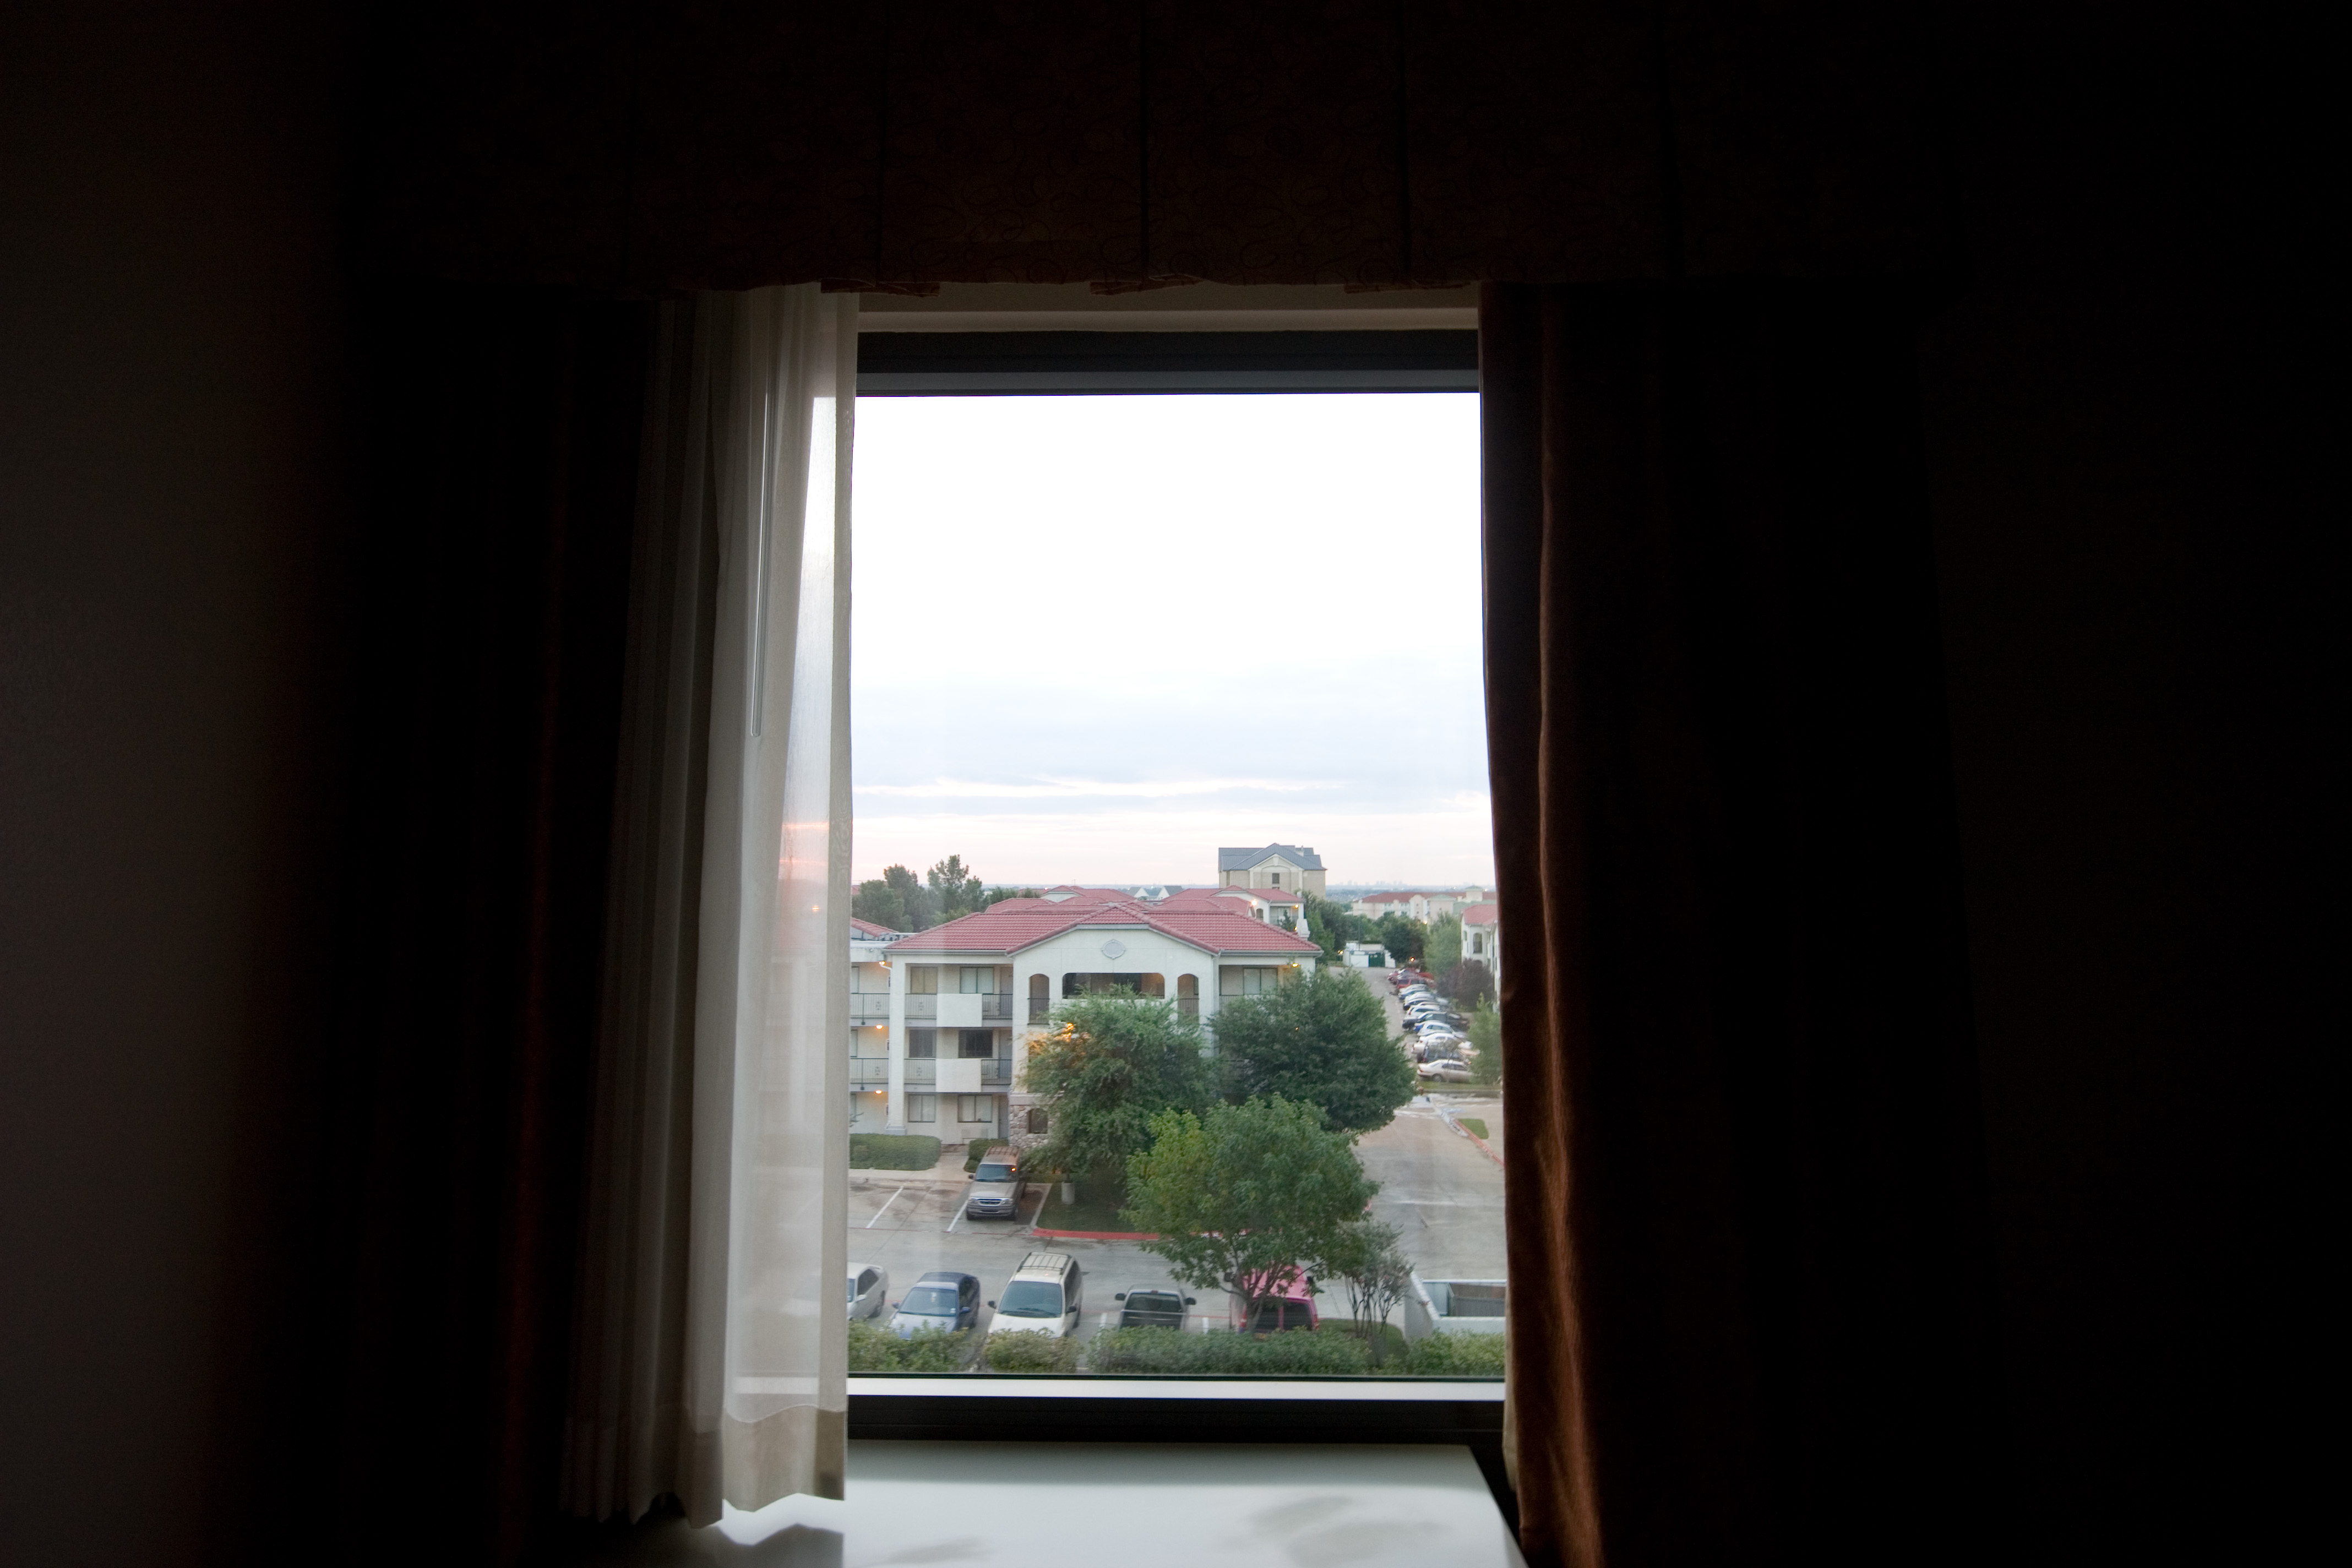
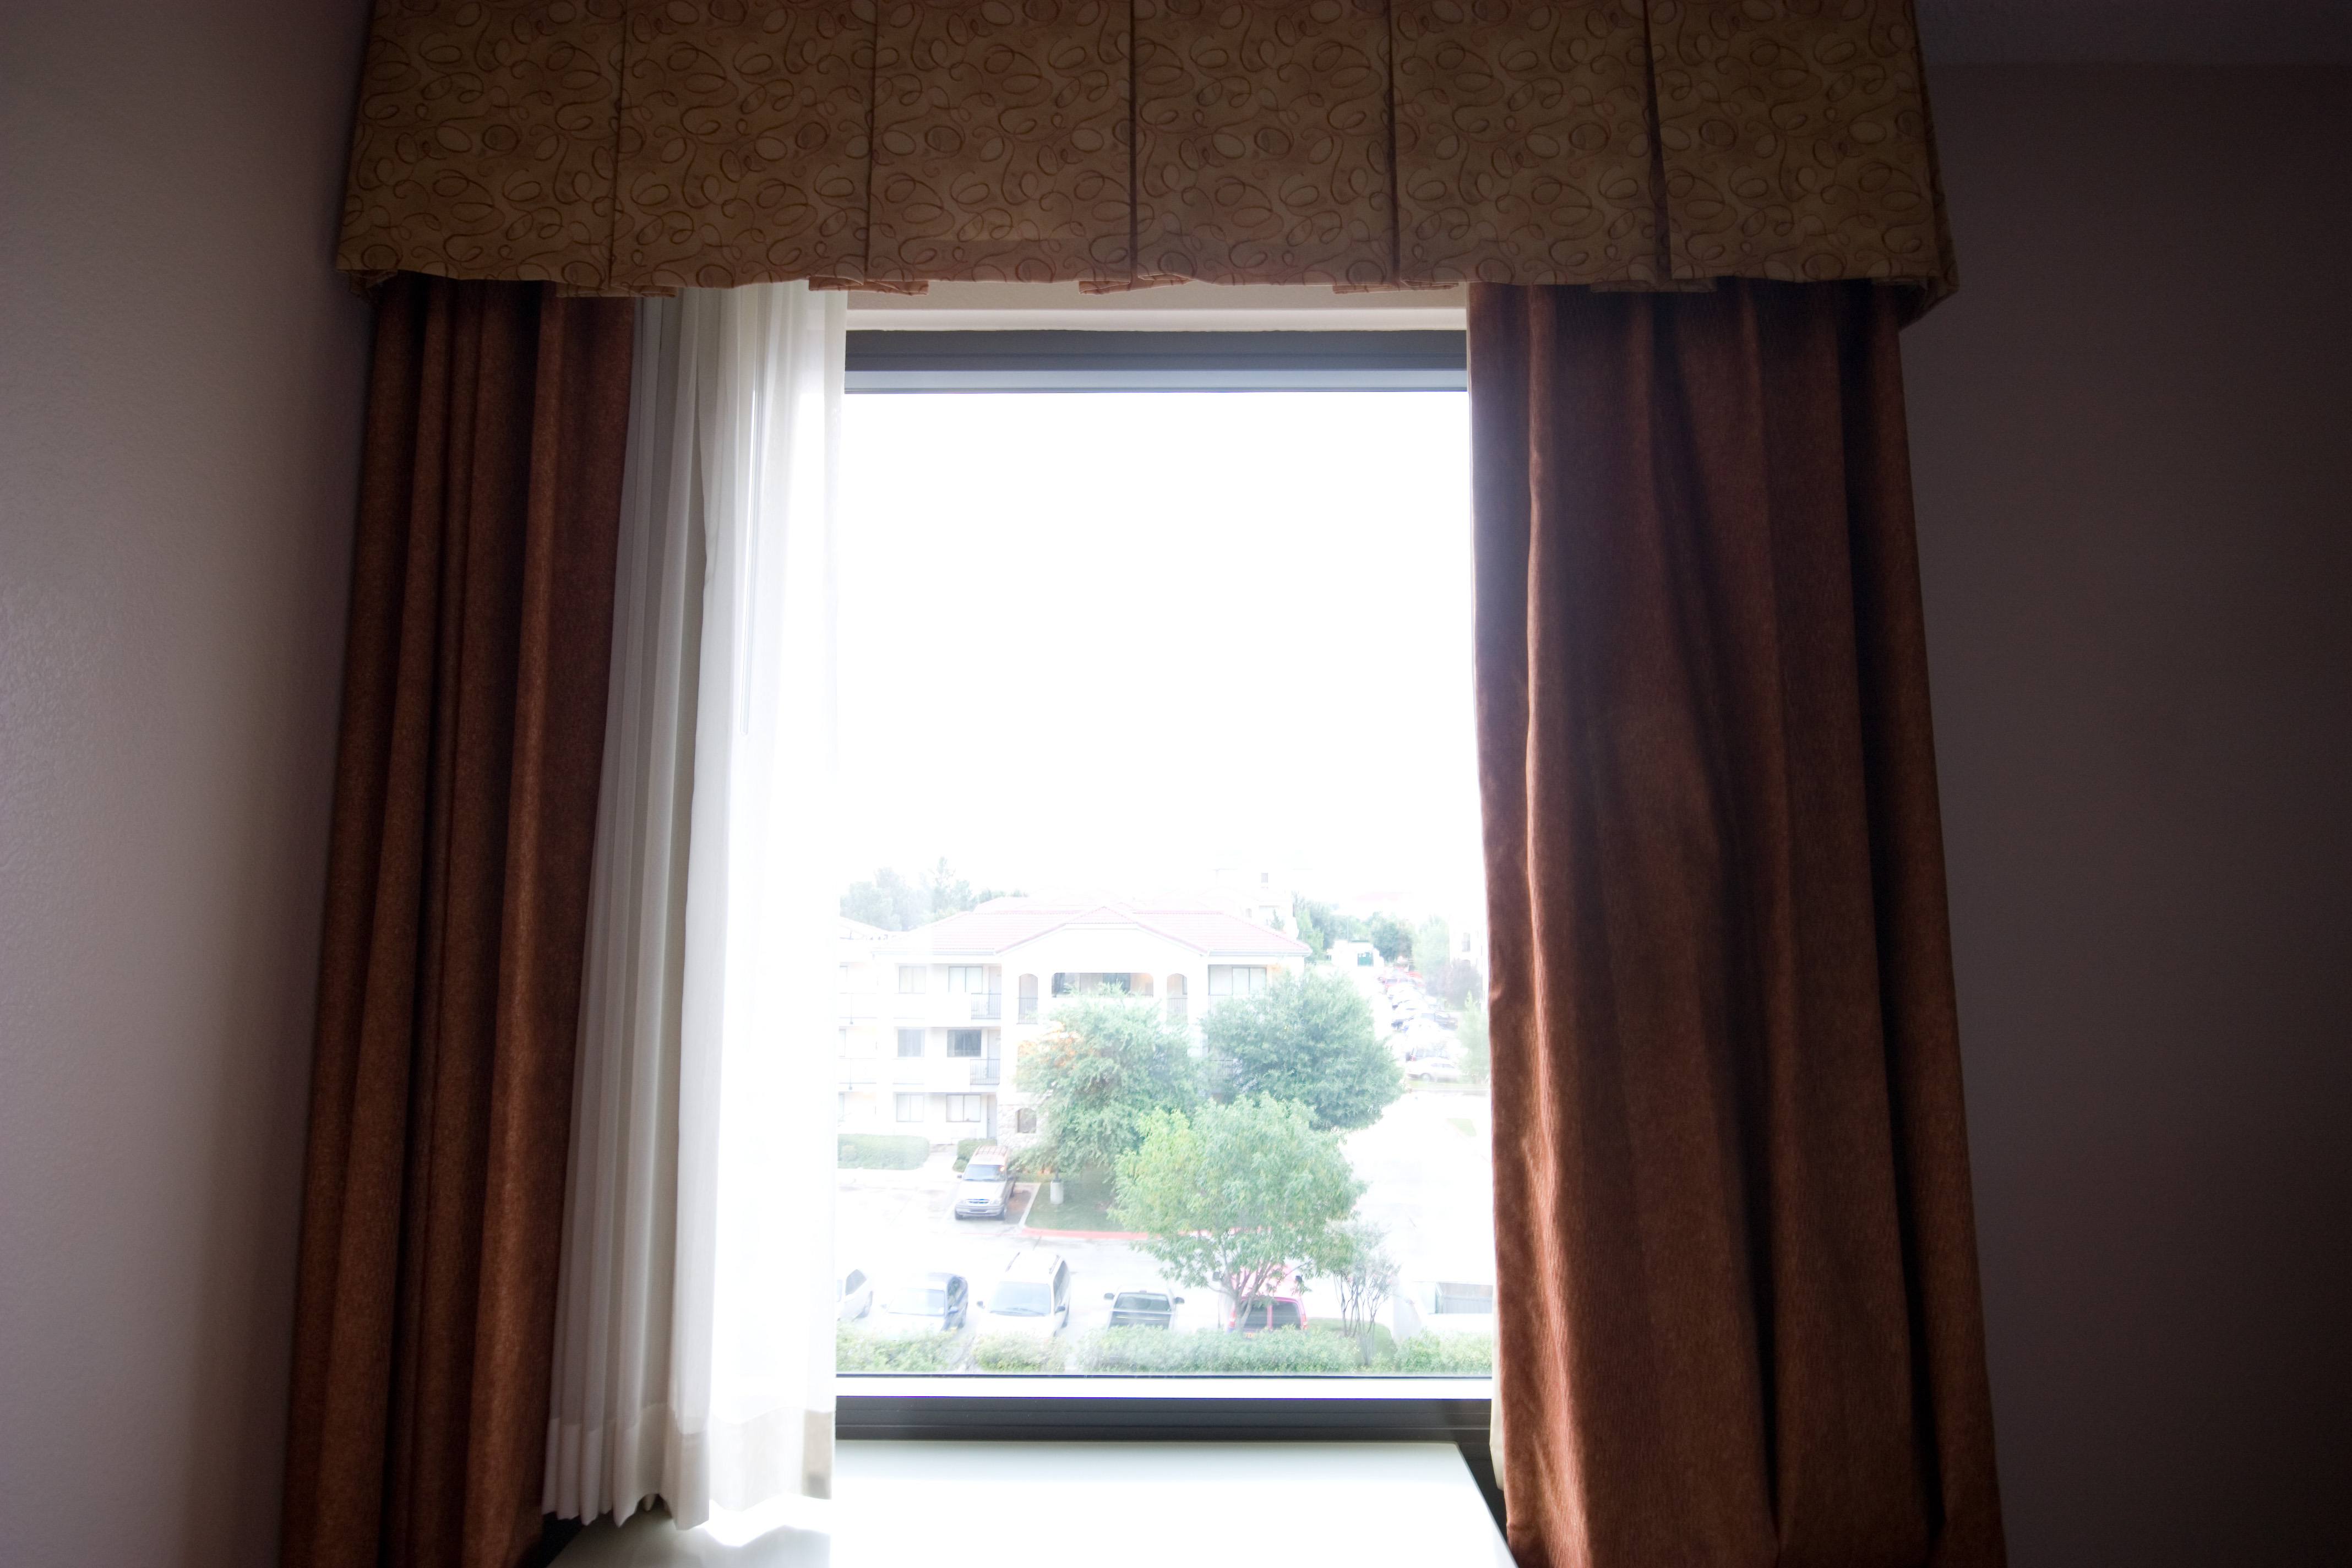
Obviously, this one is an HDR image. Unlike some of my other tutorials, there is really not much processing involved after photomatix. The only difference here (and it’s an important one) is the number of exposures used. For this shot, I used 5 exposures instead of my normal 3. The reason for this is the huge difference in light from the inside of the hotel room and the outside sunrise.
The 5 exposures I used were (-4, -2, 0, +2, +4)
Here are those 4 images:
 (-4)
(-4)
You can see how the images gradually get brighter and end up encompassing the entire range of the scene. These 5 RAW images were then loaded into Photomatix. I use Photomatix for all of my HDR’s. If you are interested in buying Photomatix, use the coupon code “malcolmphoto” for a 15% discount! It’s already at a great price ($99) and even better with the discount.
Once Photomatix created the HDR image, I tonemapped using the Details Enhancer option:

On a side note – My Detail Enhancer settings are available to be viewed for EVERY photo in My HDR set on Flickr – here’s how
On the photo page, click on the top right where it tells what type of camera was used:
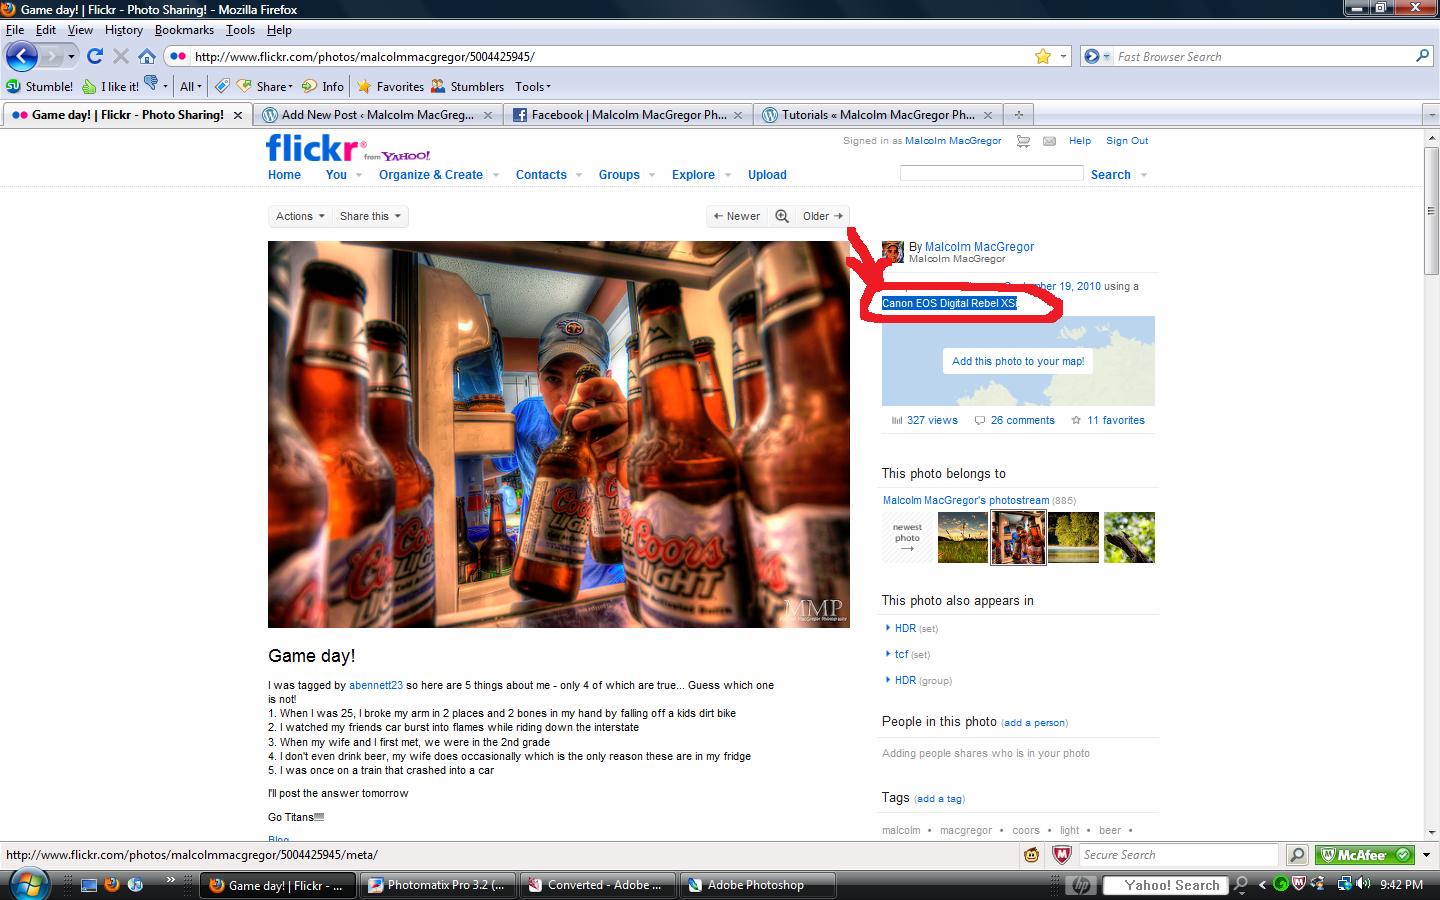
That will take you to the images “exif” info:

Scroll down, and you will see a section that looks like this:
 These are the Photomatix settings, they are automatically embedded in the files information. Cool huh? So now you know…..
Back to the image in question, here we are starting in Photoshop CS2:
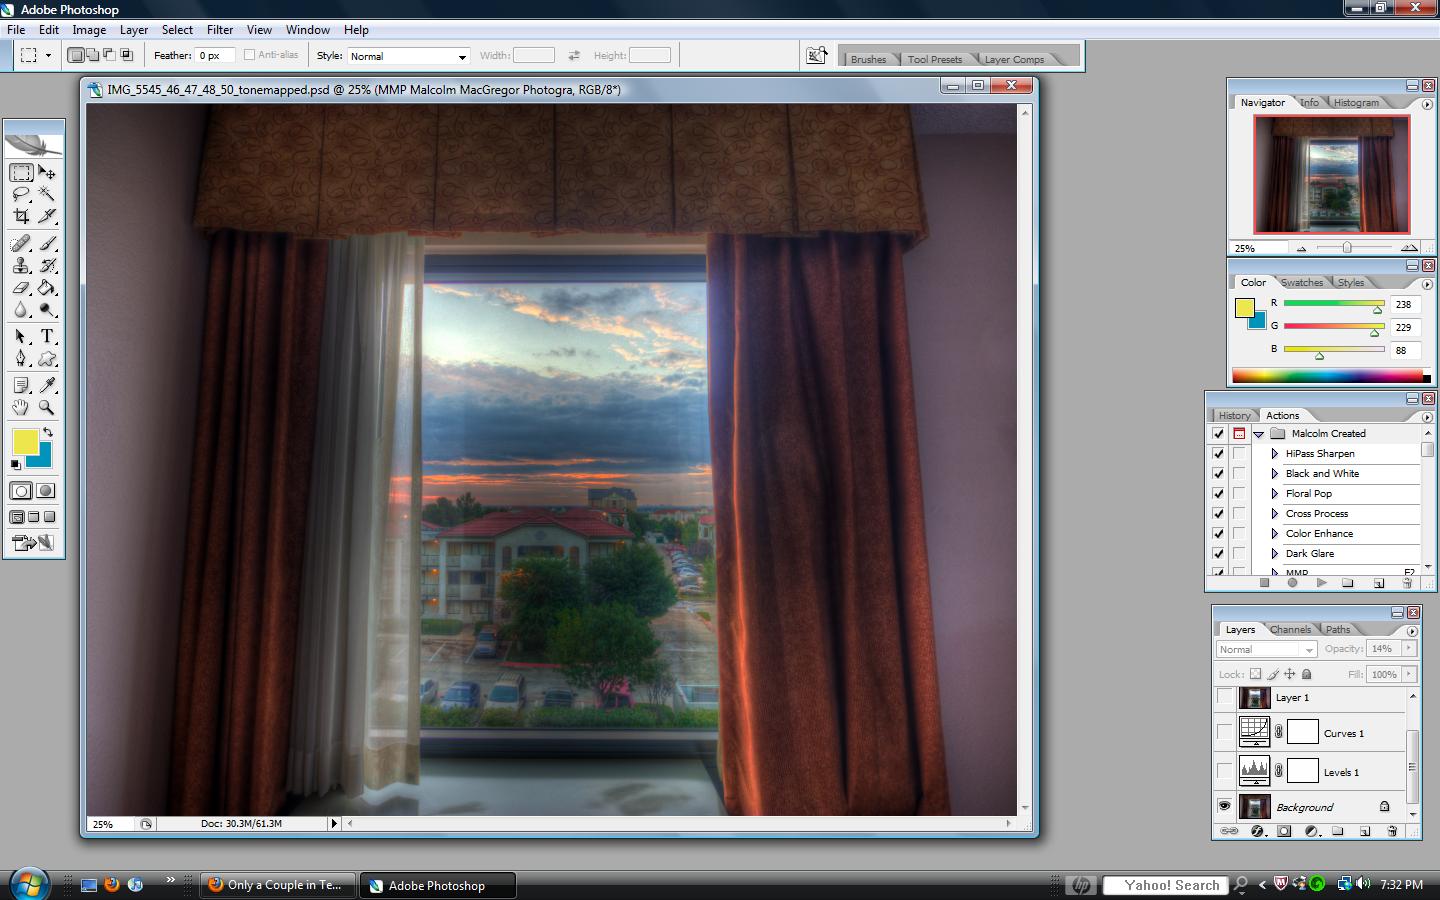
The first thing I always do it a “Levels” adjustment layer:

Then a “Curves” adjustment layer:

And then I use Imagenomic for noise:

And that’s all there is to it for this one! Piece of cake!
Now go out and shoot some HDR and let me know how they turn out!
See all my other tutorials HERE
I’m on Facebook! Check it out and become a fan!
Thanks for looking! I hope you found this helpful. Please ask questions if you have them, I’ll try by best to answer.
Remember,
If you want to know “How I Did It” for any photo on my flickr photostream, leave me a comment on this page or send me an email. I’ll be glad to make it my next “How I Did It” entry!
Also, as I mentioned in my first How I did It post, here are some helpful links for learning more about HDR:
Stuck in Customs
HDR Exposed
HDR (a flickr group)
Tutorial Collection at My First HDR flickr group
Helpful links for learning more about Photoshop:
Photoshop Support Group
Photoshop Tutorials by Allan Gengler
Actions by Allan Gengler
CoffeeShop Actions




Leave a Reply
Want to join the discussion?Feel free to contribute!