How I Did It – Part 3
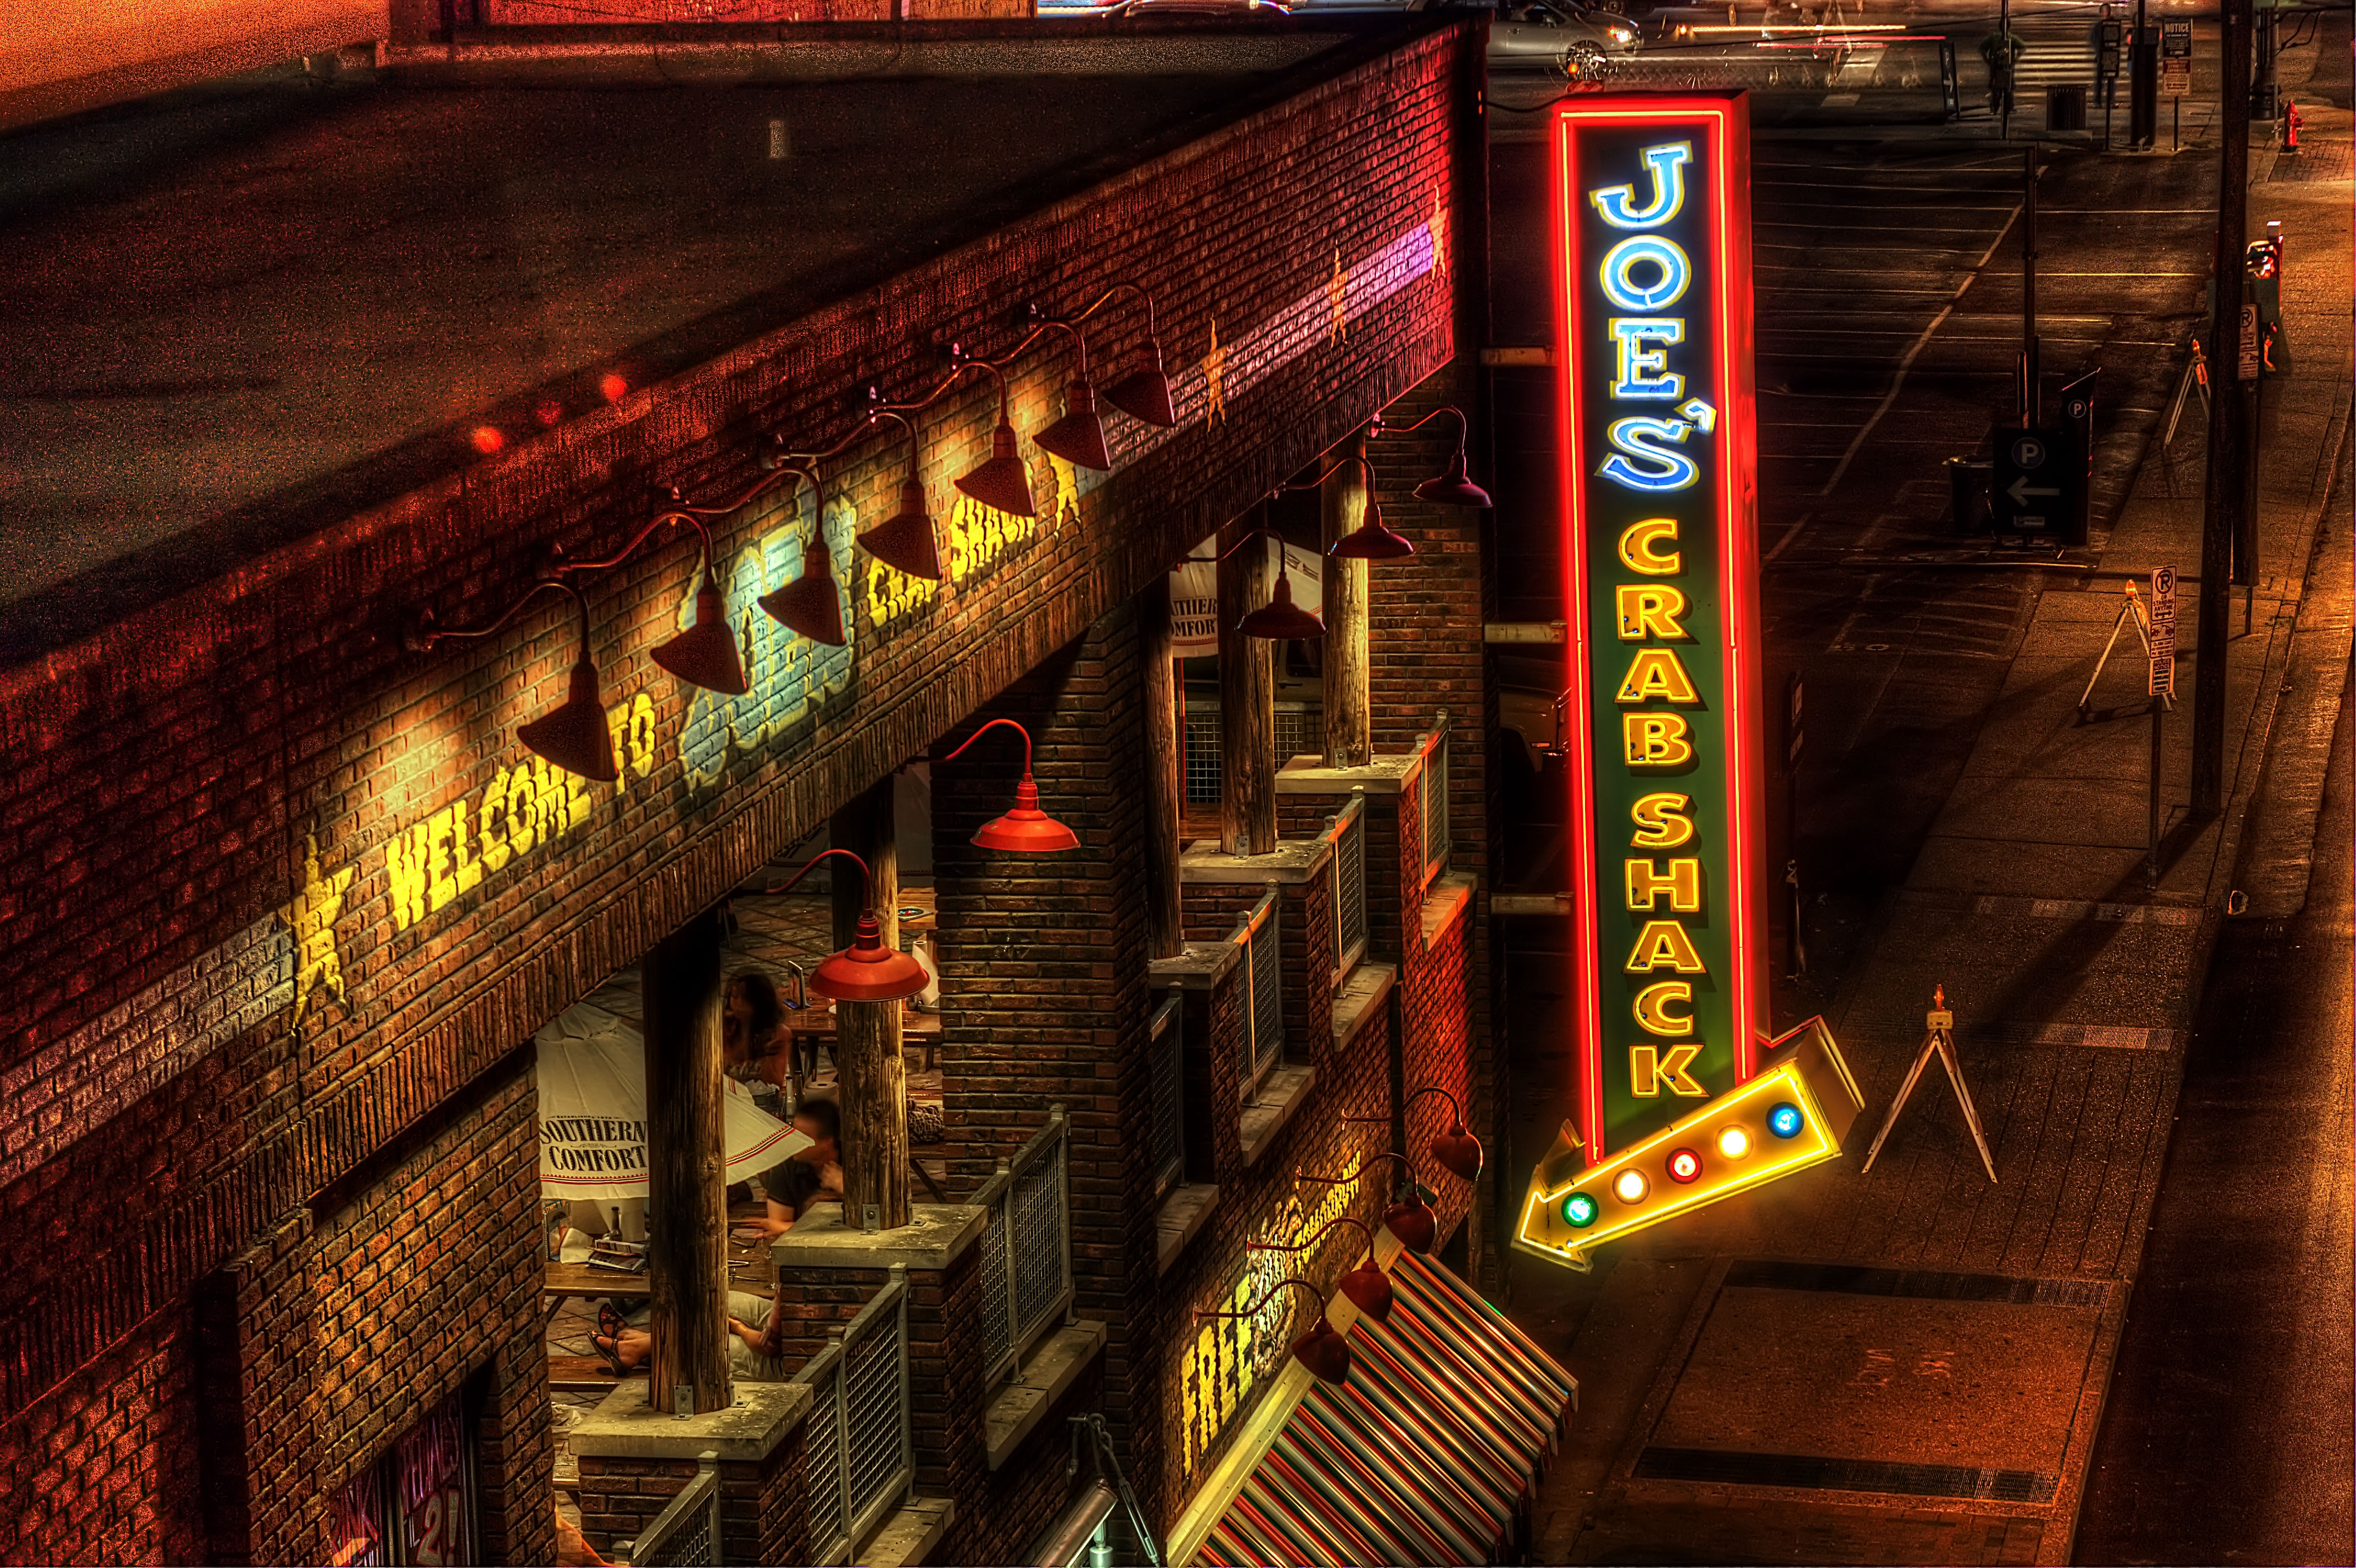
I had a request from a fellow photographer for a “How I Did It” post. For this tutorial, I’ll show you everything I did to turn this:

_______________________________________________________________________________________________________________
Once again, this is an HDR or High Dynamic Range Image. To create an HDR image you need to take multiple exposures (usually 3 but can be us many as you want) of the same scene.
To do this, I put the camera mode in Aperture Priority and set the auto bracket to (-2, 0, +2). This will make the camera take 3 consecutive shots, one exposed properly, one underexposed by 2 stops, and one overexposed by 2 stops.
Here are the 3 shots with their exposure values:

0 ev 0.6 seconds @ f/8
Always ISO 100 and always a tripod when shooting HDR
These 3 images are opened directly into Photomatix. I use Photomatix for all of my HDR’s. If you are interested in buying Photomatix, use the coupon code “malcolmphoto” for a 15% discount! It’s already at a great price ($99) and even better with the discount.
You are then presented with “Generate HDR – Options” – here is what I choose:

I always use the “Details Enhancer” option. Here are my settings there:

It’s important to remember that while I used these settings on this image, they may be completely different for my next image. You really need to play with the sliders and get a feel for what they do to your image. Then you can make adjustments that suit your taste. It’s also important to remember that is doesn’t stop here! There are many things that need to be corrected/adjusted in photoshop.
At this point I save it as a .tiff and head to photoshop……….
_______________________________________________________________________________________________________________
Now we are in Photoshop, here is what we have

Not too bad as it is, but could look a lot better!
As in my other tutorials, I start off with a levels adjustment:

I found that this adjustment blew out the Joe’s Crabshack sign so I grabbed a black brush and painted over the areas (on the layer mask) that got too bright. This image shows where I painted:

By doing this, you are applying the levels layer to the entire image EXCEPT where you painted on the layer mask.
Next I’ll do a curves adjustment layer:

Next is one of my favorite adjustments to do, a slight color balance adjustment for the shadows and highlights:

You can see I click the “shadows” dial and set it to -5, 0, +5. This adds a bluish tone to the shadows. In the case of this image, I also did the same adjustment to the “Highlights” dial. This helps get rid of some of the reddish, orange colors.
Next I did a saturation adjustment layer where I desaturated the yellows.

Again, I didn’t like what this did to the sign so I painted on the layer mask with black in these areas:

Now I do a “Stamp Visual” or CTRL-SHFT-ALT-E. This adds a new layer at the top of all the previous adjustment layers.
On this layer I run an Unsharpen Mask

Normally at this point I would run a noise reduction software, however, on this particular image I did not mind the noise. It’s a dark image (certainly a lot darker than an HDR could have been) but I liked it that way. This is because I wanted the big Joe’s Crabshack sign to be the focal point. I actually set the 0ev exposure for the sign. I knew it would be a dark image overall but that is what I wanted.
So, that’s it!
Here is out final result:
Thanks for looking! I hope you found this helpful. Please ask questions if you have them, I’ll try by best to answer.
Remember,
If you want to know “How I Did It” for any photo on my flickr photostream, leave me a comment on this page or send me a flickr mail. I’ll be glad to make it my next “How I Did It” entry!
Also, as I mentioned in my first How I did It post, here are some helpful links for learning more about HDR:
Stuck in Customs
HDR Exposed
HDR (a flickr group)
Tutorial Collection at My First HDR flickr group
Helpful links for learning more about Photoshop:
Photoshop Support Group
Photoshop Tutorials by Allan Gengler
Actions by Allan Gengler
CoffeeShop Actions


Thank you for posting this. I know putting a tutorial together can be a pain in the butt. This just may have inspire me to head down to Joes Crab shack and see what I can do.
No problem Donna! Hope it helps some.
Let me know if you go and I might try to go also. I always like shooting downtown
Out of curiosity more than anything (I love noise) what noise reduction software do you use? Does the software give you much control over keeping details / losing noise ratios etc?
Julian, I use Imeagenomic‘s noiseware plugin for photoshop and it is AWESOME! I tried a couple others out before purchasing and just found Imagenomic to be the best. You can reduce noise without loosing any detail. Awesome software…
My Second tutorial shows a screen shot of the Imagenomic software