Posts

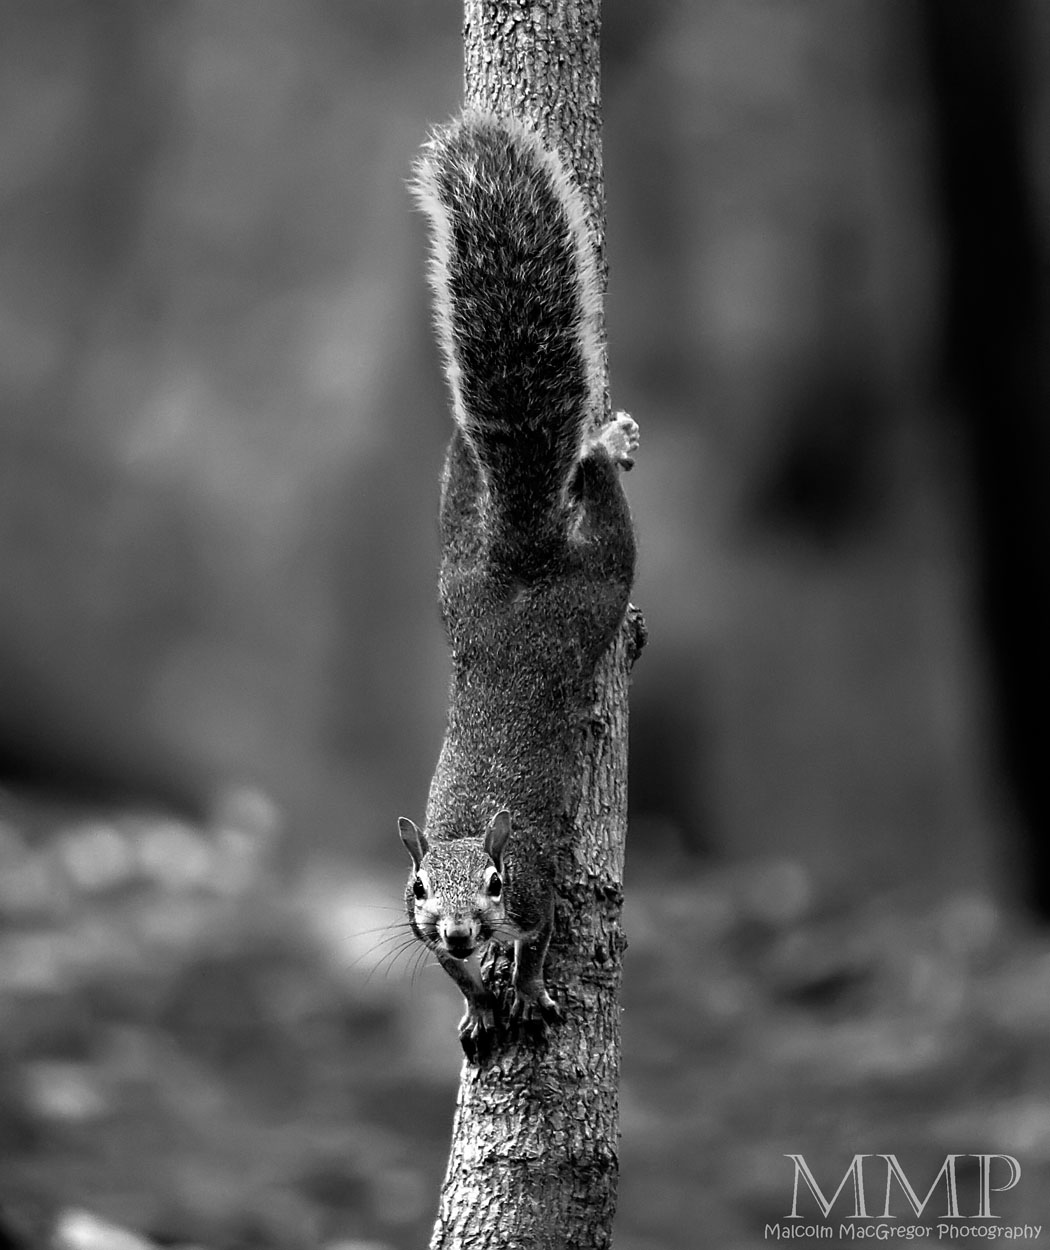
Black and White Zoo Animals


A new addition! There is now a Rhinoceros in the collection! Click the image to view the slideshow!

Most of these animals were photographed at the Nashville Zoo (the deer and turkey were wild and the Rhino was photographed at the Knoxville Zoo)

[button link=”http://store.malcolmmacgregorphotography.com/FineArtPrints/Black-and-White” text=”Buy Prints Starting at $5!!” color=”red” /]

[button link=”http://ruthiesawards.com/vote/retail-personal-services/photographer” text=”Vote for Malcolm in the 2013 Ruthies Awards!” color=”red” /]


How I did it – Black and White Zoo Animals

I’ve had several people ask about my processing on the photos of the zoo animals. So I decided to create this tutorial to give you a little “behind-the-scenes” look at my processing.

This is what I started with. A fairly simple photo of an elephant taking a drink of water at the Nashville Zoo. This photo was taken with a Canon 7d with the 70-200 2.8L lens.


So the first thing I wanted to do was isolate the elephant from the background. There are many ways to do this and this tutorial does not really cover that. You can find many great tutorials on this by searching Youtube. I will say that I use a program call ReMask by Topaz. It’s really a great program and is very easy to use. Here it is with a black background:


Now, in order to really bring out the textures and wrinkles on this elephant I started messing with the curves tool. I created a curves adjustment layer and gave it a very basic s-curve adjustment to the entire image. This increases the contrast to the entire image


Now I wanted to begin to create a bit of a “strobist” effect. I wanted it to look like the elephant was lit by a single light source overhead. So I ctrl+shift+alt+e, which creates a new layer, and I grab the burn tool. I set it to “midtones” and a very low exposure. I begin to paint the edges with the burn tool. There difference is subtle, but you can really see it on the right hand side, the photo below is darker on the right than the photo above.


Next, because the burn tool darkens the highlights, I did another Curves adjustment layer to brighten the highlights. You can see it is a very simple curves tool where all I did was grab the box on the top right and drag it to the left.


Next was another curves adjustment layer, this one will be used to create a vignette. You can see below, I drag the curves line way down to the lower right. This will darken the entire image but I don’t want to apply this to the entire photo so I mask in the areas that I don’t want to change. Do this by painting with a black brush on the areas you don’t want the curves adjustment to effect. So in this case, the only areas I wanted darker with this layer was on the right hand side of the photo and a little on the trunk of the elephant. You can see how this really darkens the edge and keeps the viewers focus on the center of the image.


Now that I have the contrast pretty close to where I want it, I’ll convert the image to black and white. Again, there are many ways to do this. I use a photoshop plug-in called Topaz BW Effects. There are many options within this plug-in, play with the sliders until you get what you want.


Next, after another ctrl+shft+alt+e, I grab the Burn tool, set it to “shadows” and to a low exposure. I start to “paint” over the image. This will darken the shadows which really makes the textures and wrinkles come out.


After I get that the way I wanted, I needed one more curves adjustment layer to bring back any highlights I may have lost with the burn tool. By dragging the right side of the line up, you brighten the highlights.


And finally, I wanted to add some subtle tones to the image. So, it’s another curves adjustment layer. This time, drag the RGB drop down box to “Red” and drag the top portion of the line up. This will add a slight red hue to the highlights.


After that, while still in the same curves adjustment layer, drag the drop-down box to blue and make another slight adjustment.


Together, these add a nice, but very subtle, tone to the image.


And that’s it! Here is our final product.


Thanks for stopping by. I hope you found this somewhat useful. I realize that this is not the ideal way to show a tutorial of this magnitude but I think you get the idea. Just keep trying and playing with curves etc until you get it how you want it. I actually worked on this image for a little more than an hour, slowly making subtle adjustments until I felt it was just right.


See more of my tutorials HERE including HDR tutorials. Let me know if you found this or any of my other tutorials useful by leaving me a comment!


This Week at the Lake – 47/52

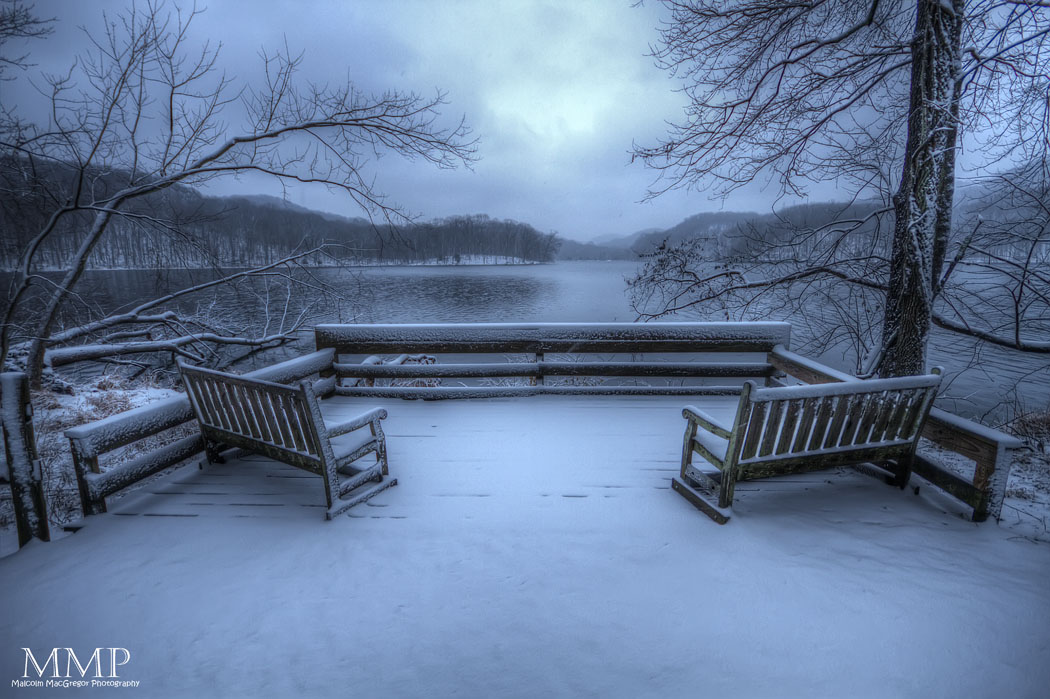
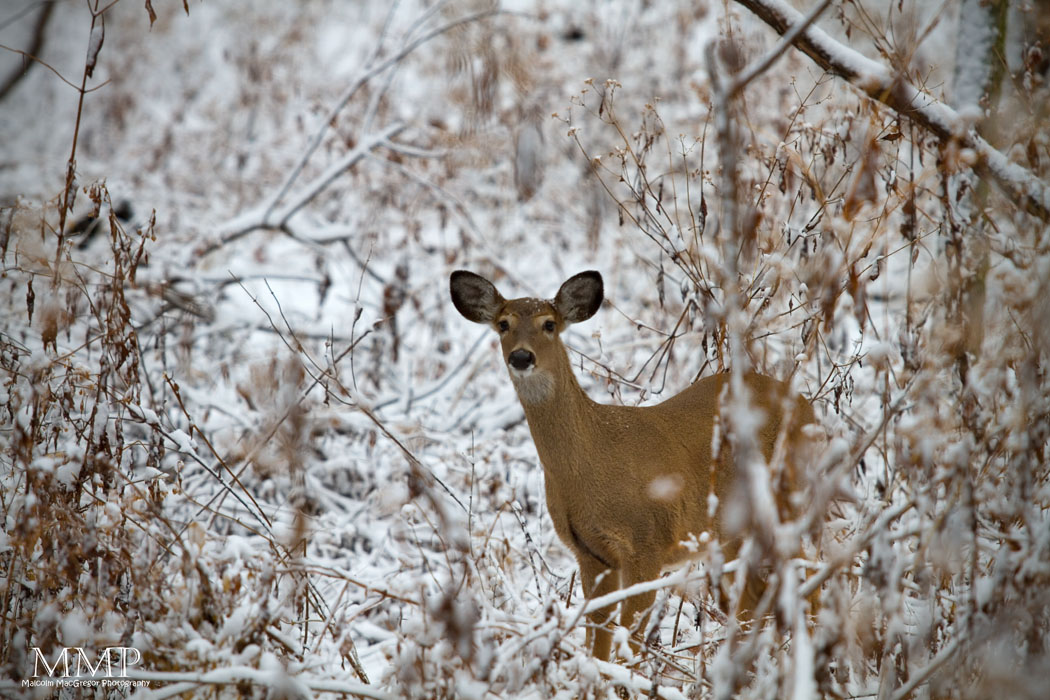
More snow in middle Tennessee!? We’ve had quite the winter so far. I haven’t lived in this area for long but even I know that this much snow is pretty unusual. Tuesday night into Wednesday morning we got more snow so I headed out to Radnor Lake. I got the above shot before anyone else messed up the snow on the deck by putting footprints all over it!

Other shots from the snowy morning:
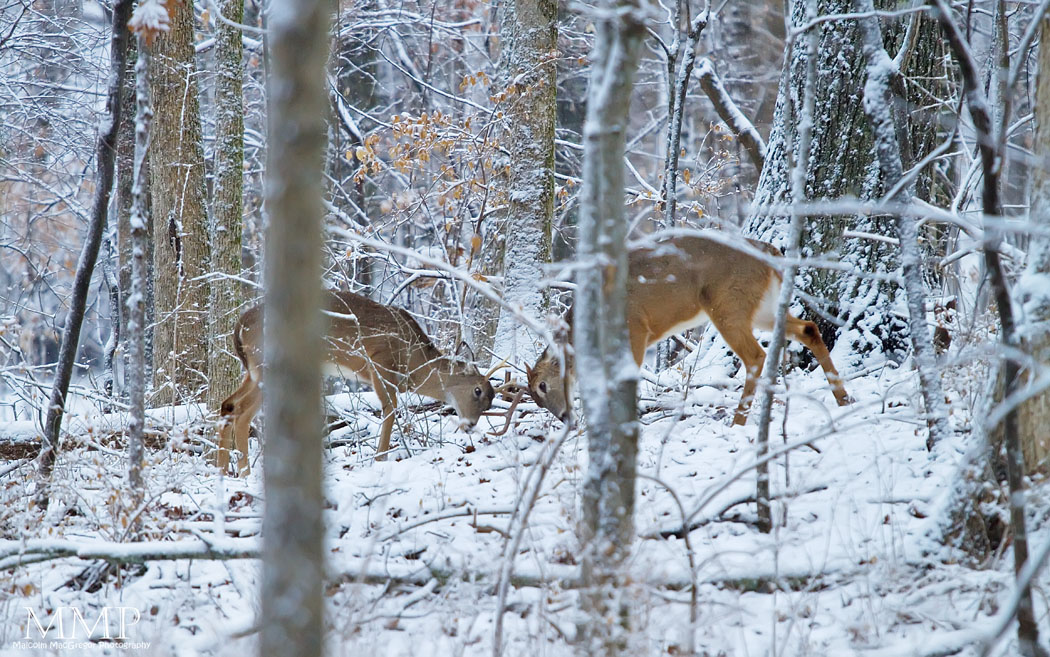
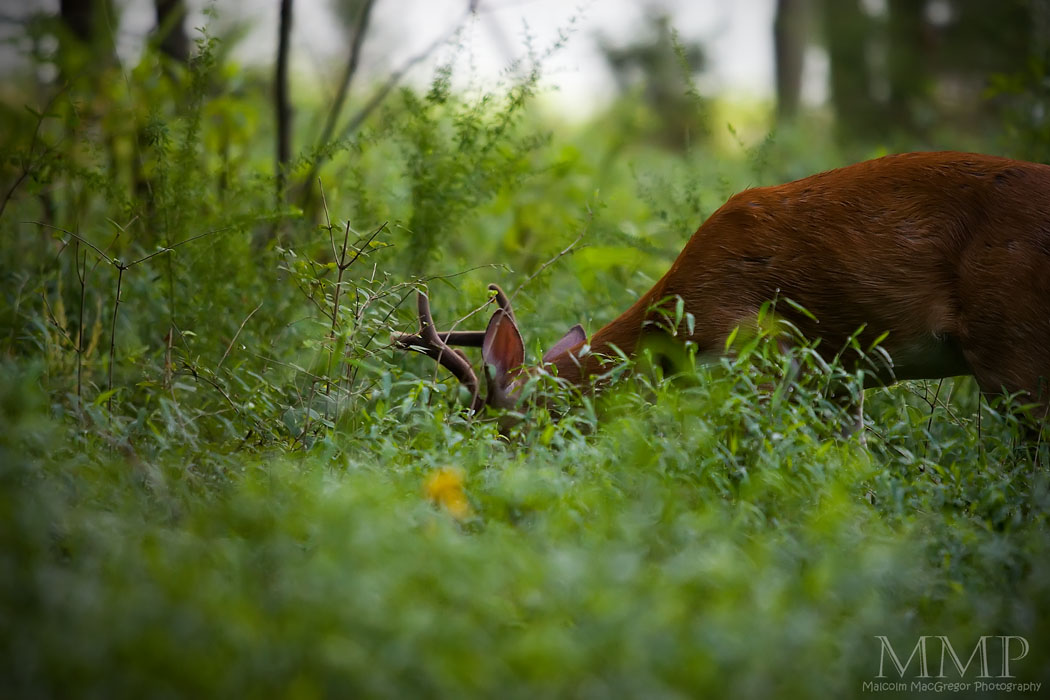
Caught these bucks in a battle to the death! OK, not really. They were more just kind of playing I guess. It never looked real intense and it certainly didn’t last very long!
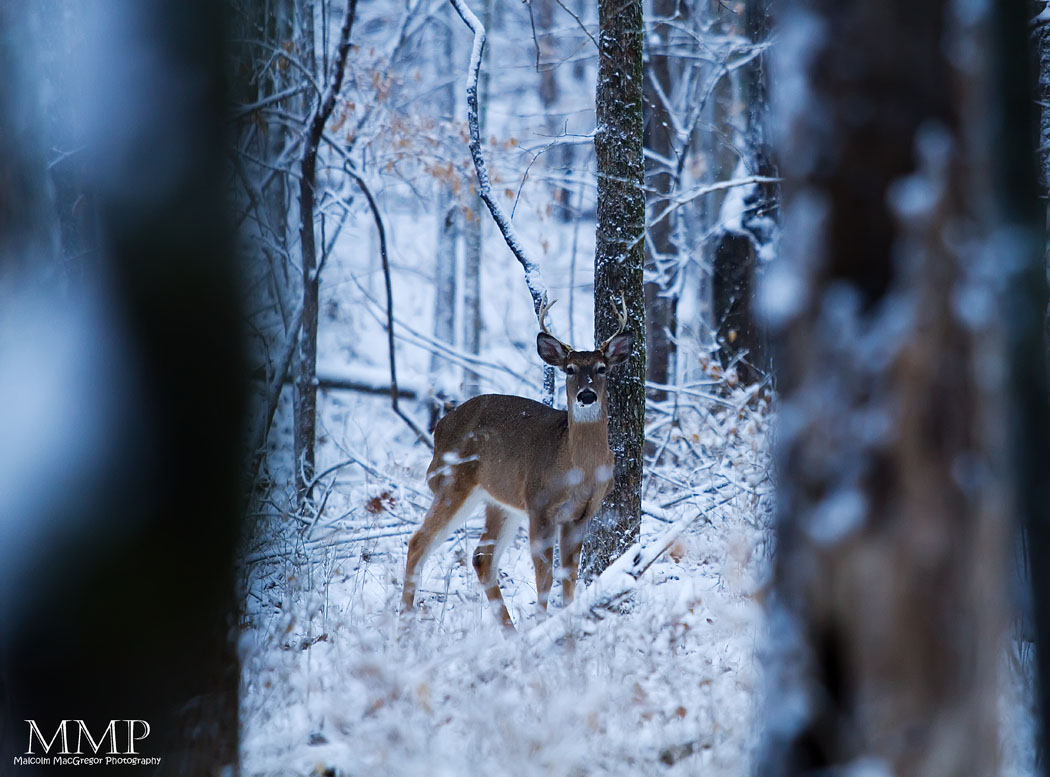
I really liked the framing of the trees here and cold tones.

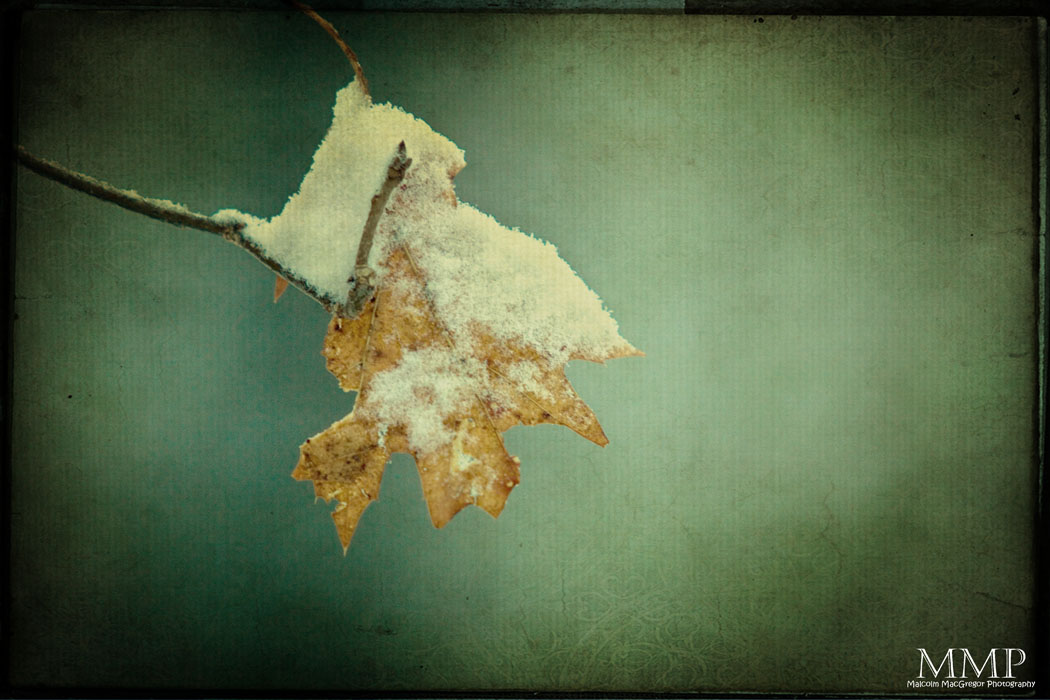
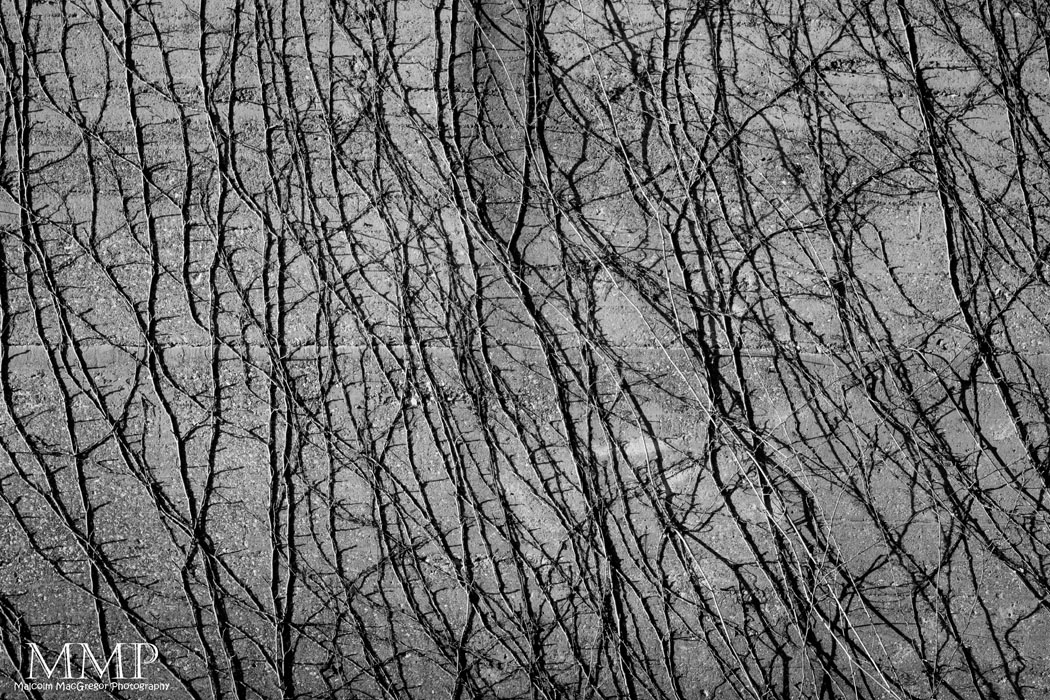
More random texture work

I haven’t gotten a shot of this stream at all during this project. This is downstream from the dam.

I went back to the lake on my lunch break to try to get more snowy shots:

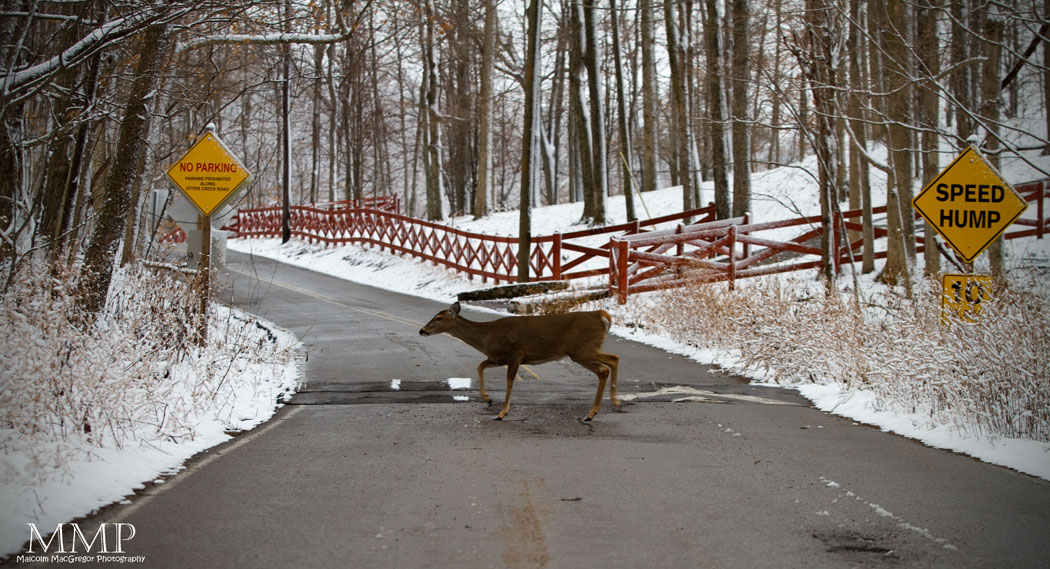
Saw this deer about to cross the road as I leaving to go back to work. I got out and ready just in time! (I wish that sign was a “Deer Xing” sign)

I also went on Monday when I got these Deer shots:

And just to say I saw the owl again, here is a shot from Friday:

And that’s it for the week!

Thanks for looking!

Check out all the previous weeks by Clicking HERE

Don’t miss a week! Subscribe to this blog and you will receive an email every time I post something new!

Malcolm MacGregor Photography is on Facebook, check it out and become a fan!

All of the “This Week at the Lake” photos are available for purchase as fine art prints and a portion of the proceeds will be donated to the Friends of Radnor Lake! Send me an email for more info (m_macgregor@comcast.net)

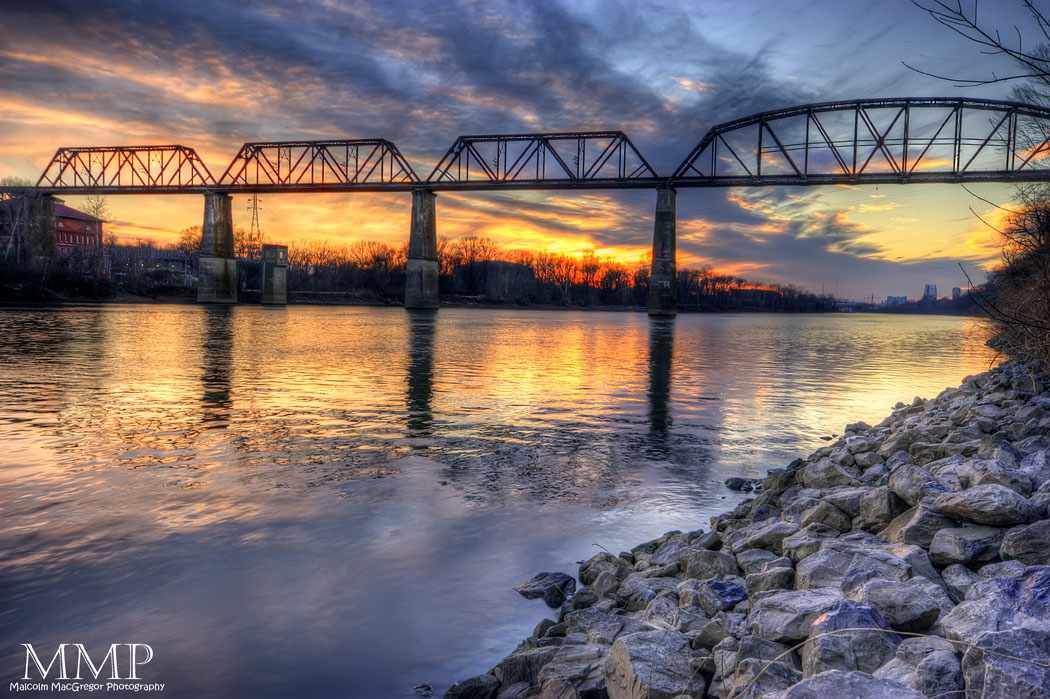
Shelby Park, Nashville Tennessee

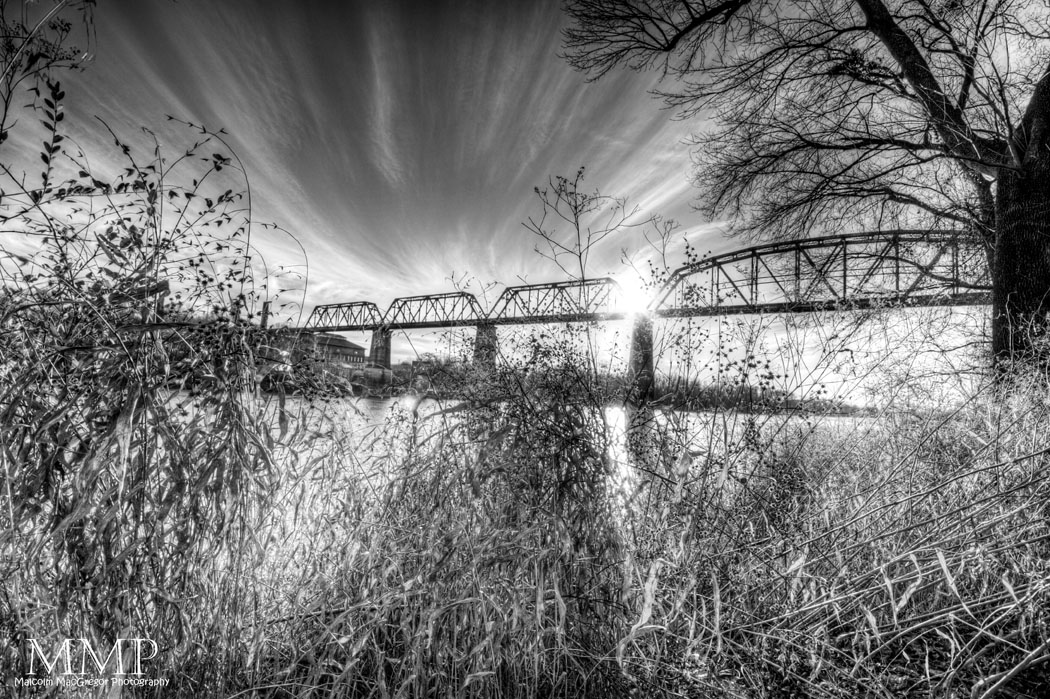
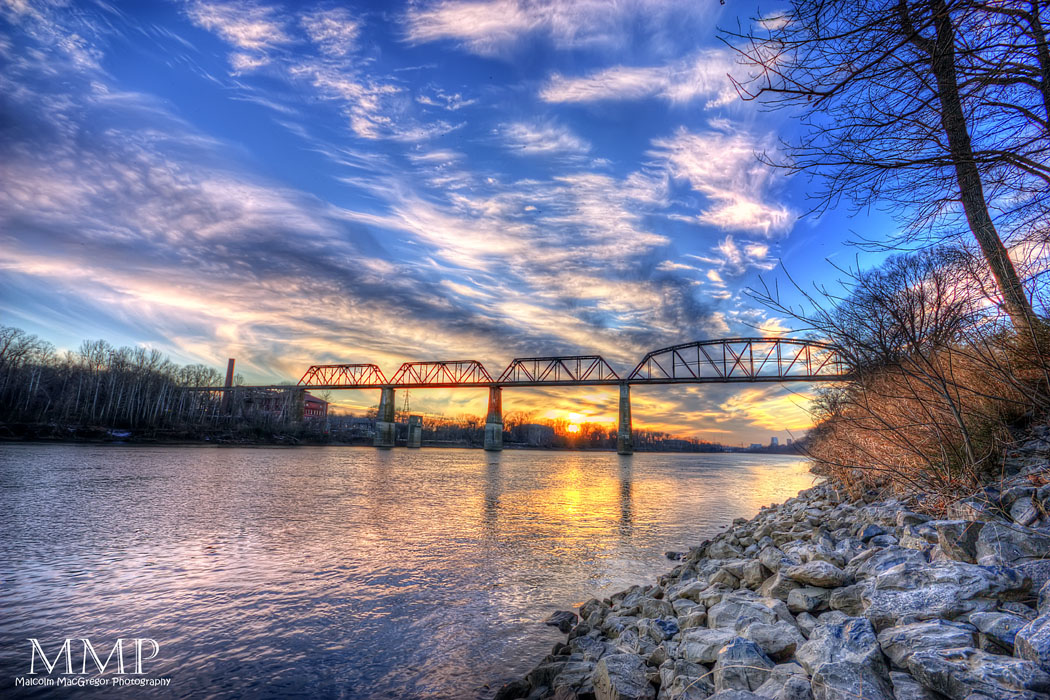
I met up with some local photographers this past Saturday. We went to Shelby Park, near downtown Nashville. I had never been so it was nice to see some place new:

Tennessee National Wildlife Refuge – Big Sandy Unit

This past Saturday I met up with a few local photographers again and headed out to the Tennessee National Wildlife Refuge near Big Sandy or Paris, Tennessee
[googlemaps http://maps.google.com/maps?hl=en&ie=UTF8&ll=36.37997,-88.058338&spn=0.081817,0.247192&z=13&output=embed&w=425&h=350]

It was a beautiful day and we saw a few bald eagles. They were out of the range of my 70-200 but still awesome to see!

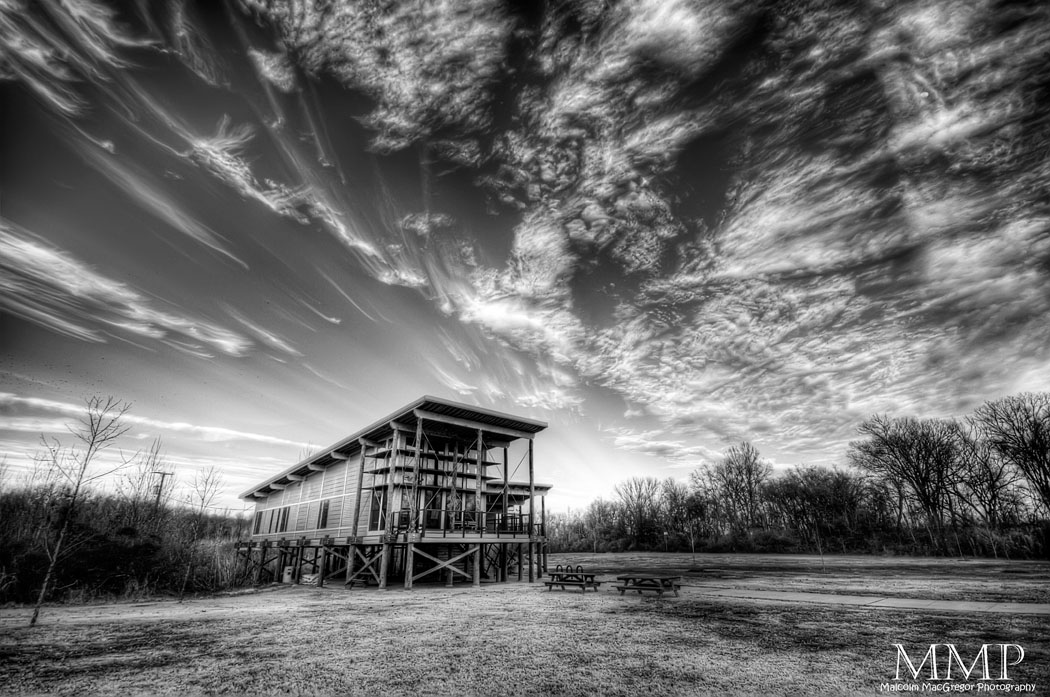
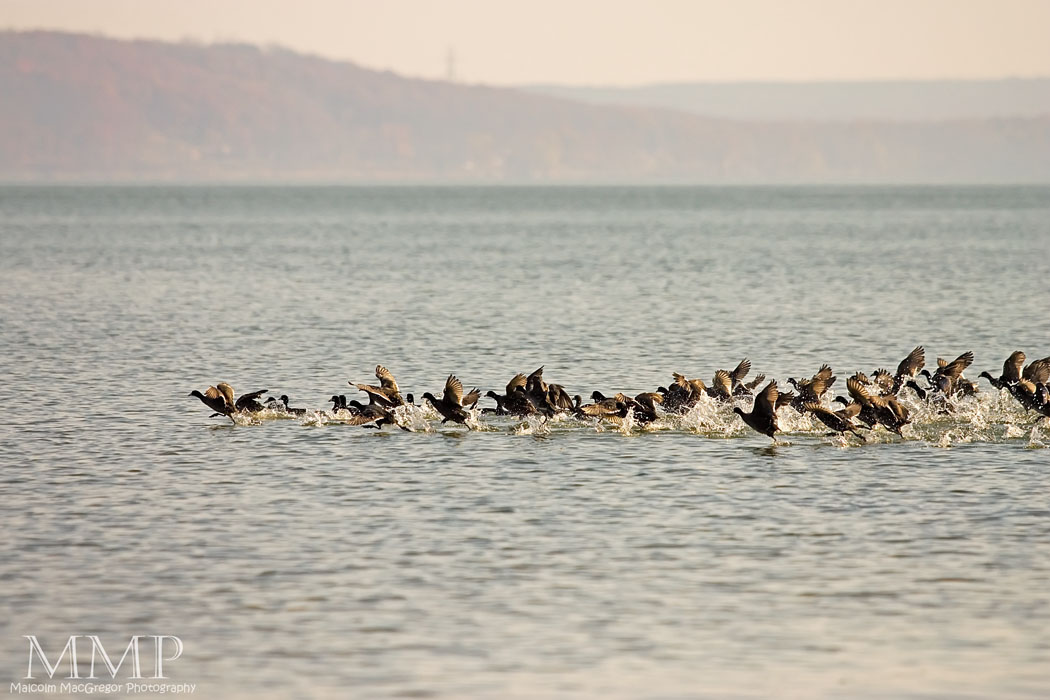
The lead shot is one of the views we saw, looking out at the Kentucky Lake

Other shots from the day:

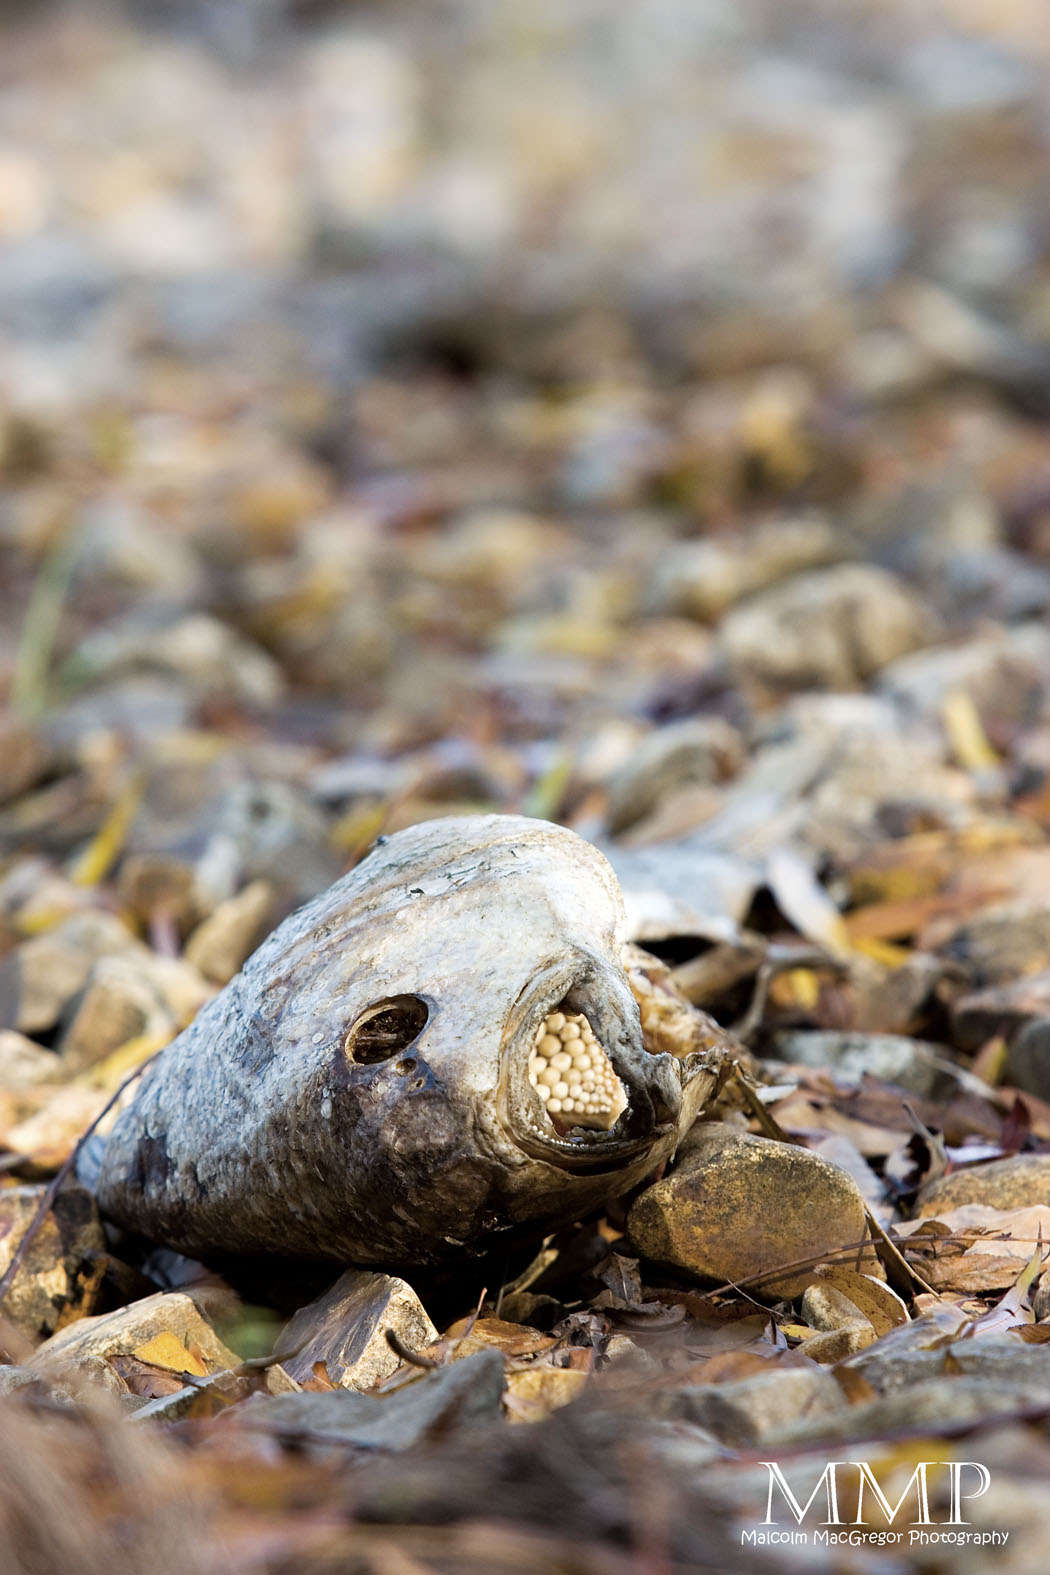
I thought this was so cool, the colors that showed up on the web were amazing!

Abstract of the Kentucky Lake

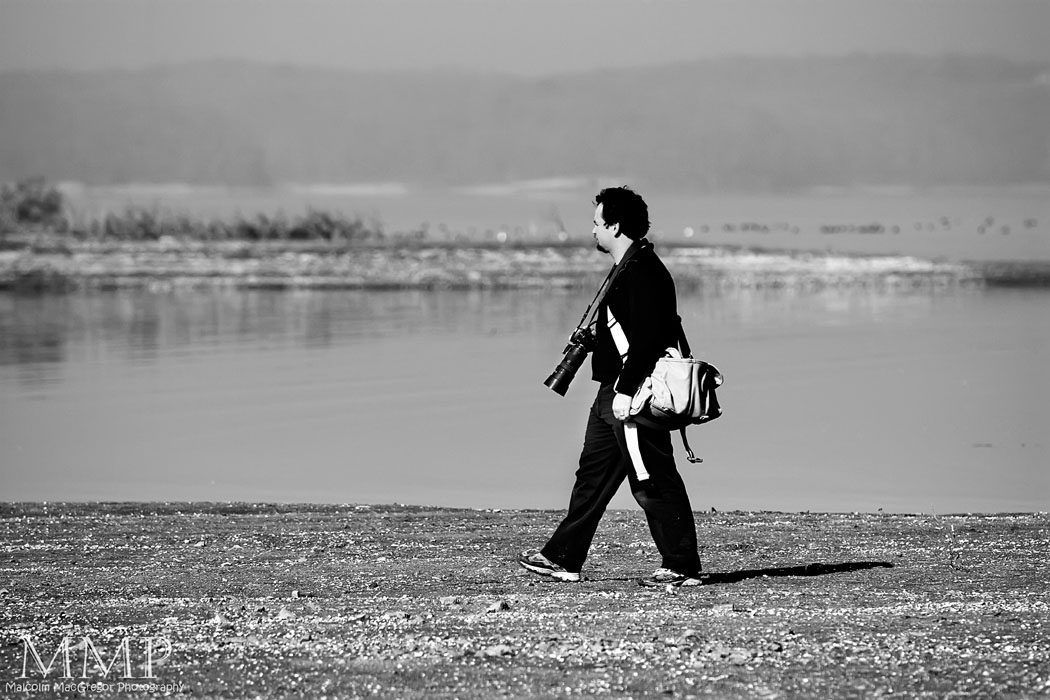
In the shot: Titus Bartos

I had never seen an armadillo before, there were TONS of them there!

This Week at the Lake – 27/52

It was tough getting anything decent this week. It seemed to be cloudy the entire week making it dark along the trails. My camera doesn’t do too well in dark conditions and I ended up with dozens of blurry images this week. It’s also getting too dark for my early morning trips. The sun doesn’t seem to come over the hills until 7:15 or so, by 7:30 I should be back at the car to get ready for work.

Here are this weeks best shots:

I liked the idea for this but I think the deer is too far away

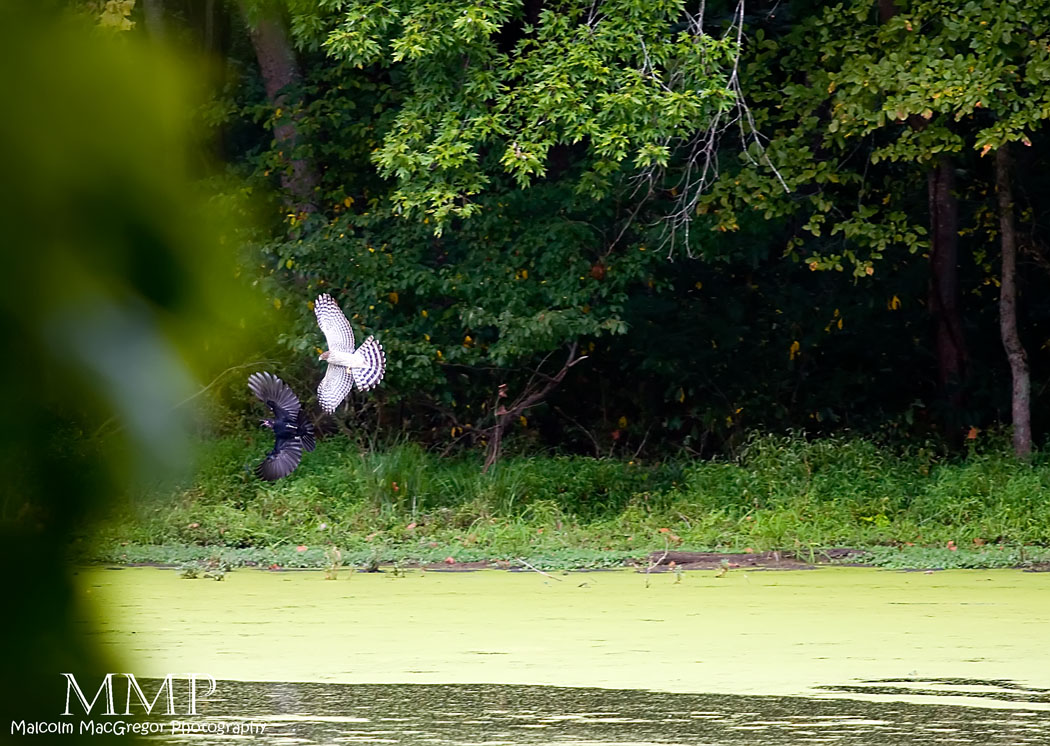
This is heavily cropped but it was so cool to watch I wanted to share it. This hawk and about 5 black birds were going at it for a while. Was the hawk trying to eat a black bird or were the black birds trying to get the hawk to leave? Most of the time, I couldn’t even tell who was chasing who! At the time of this shot, it’s clear that the hawk is chasing the black bird. But shortly after this, the hawk landed on a log and another black bird came down and provoked the hawk. None of the chases ever lasted very long as the hawk gave up the chase quickly and easily. Very fun to watch, wish I could have gotten closer but this was all happening on the other side of the lake!

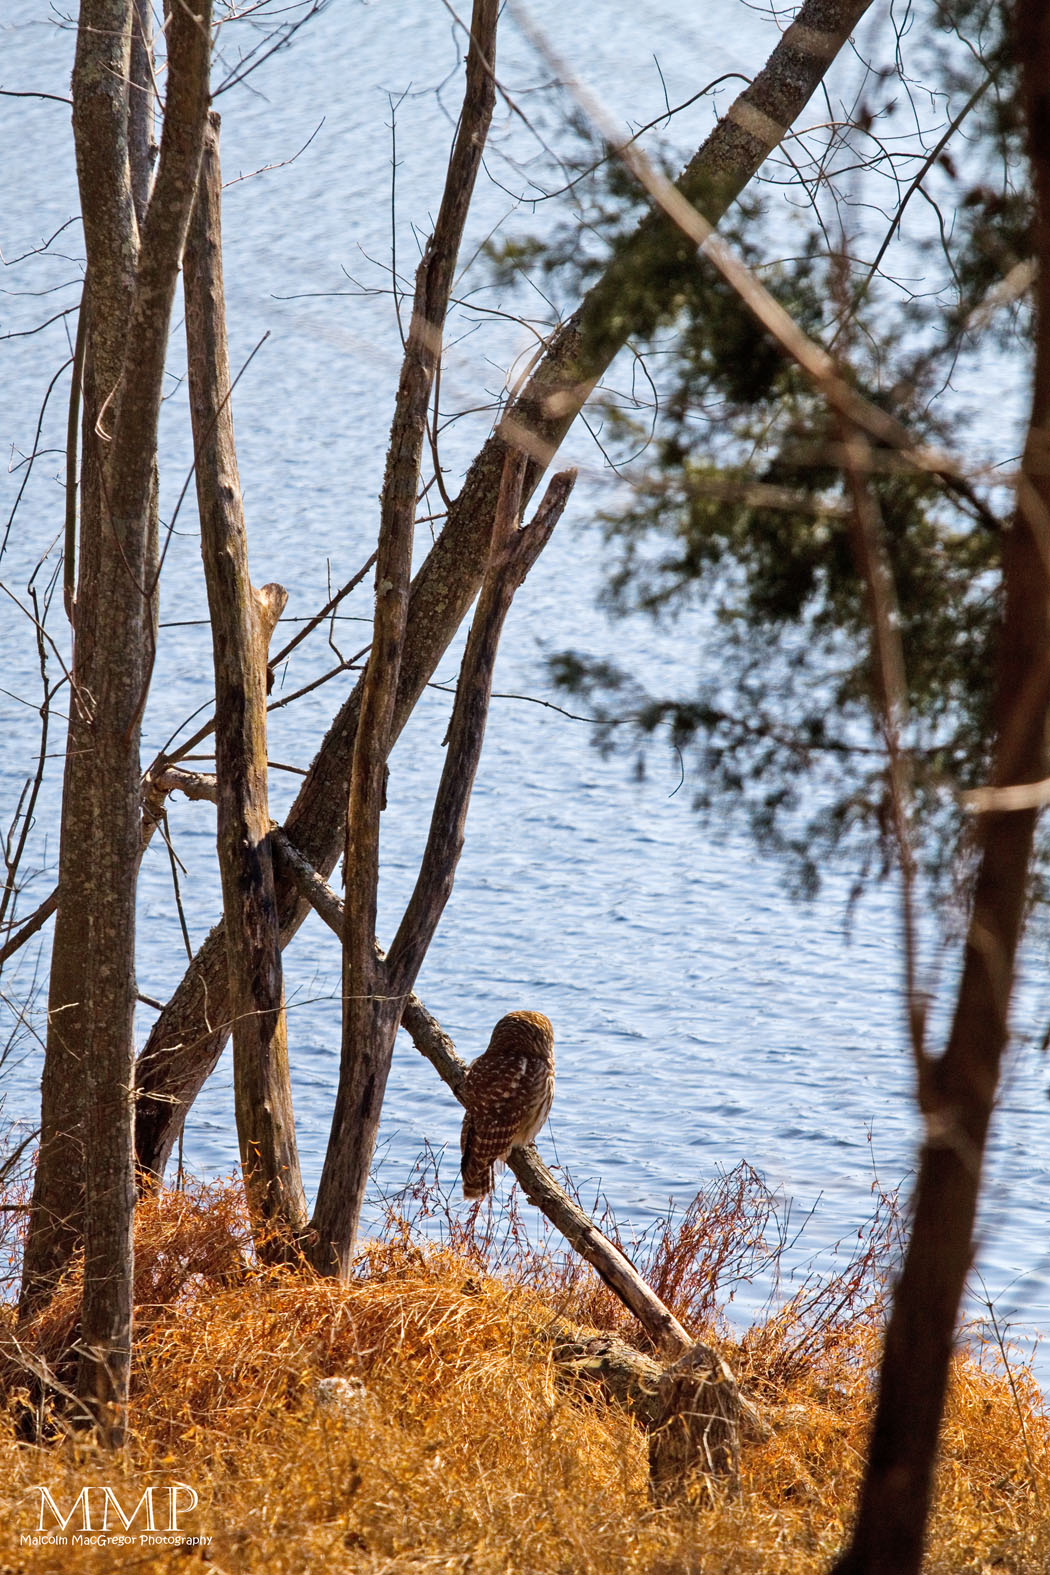
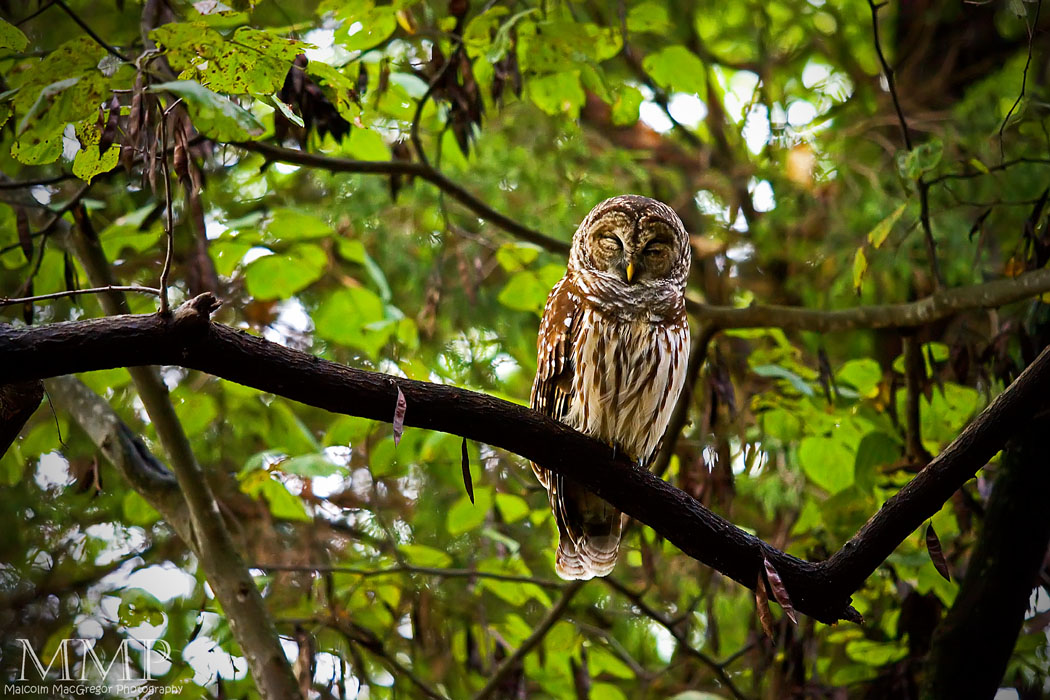
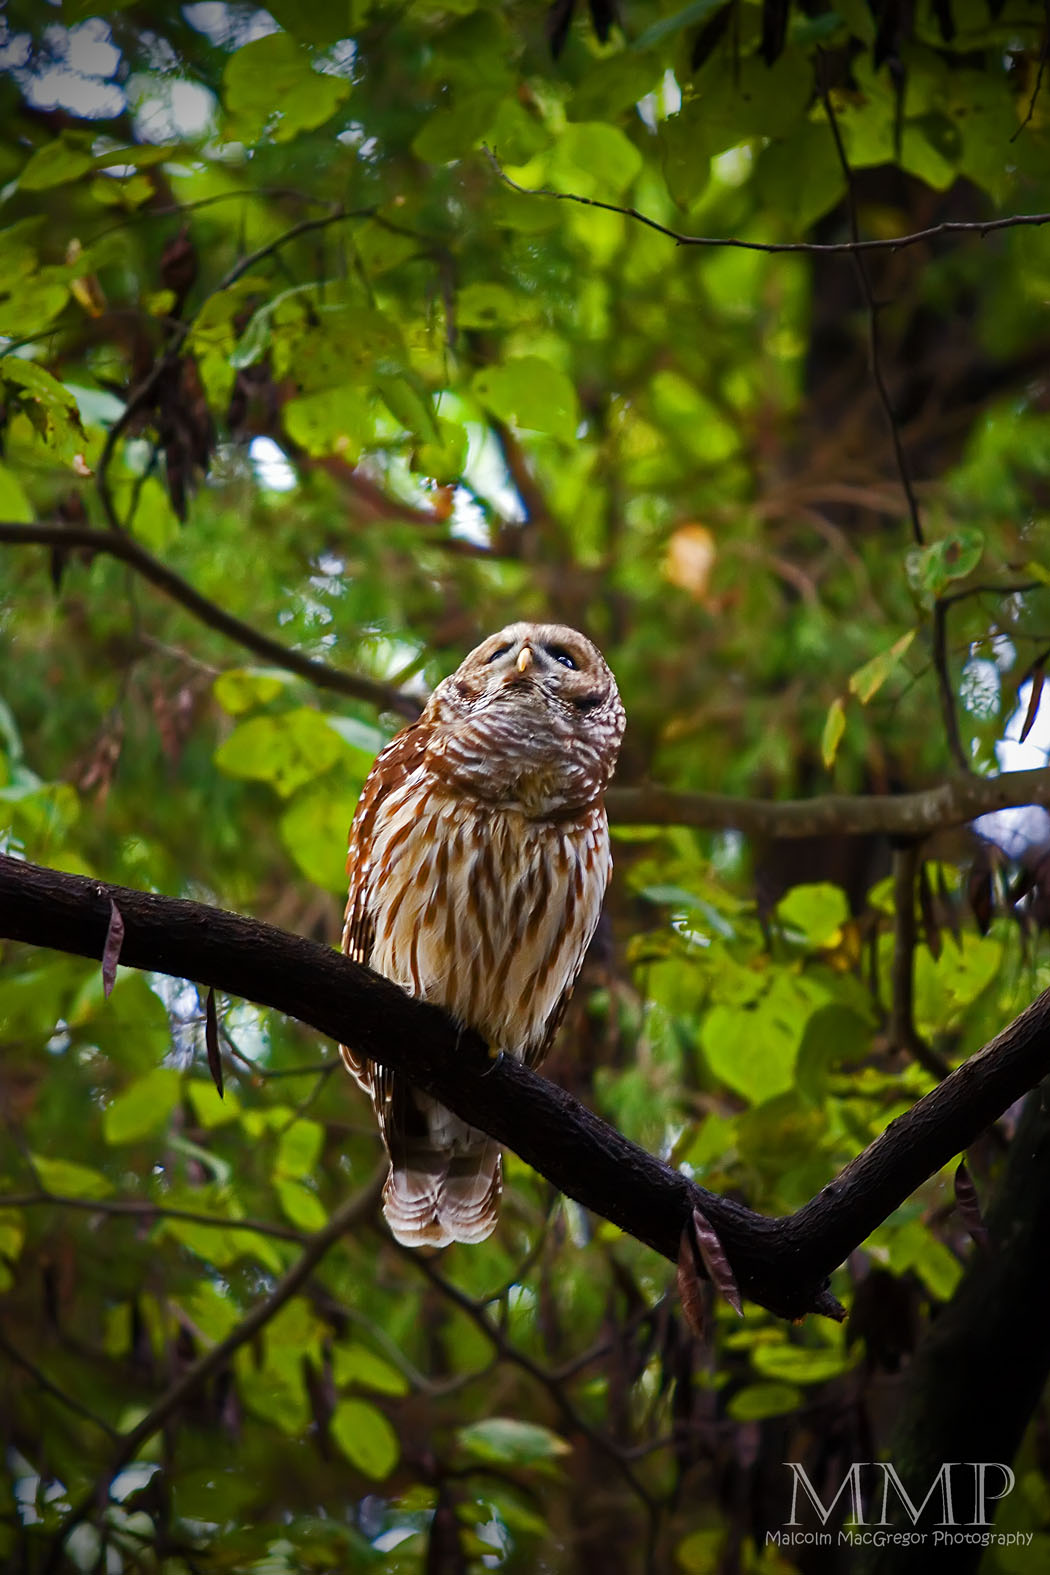
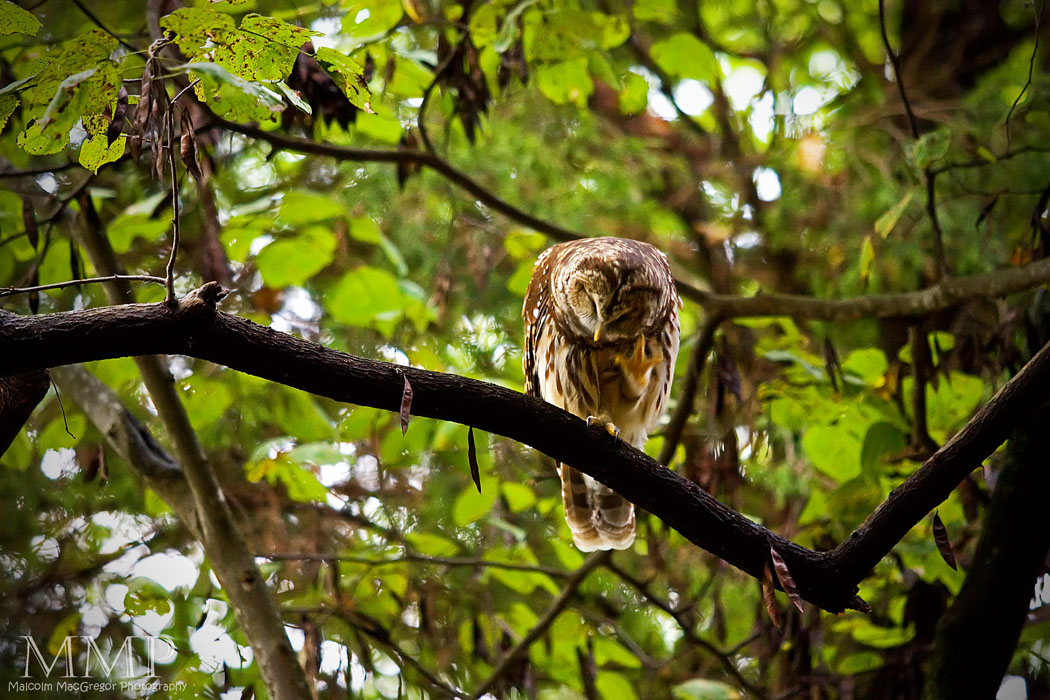
spotted this owl Friday evening. I set up the tripod without scaring him off, and fired off a few shots. While taking these shots it really started raining. Not much rain was making it to me under the trees but I didn’t want my gear sitting out any longer.

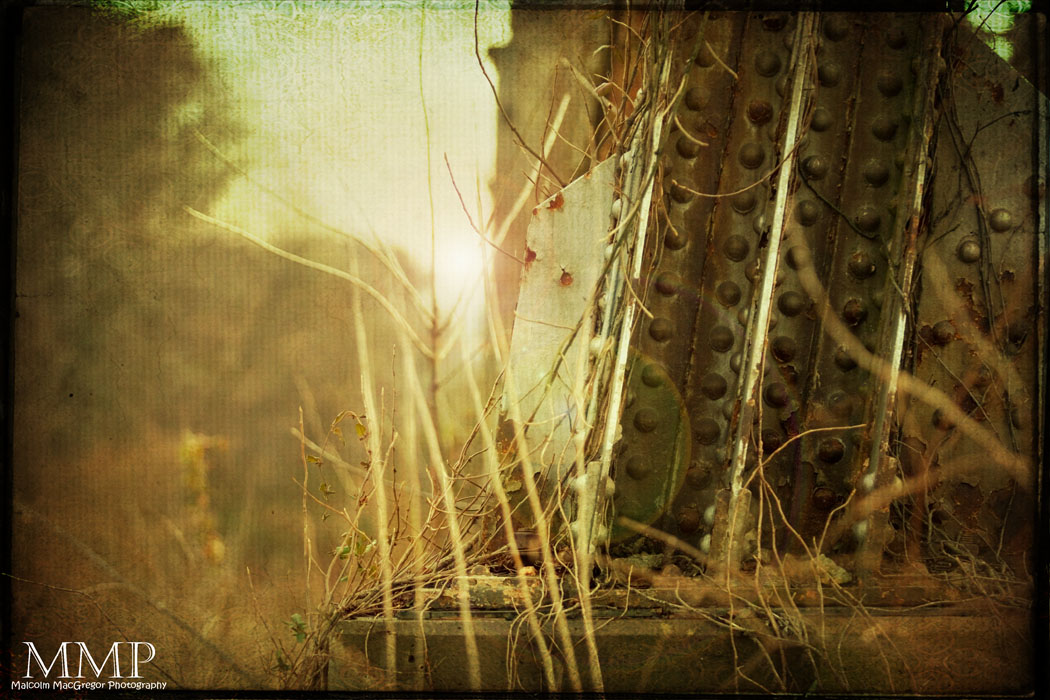
Bad formation! But pretty cool photo with the added textures…

Thanks for looking!

Check out all the previous weeks by Clicking HERE

Don’t miss a week! Subscribe to this blog and you will receive an email every time I post something new!

How I did it – Part 4

Another Tutorial! Don’t worry, I’ll get back to the photo posts soon!

I’ve had another request for a tutorial. This time someone would like to see how I convert to black and white. Believe it or not, there are TONS of ways to convert an image to black and white. However, there is one particular method that I use often. I believe I got it from a Scott Kelby photoshop book for CS2 purchased on Ebay. It’s a very easy process that makes for a great action.

Here we go…..
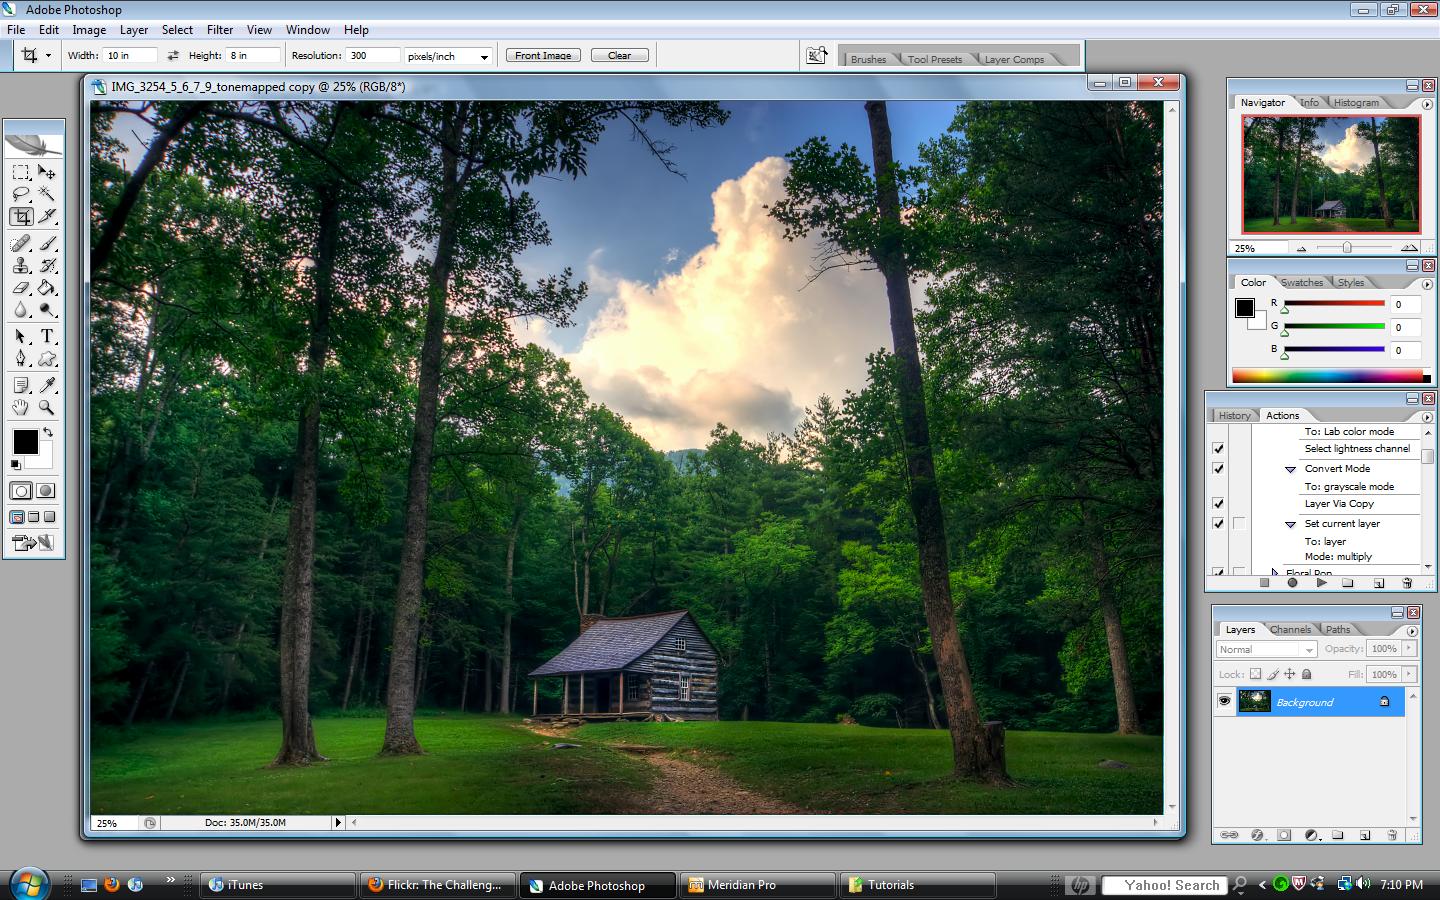
Here is what we are starting with:

Now, this is an HDR image and I am already finished with my normal processing. You can check out my other tutorials to see those steps. So now I decide I’d like to see it in black and white.

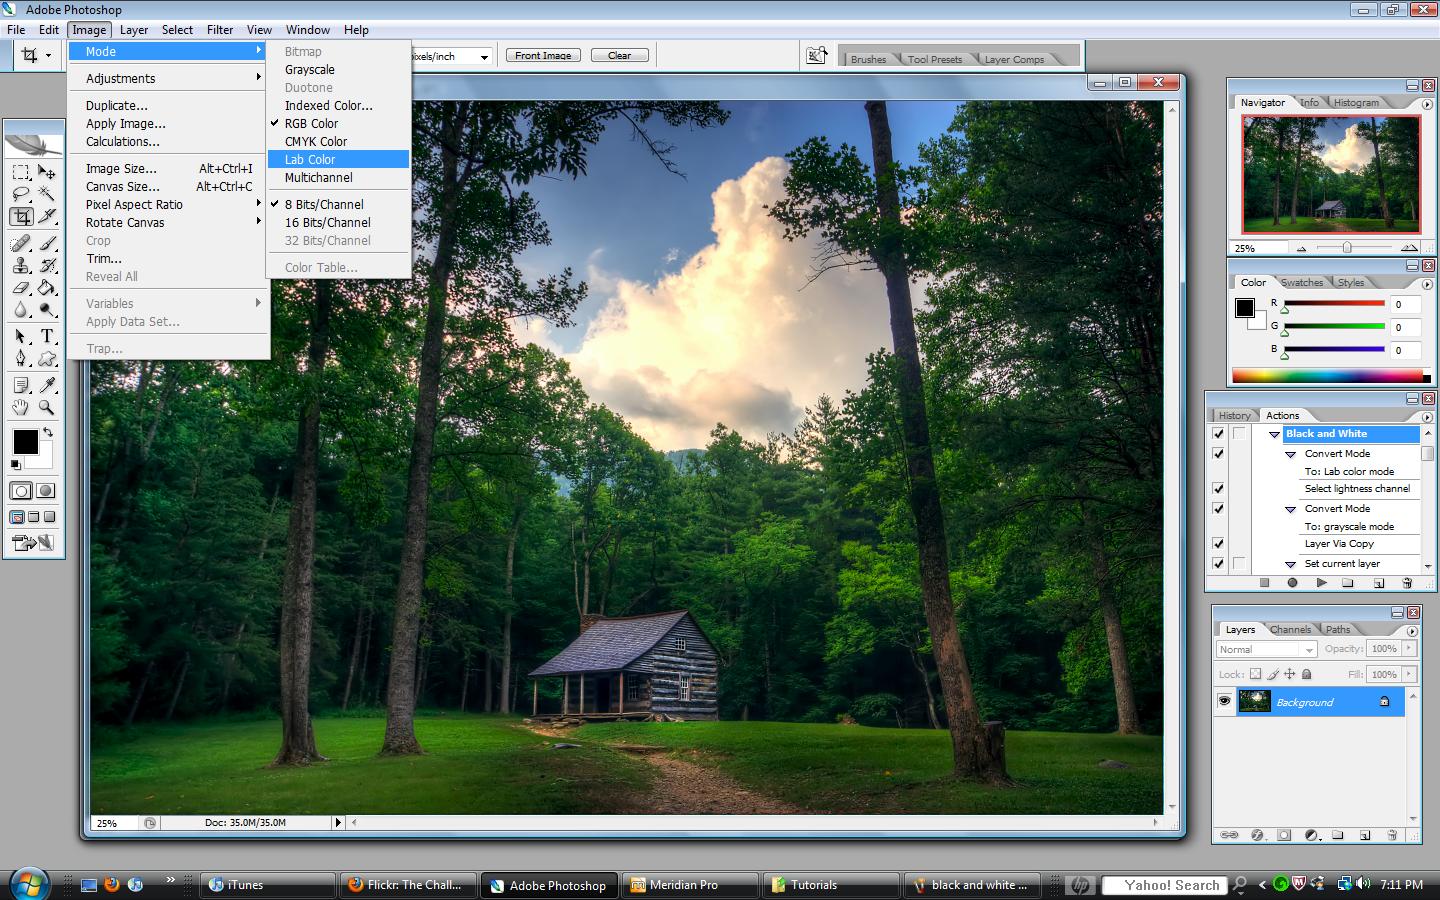
First step is to convert the image to LAB mode — Image, Mode, Lab Color:

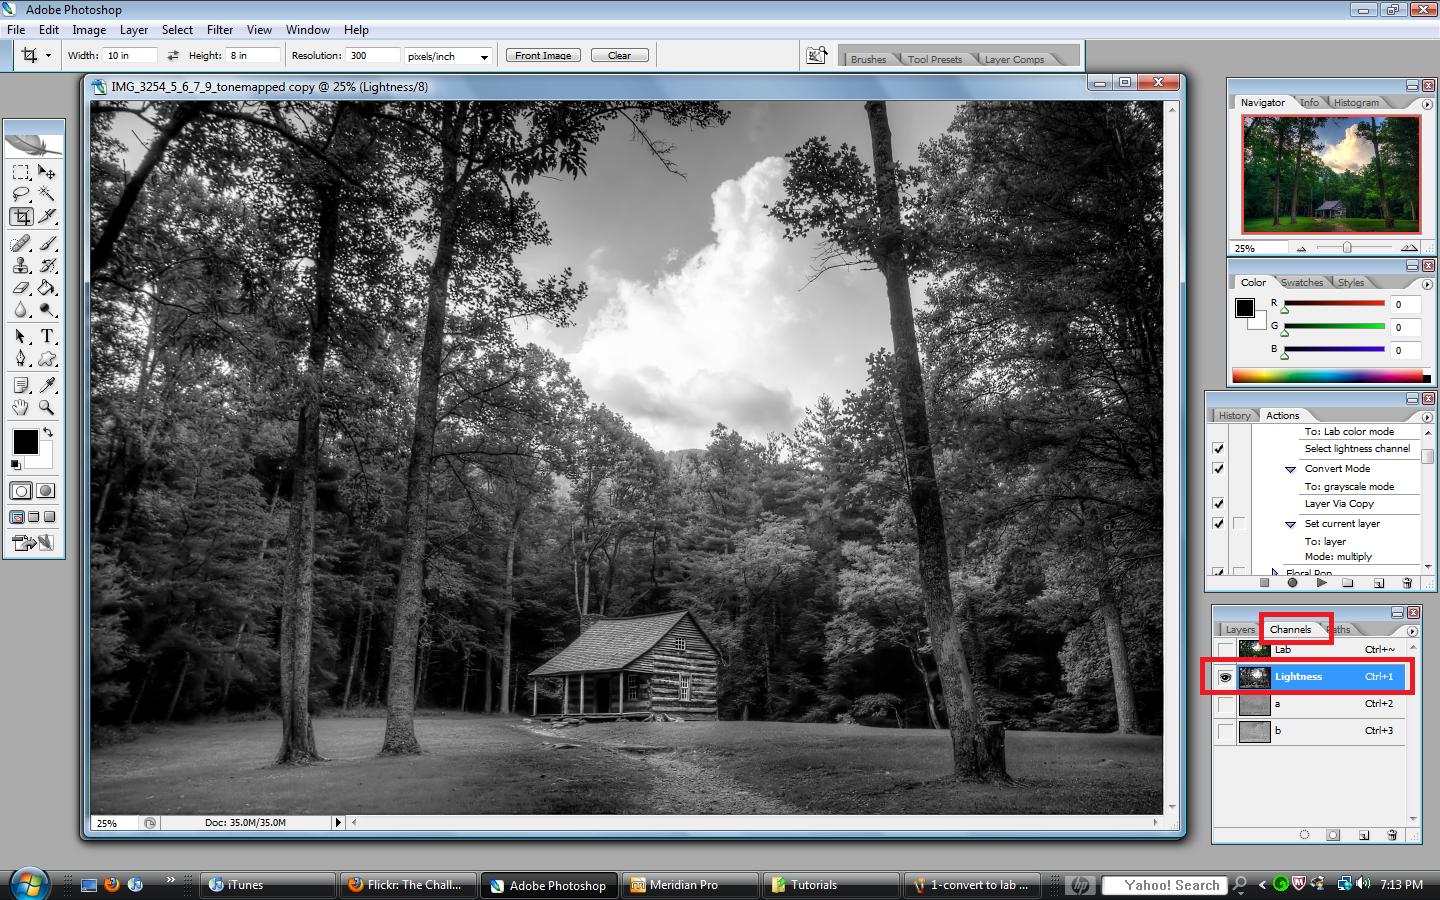
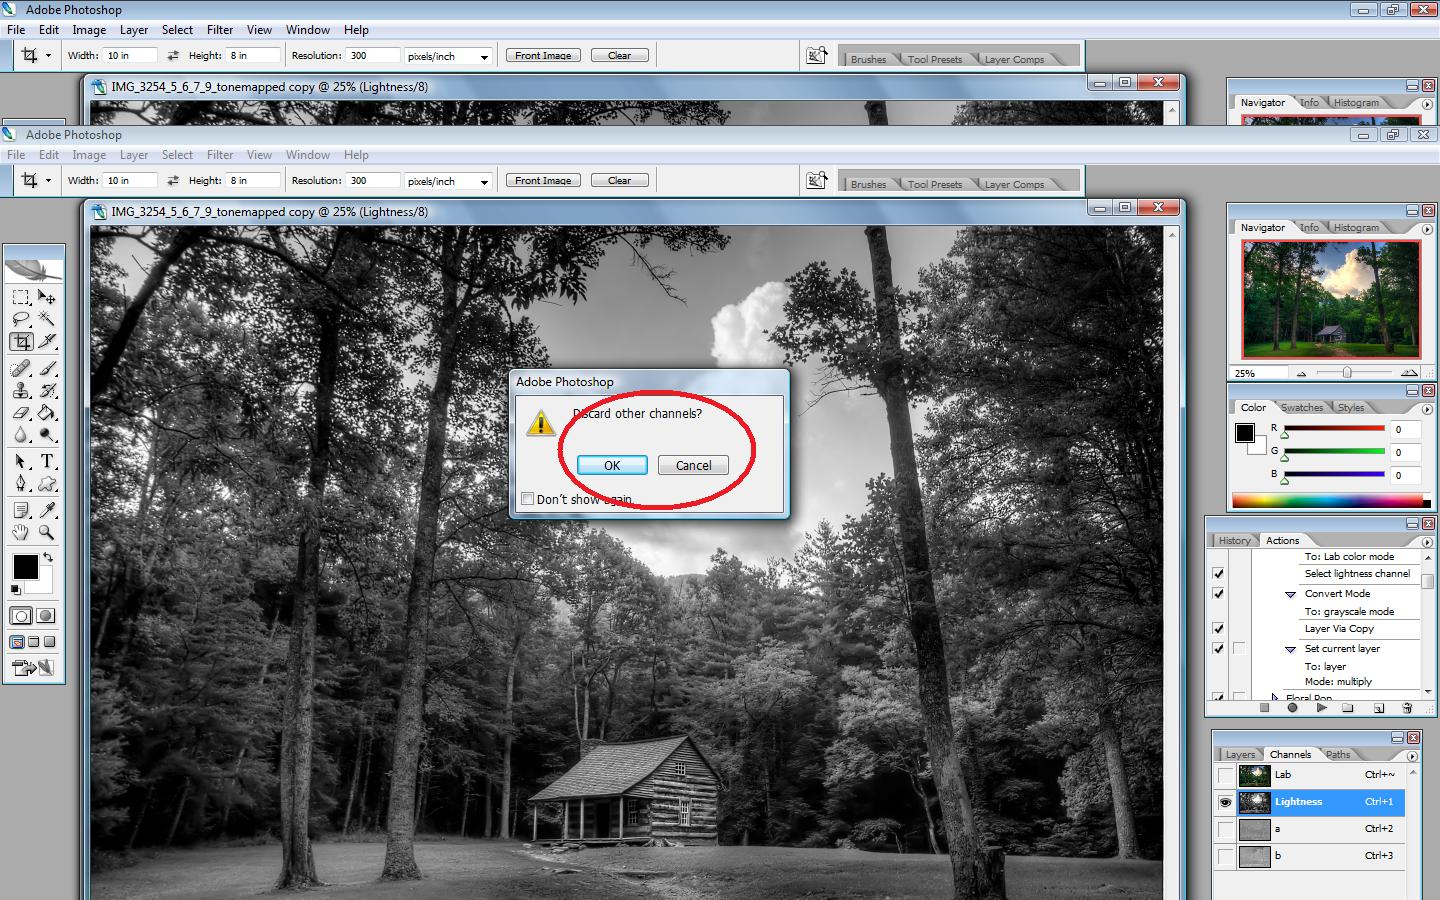
Next, in the “Layers/Channels/Paths” box, click on the “Channels” tab. You’ll see all the channels are selected, select the “Lightness” channel (which turns the others off)

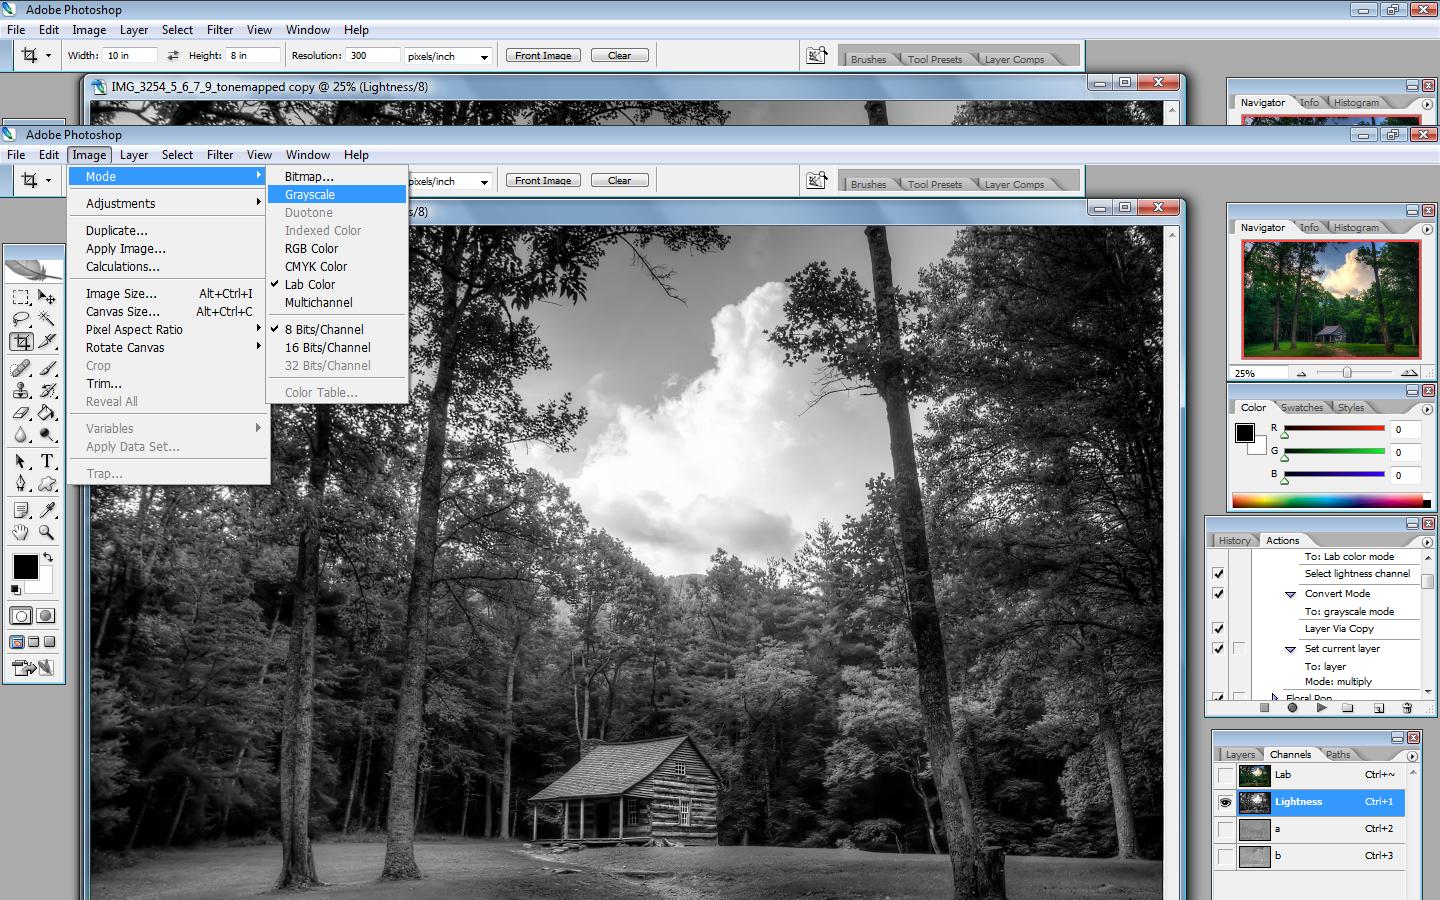
With the “Lightness” channel selected, we want to convert it to grayscale — Image, Mode, Grayscale

It will ask you if you want to discard the other channels, say yes:

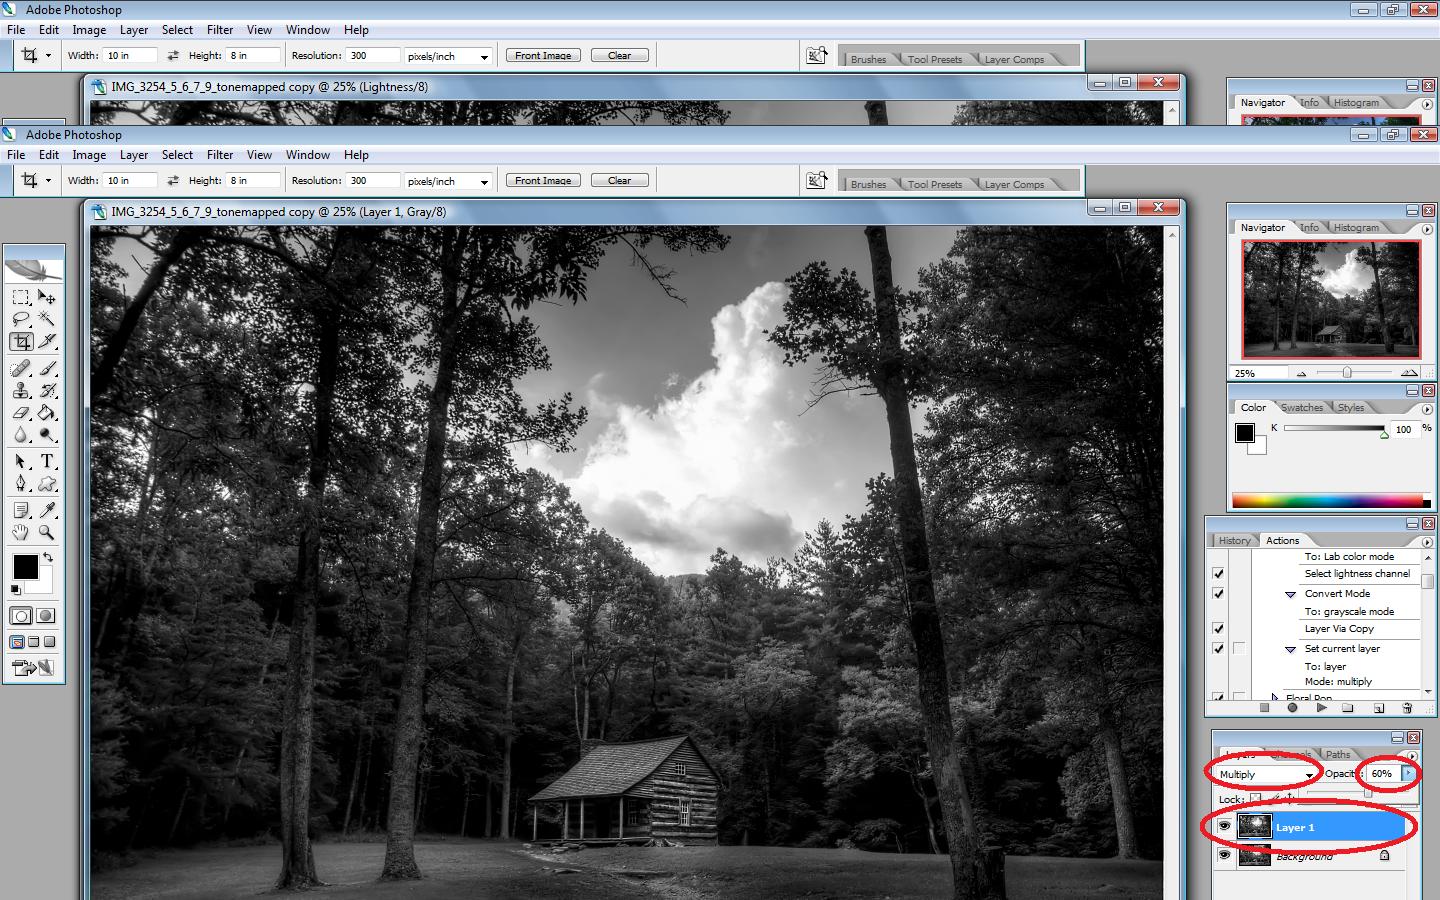
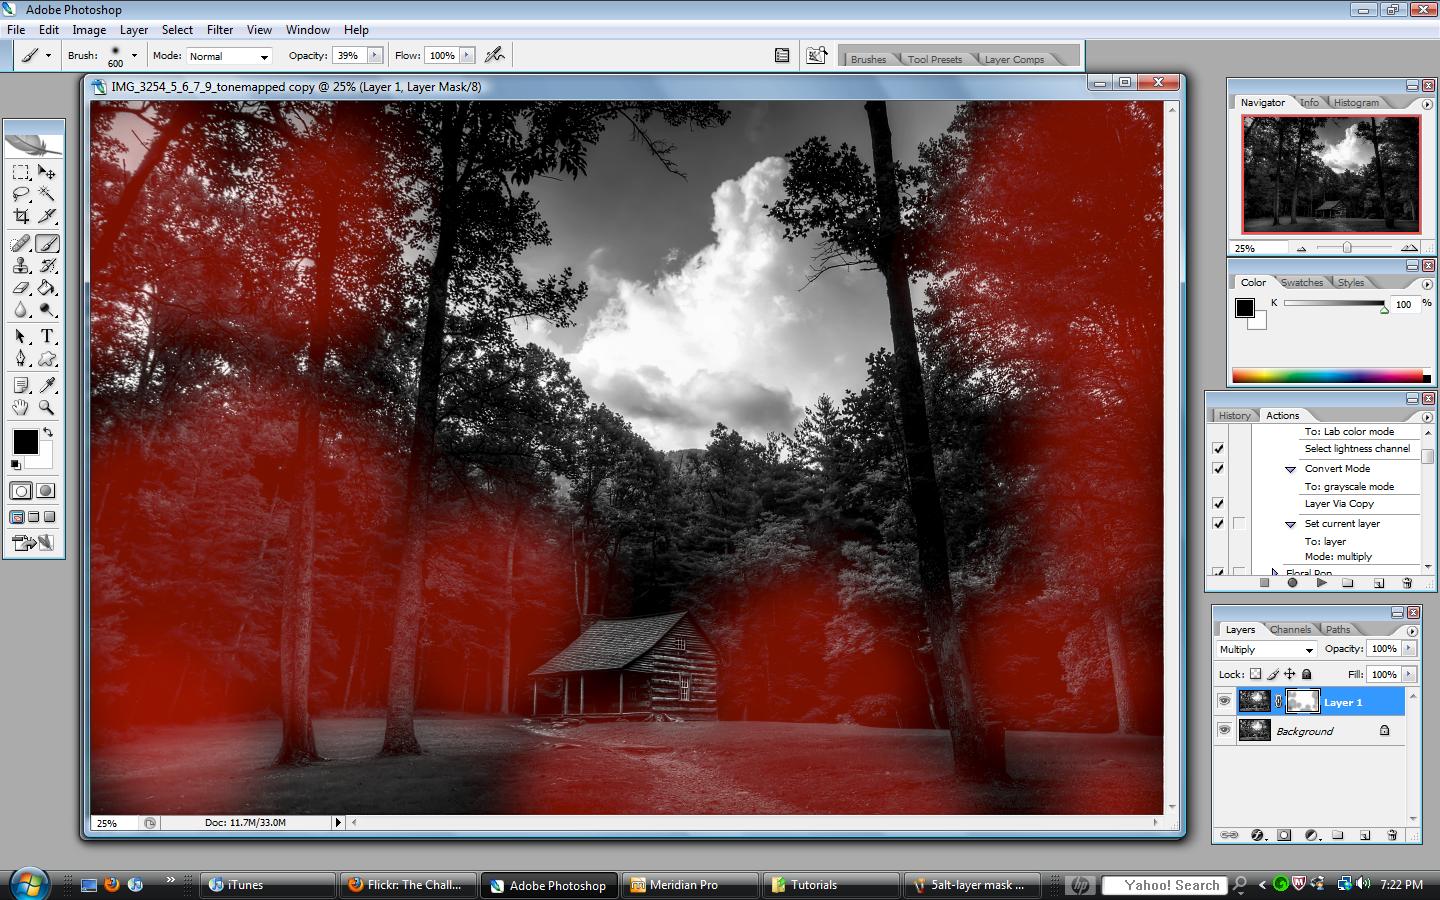
Now, back on the “Layers” tab, do a CTRL+J. This duplicates the layer. Put that top layer in “Multiply” blend mode and adjust the opacity to taste:

And that’s it! Black and white complete. If you write this as an action, leave the opacity at 100%, that way you can adjust it differently for each image you convert.
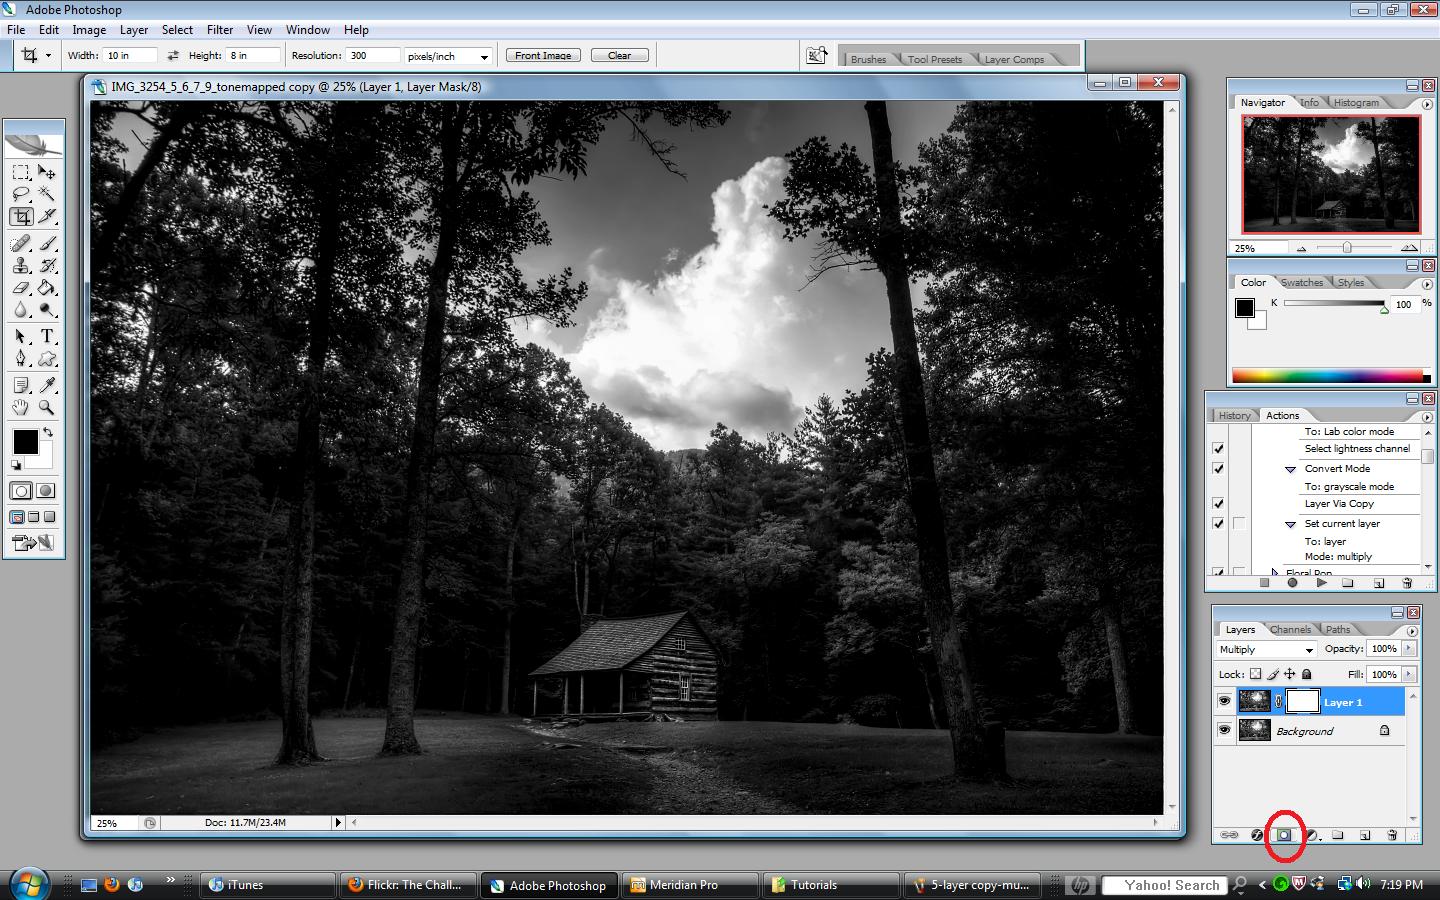
An alternate to changing the opacity, you could add a layer mask:

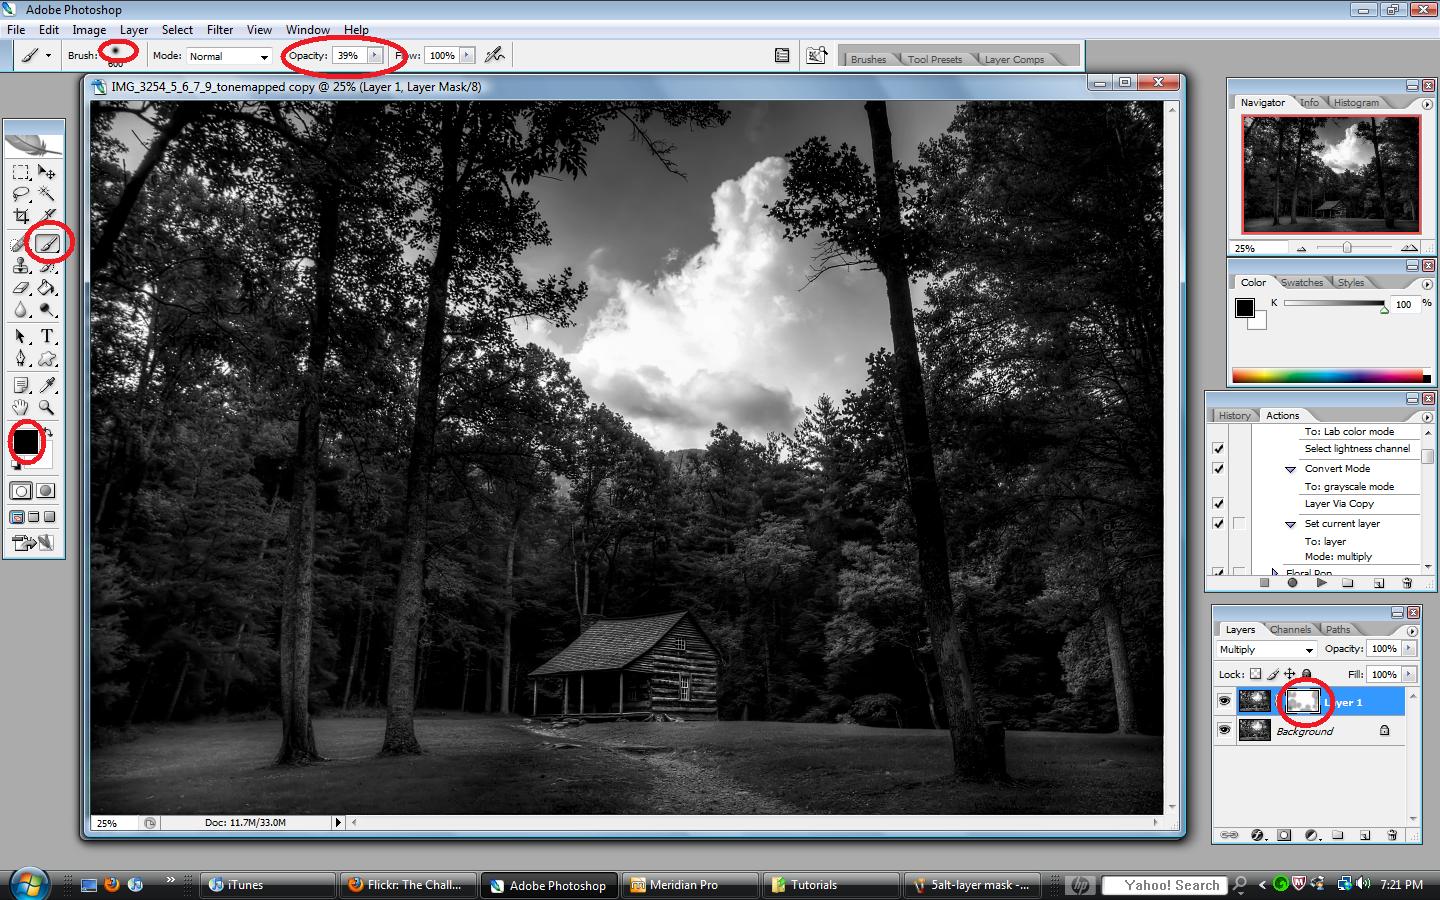
and then grab a soft black brush:

And paint the areas that you think are too dark:
(this image shows where I have painted)

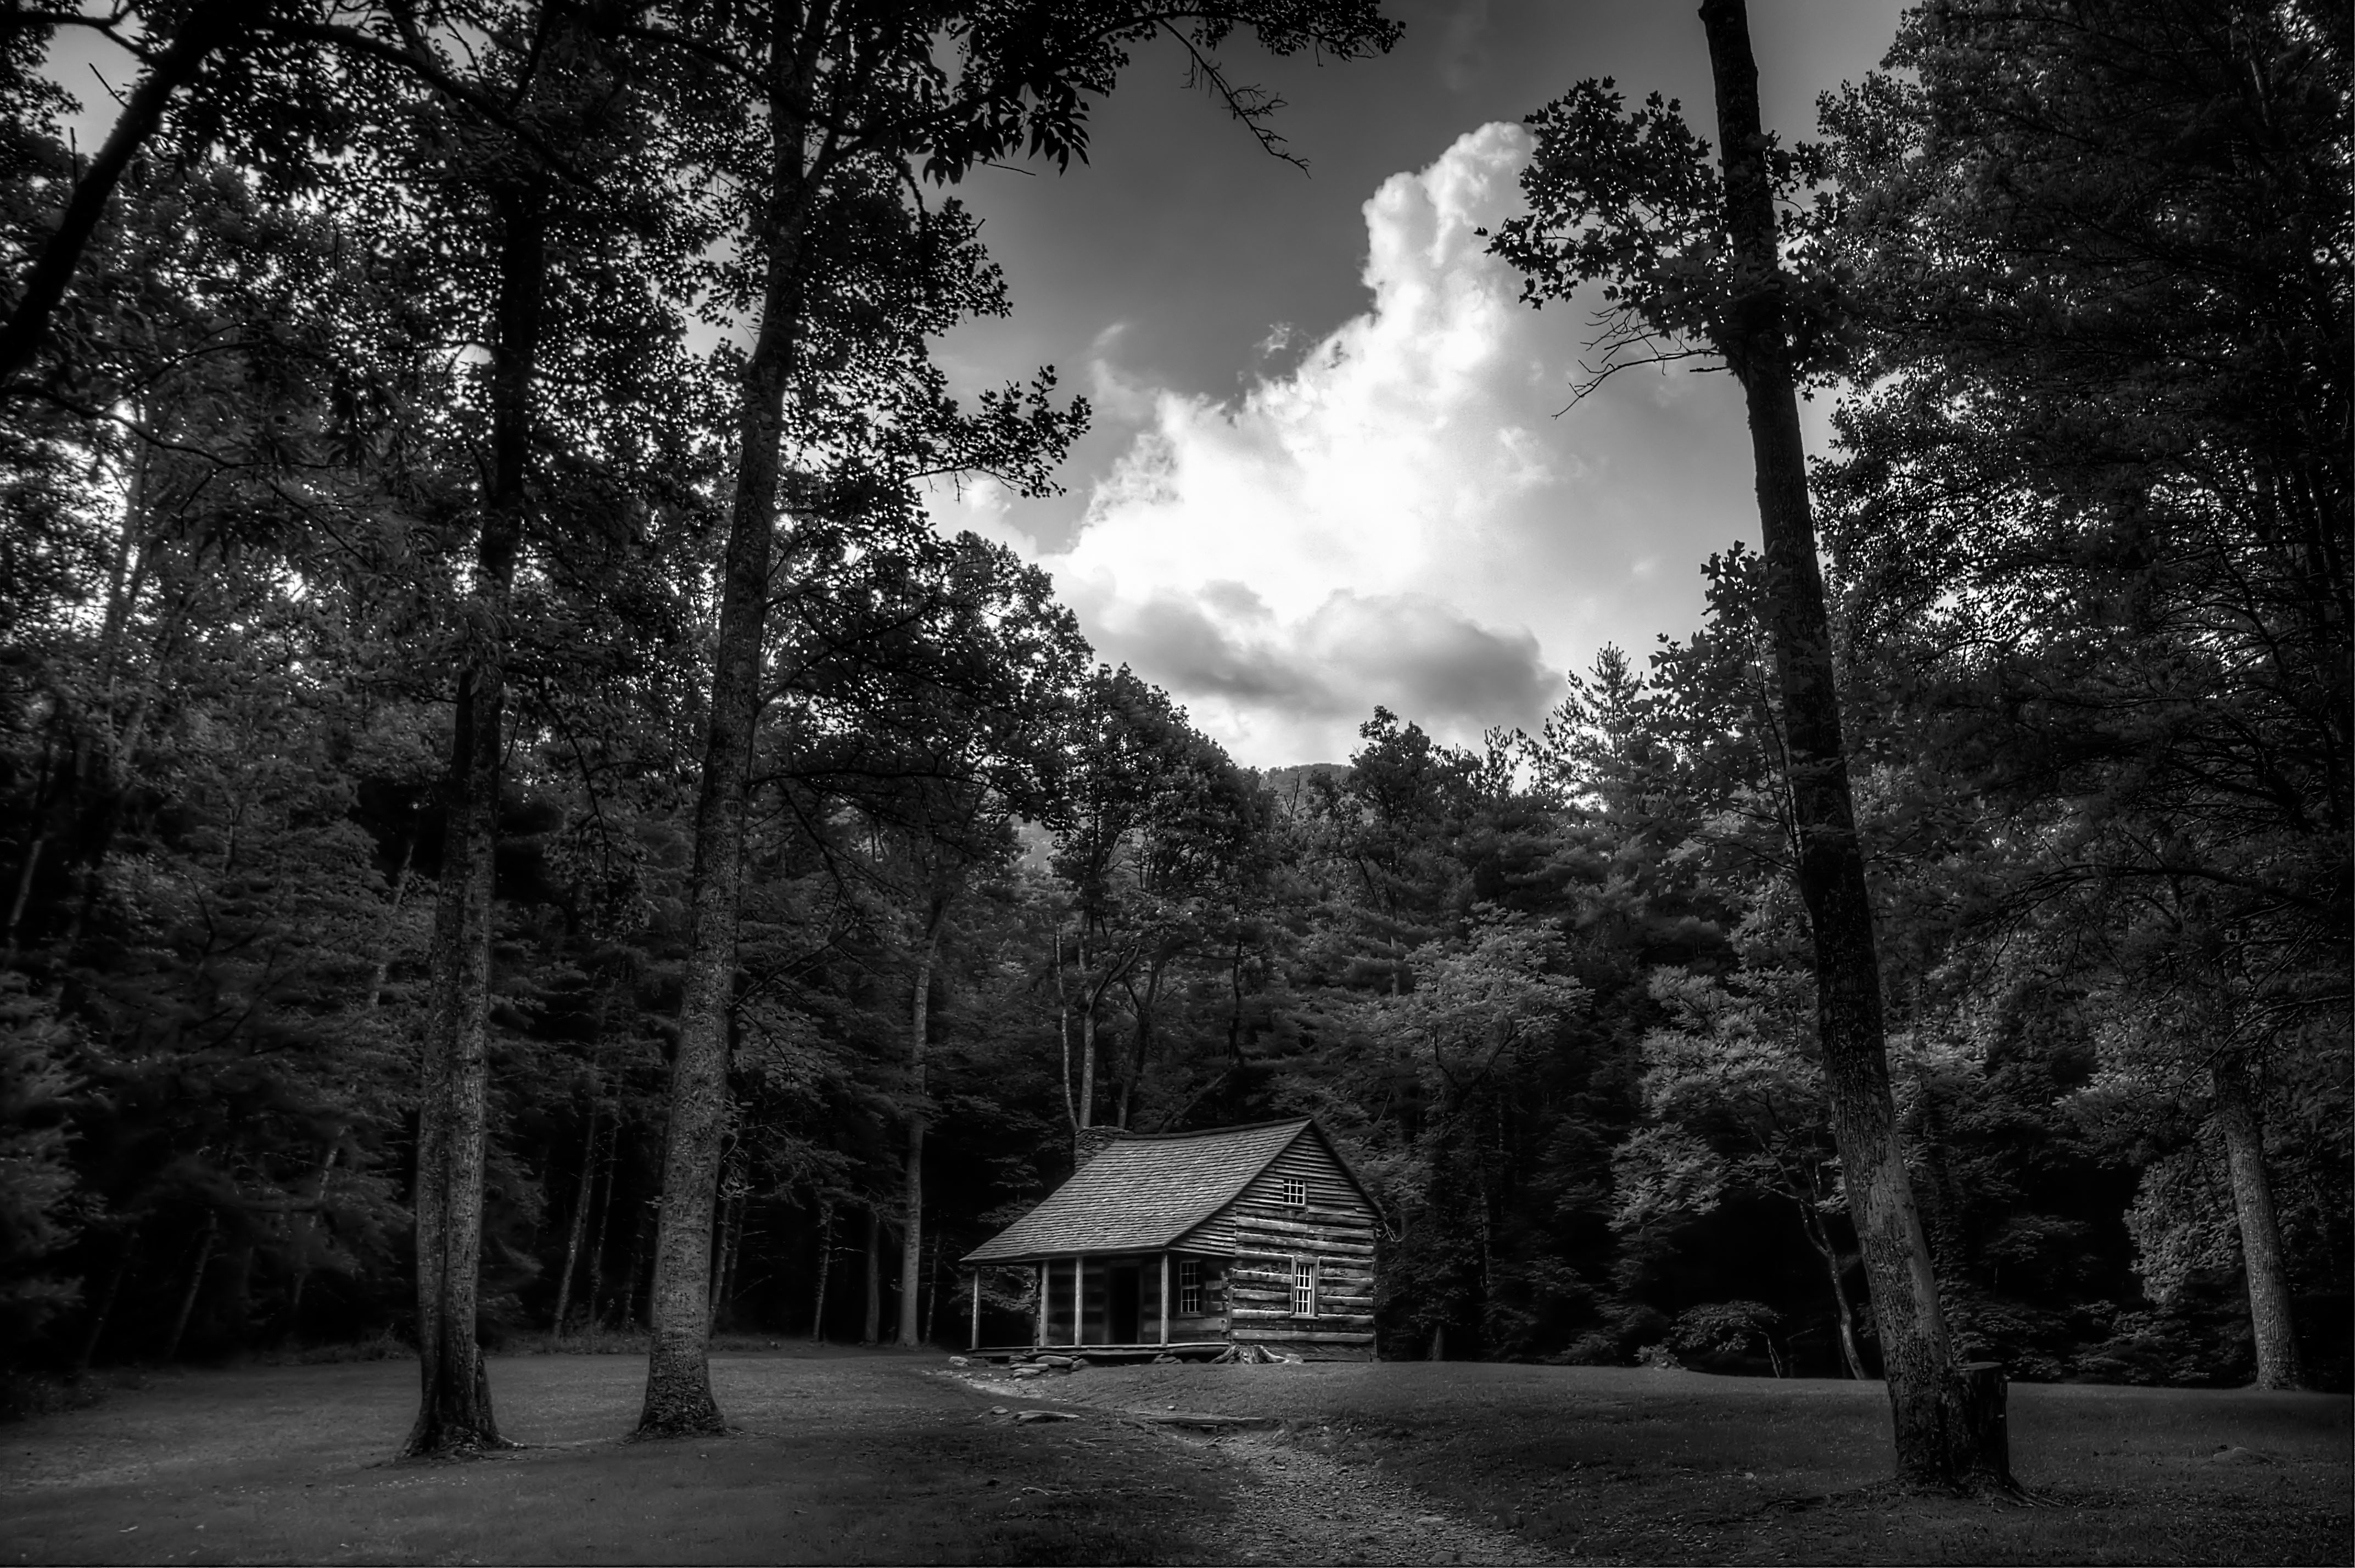
Here is the final result:

Now, to answer the question that was posed regarding my First Tutorial. If you’ve read that one, you’ve seen that I often layer a black and white image on top of a color HDR image to make it dark and achieve a dramatic look. When I do that, I do not copy the layer and put it in “Multiply” blend mode. After I convert to grayscale, I copy that layer and paste it on top of my color image.

Hope this provides some useful information.

Here are some helpful links for learning more about Photoshop:

Photoshop Support Group
Photoshop Tutorials by Allan Gengler
Actions by Allan Gengler
CoffeeShop Actions

This Week at the Lake – 24/52

Lot’s of photos this week! I visited Radnor Lake in Nashville Tennessee on Tuesday, Wednesday, Thursday, and Friday.
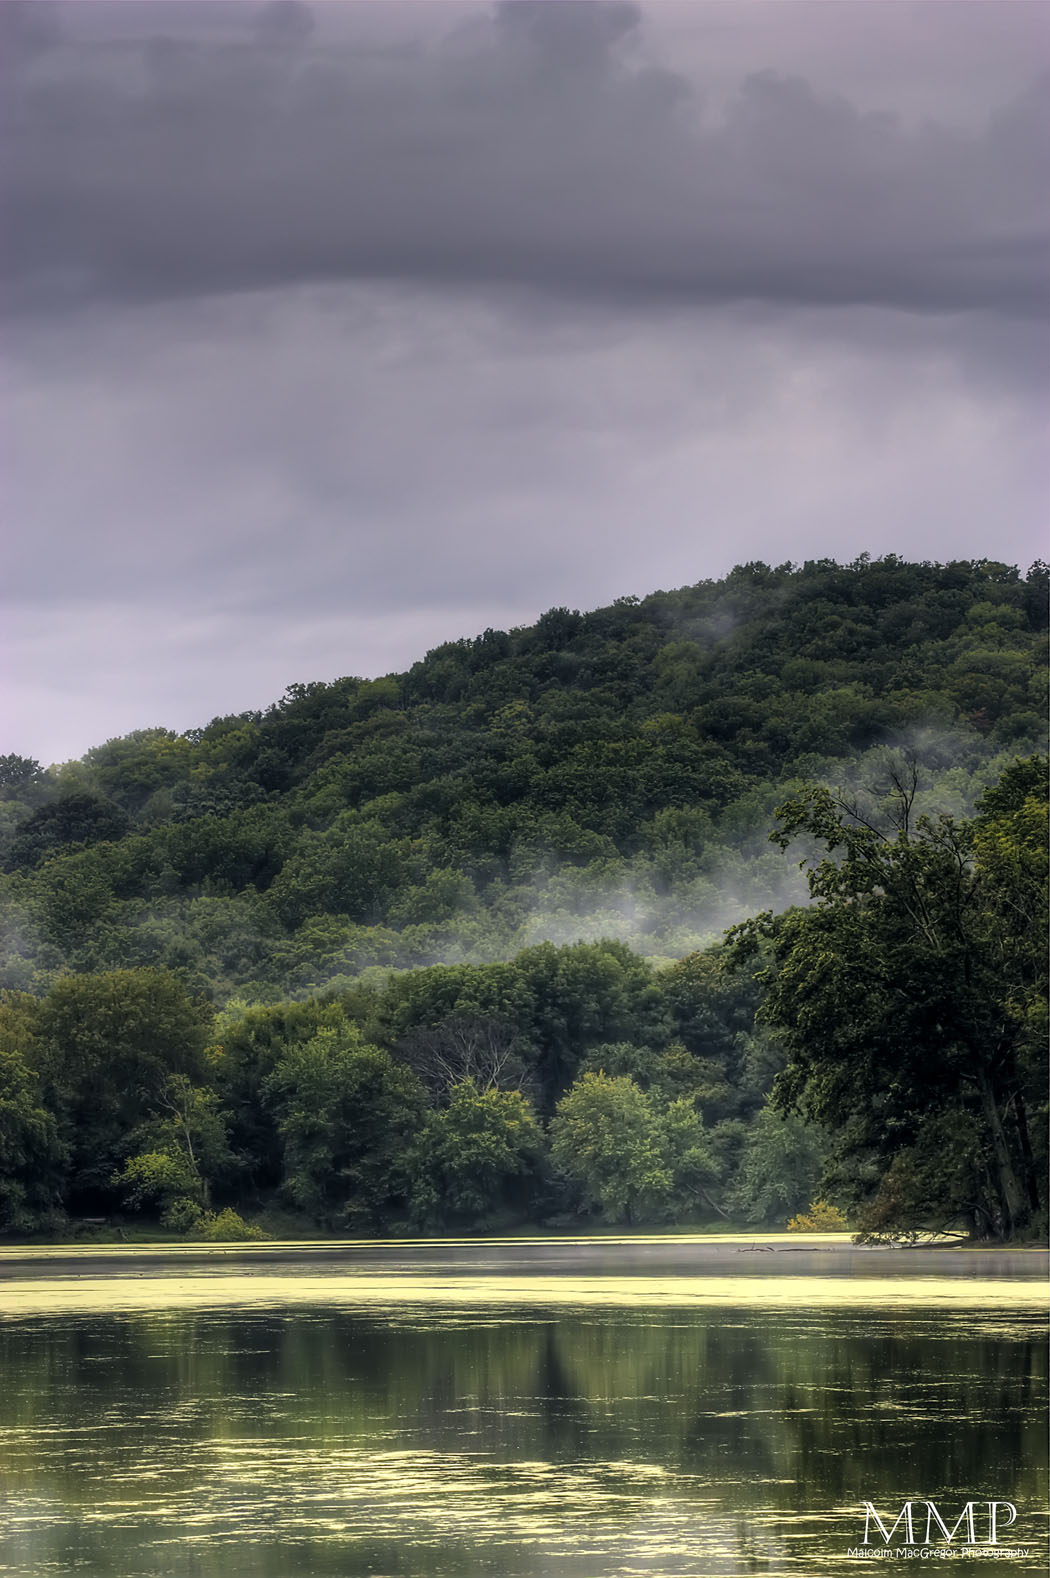
Wednesday morning was rainy, so I walked down Otter Creek Rd. I headed to one of the best spots at the park to get a lakescape. I’ve got shots from this spot on Week 13, and Week 16, and Week 19. This time it was different with the dark rain clouds:

Heading back to the car, I got this shot right before it really started raining hard:

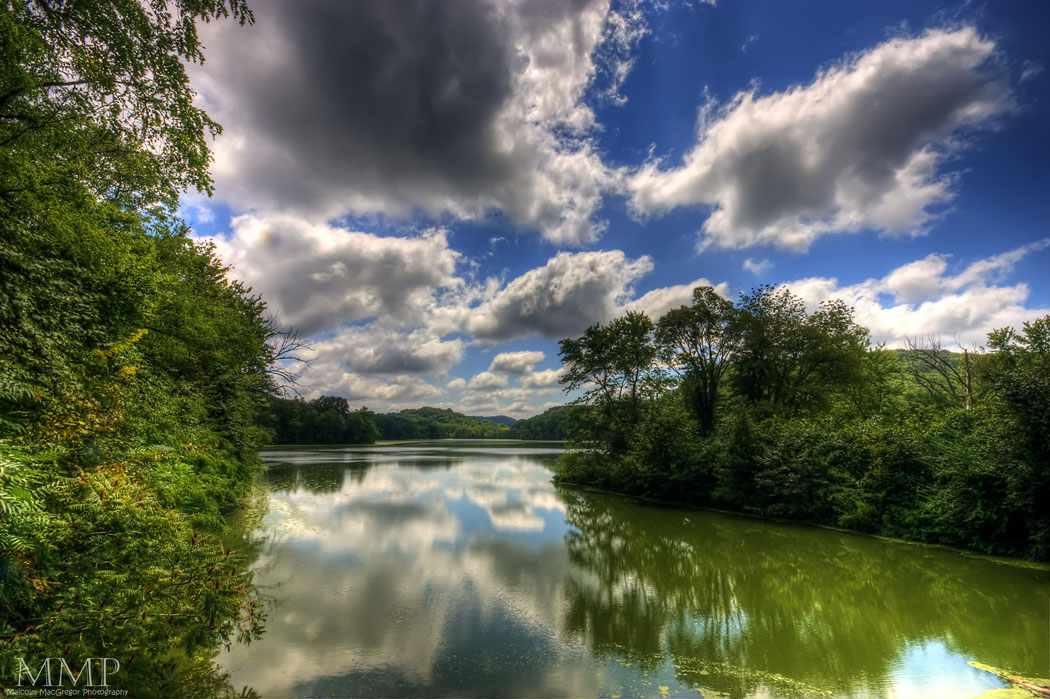
I went Thursday mid-day. The temperature and humidity have dropped considerably from last week, as you can see from this photo with the nice blue sky and fluffy clouds:

Then I went Friday early morning. I started off heading to the spot that I got shots for Week 15 and Wee 22 and I got this:

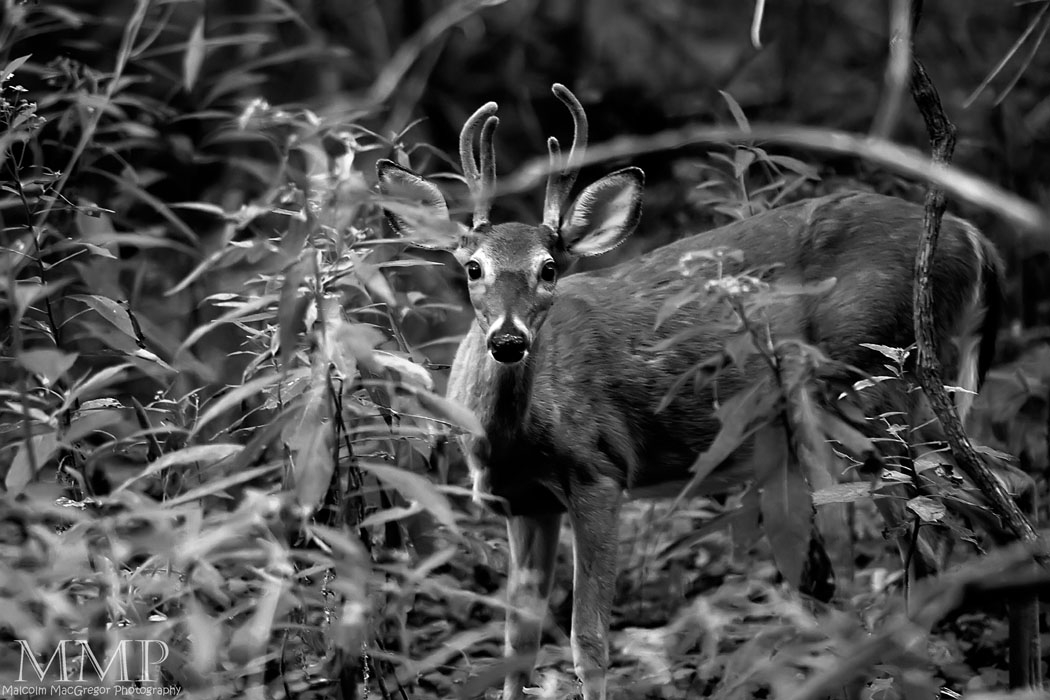
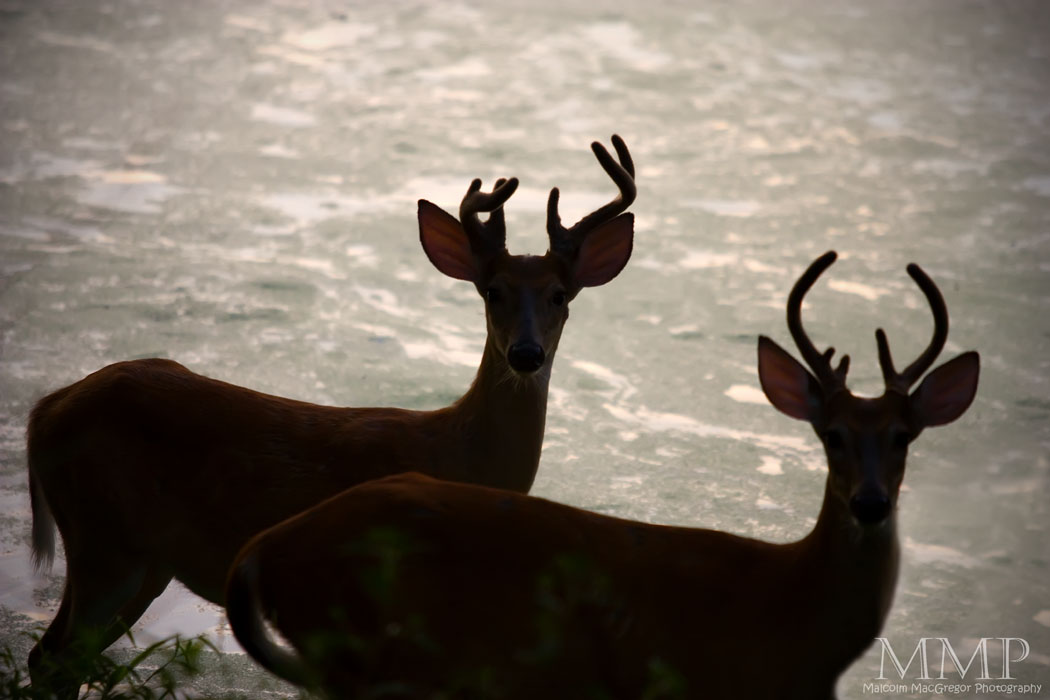
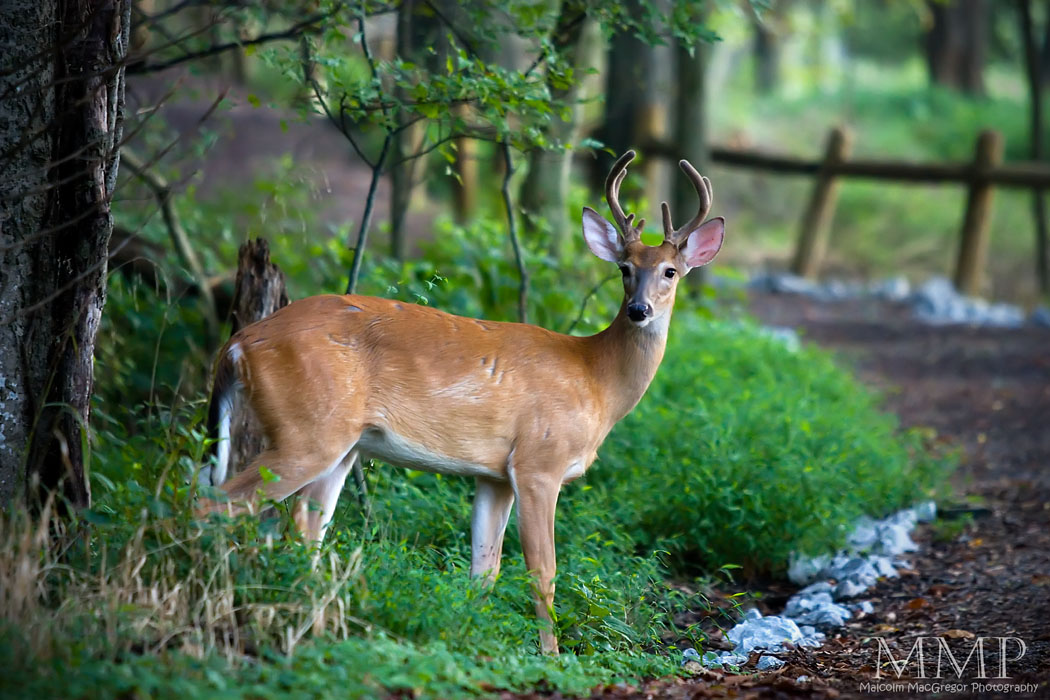
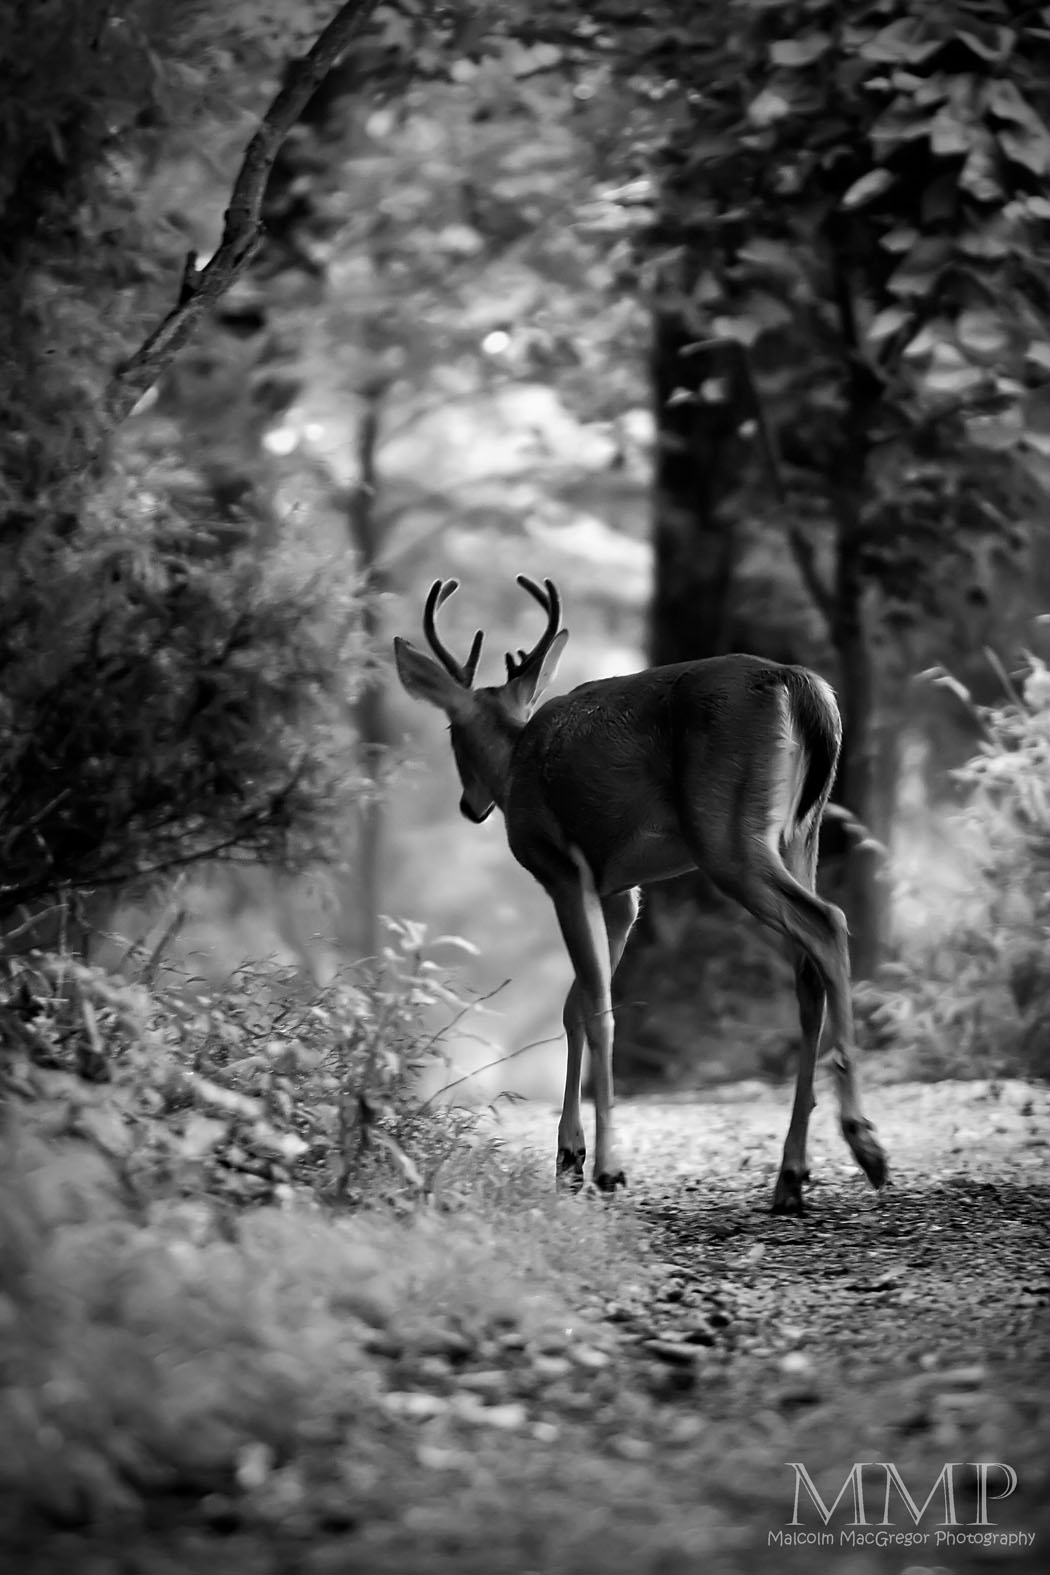
While setting up for this shot, I heard a loud crash maybe 10 feet away. I look over and there is a young buck staring at me. Then another comes to the shore and then some does arrive. I snapped this shot and then backed up from the shore and switched lenses. I’ve been looking forward to the fall, hoping I could get some shots of bucks. These may not be very impressive bucks but they are certainly the best I’ve seen so far. I ended up following them along the trail for nearly a mile, grabbing many shots:

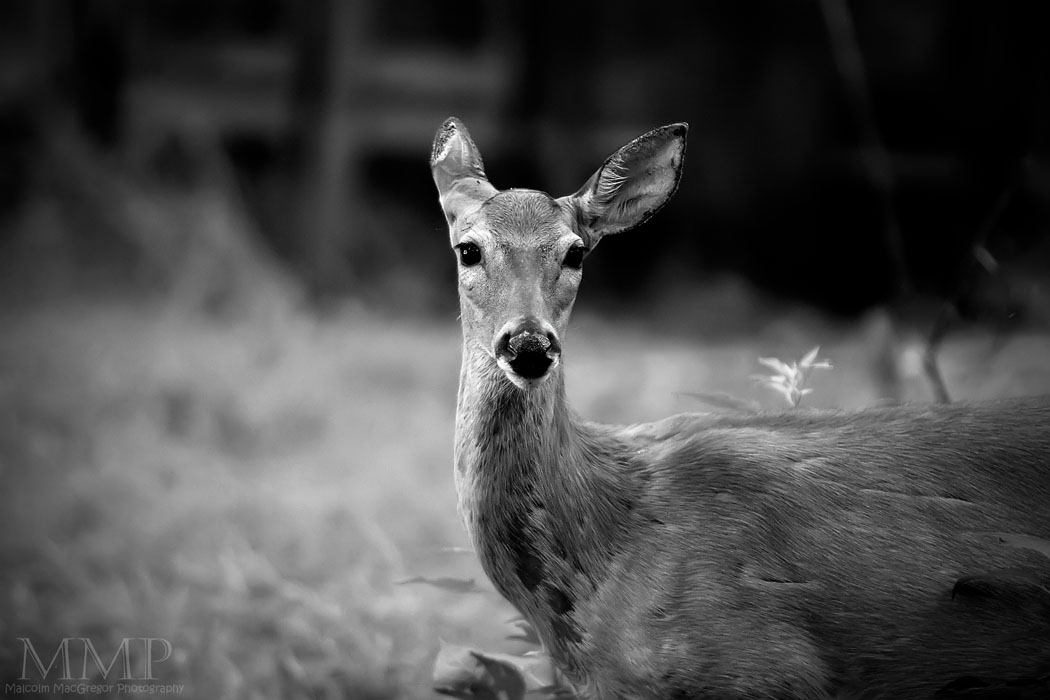
This is one of the does

Got the idea for this shot from a Matt Hansen photo. I’m not sure I pulled it off nearly as well as he but I still liked it.

Loved this one too!

Last one!

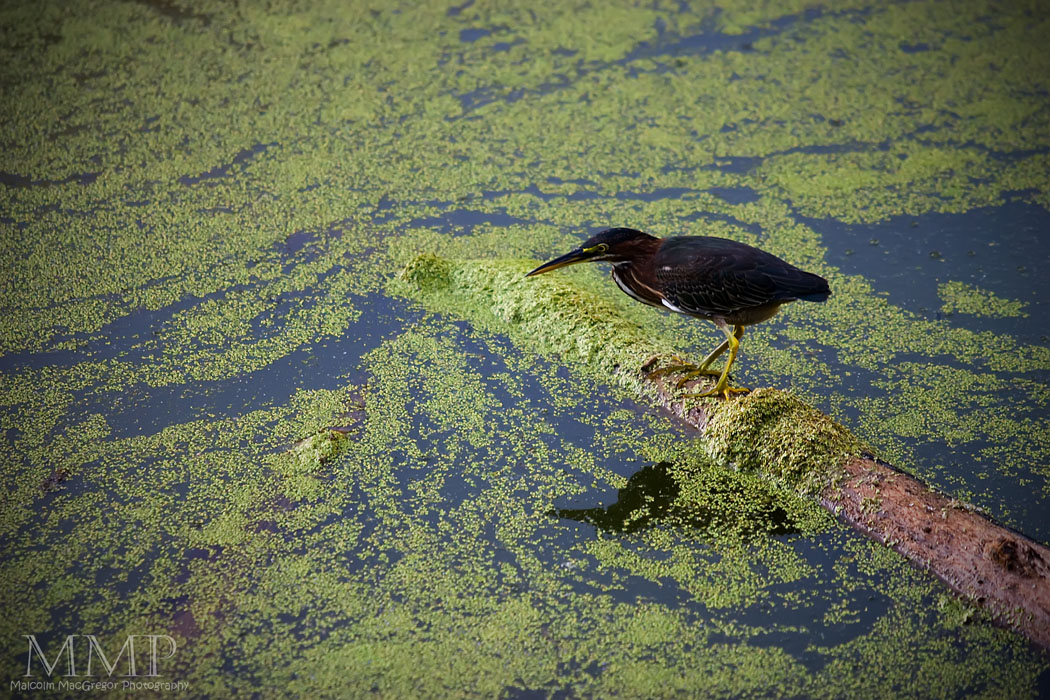
On the way back to the car I stopped at the dam where I usually see green herons. Sure enough there was one there, I only grabbed a couple shots before he was scared off by other walkers:

Thanks for looking!

Check out all the previous weeks by Clicking HERE

Don’t miss a week! Subscribe to this blog and you will receive an email every time I post something new!

This Week at the Lake – 23/52

I struggled to pick a lead photo this week. I like the photos I got this week but nothing really seemed to pop.

I started the week of at the lake on a Tuesday lunch time visit. It was about 100 degrees though so I did not stay long. I saw an owl on the side of the road on the way in but was unable to get a shot of him. The only thing I got in Tuesday was this:

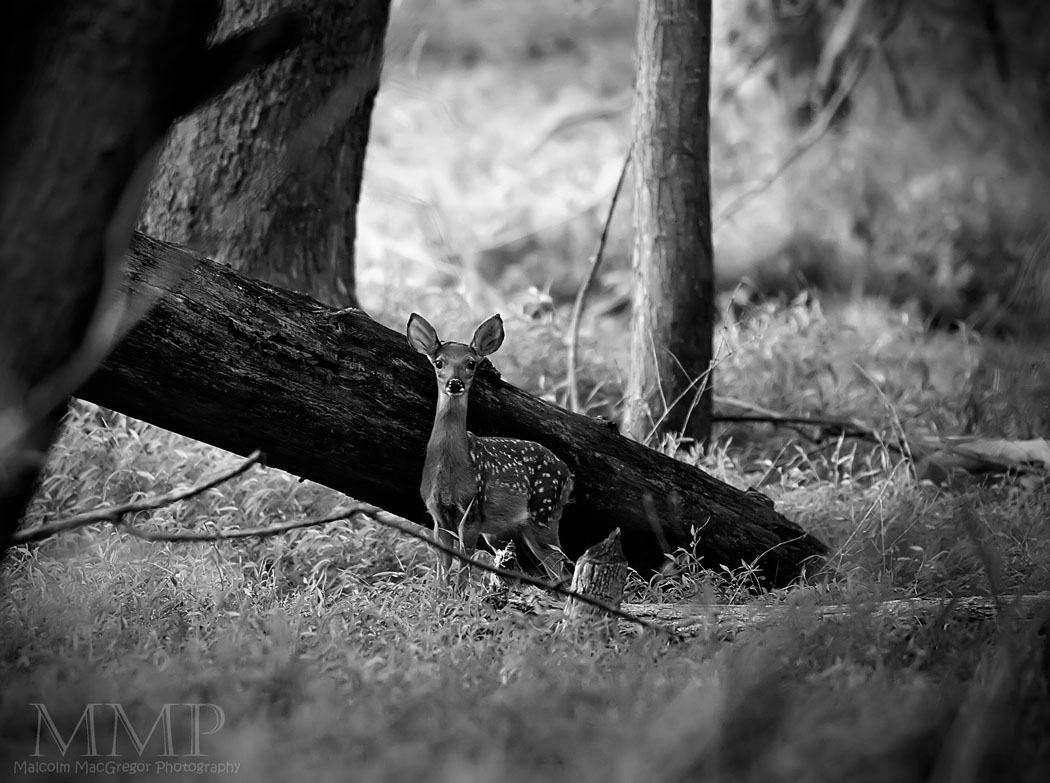
On Thursday I went before work. Usually I get a lot of photos when I visit in the morning, however, that morning I did not get much. I came across a doe and fawn but it was 6am and dark in the woods. Everything came out blurry. The only shot I liked from that day was this one:

On Friday, I dropped my son off at school. I wanted to be there to pick him up so I took the day off rather than go to work for only a few hours. So, with my son in school and my daughter in daycare, my wife and I headed to the lake. We hiked the lake trail and took the south lake trail back to make a loop. It was the first time I’d hiked the south lake trail.

We saw an owl…

The background in this is awesome!

The fawns are getting big and losing their spots…

In the middle of the woods, there is a bench with a plaque that says “Play Ball”…. I don’t get it. This was on the South Lake Trail

Another week down! I would like for it to cool down some but that gets me thinking about winter – I’m not sure how I’ll make it through winter….

Thanks for looking!

Check out all the previous weeks by Clicking HERE

Don’t miss a week! Subscribe to this blog and you will receive an email every time I post something new!

This Week at the Lake – 22/52

I’ve got a good variety of shots this week – HDR, black and white, wildlife, flower, textured……. All kinds of good stuff!

Despite extremely hot temperatures (heat index at least at 110 2 days!) I was able able to get to the Radnor Lake 3 times this week.
I went Monday on my lunch break. It was very quiet that day, I didn’t get much other that this:


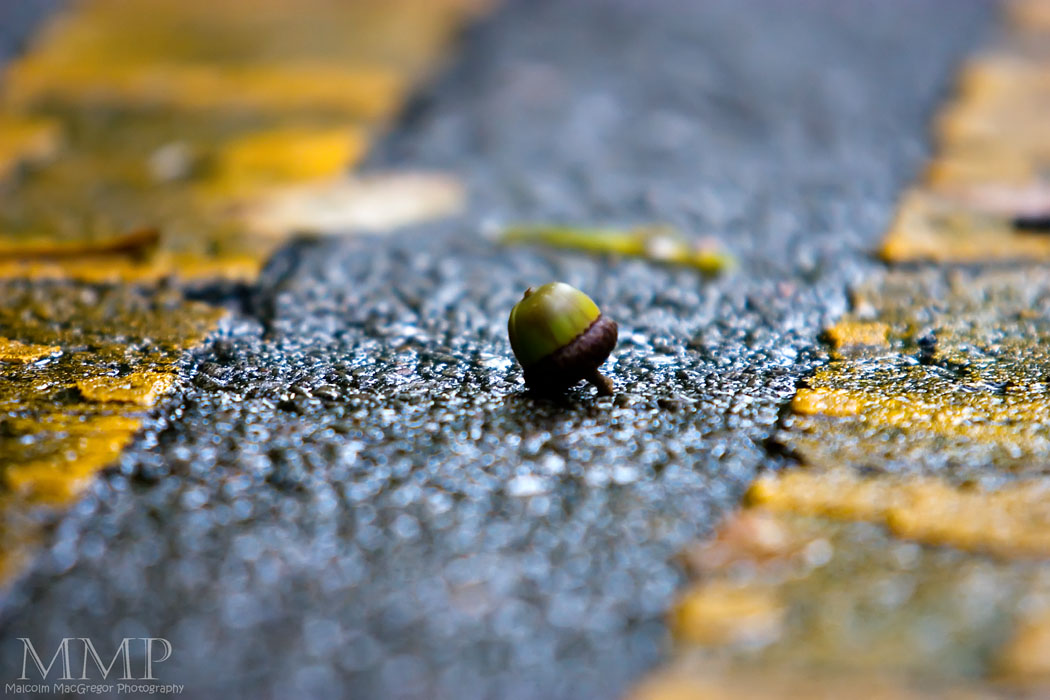
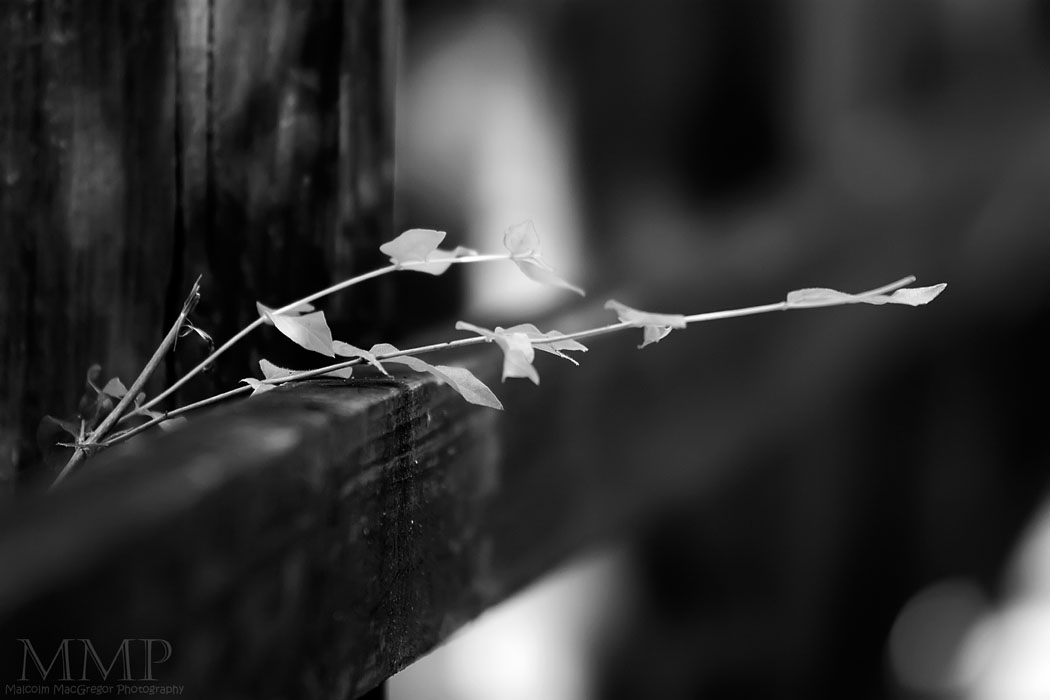
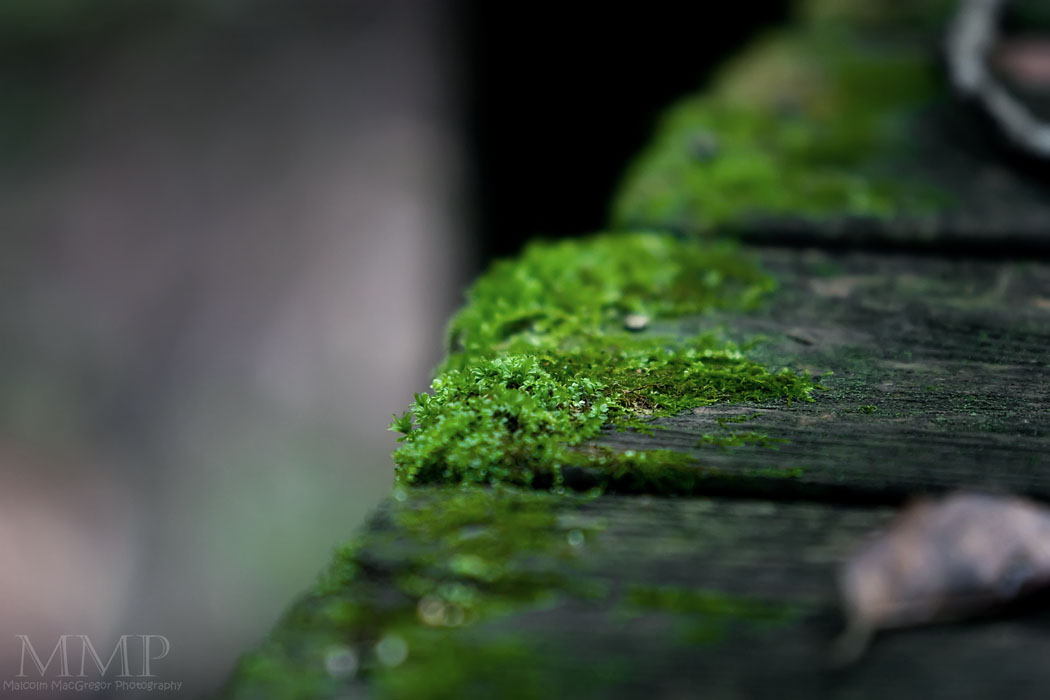
Still on the shallow depth of focus and the black and white kick!

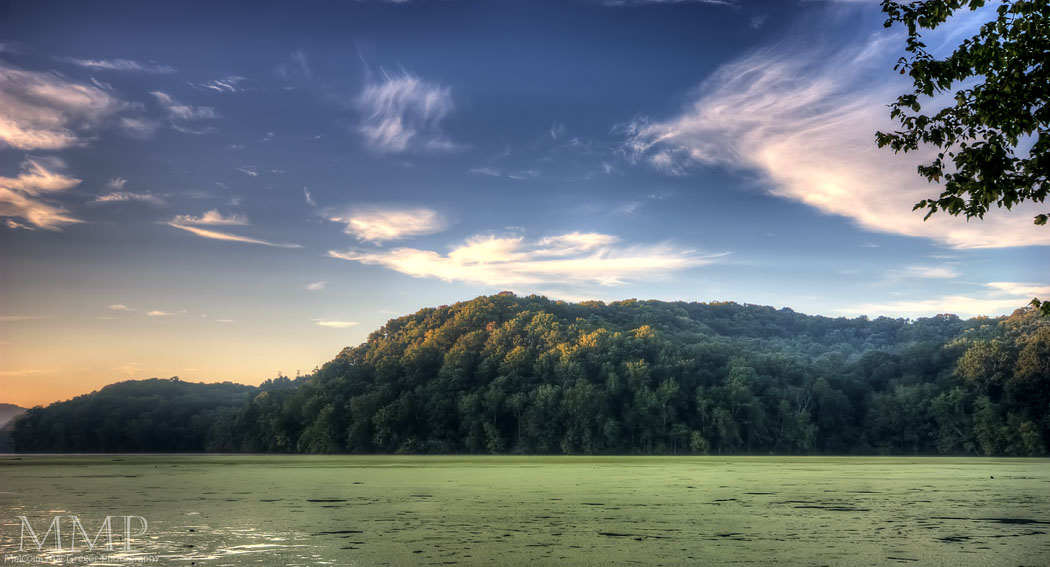
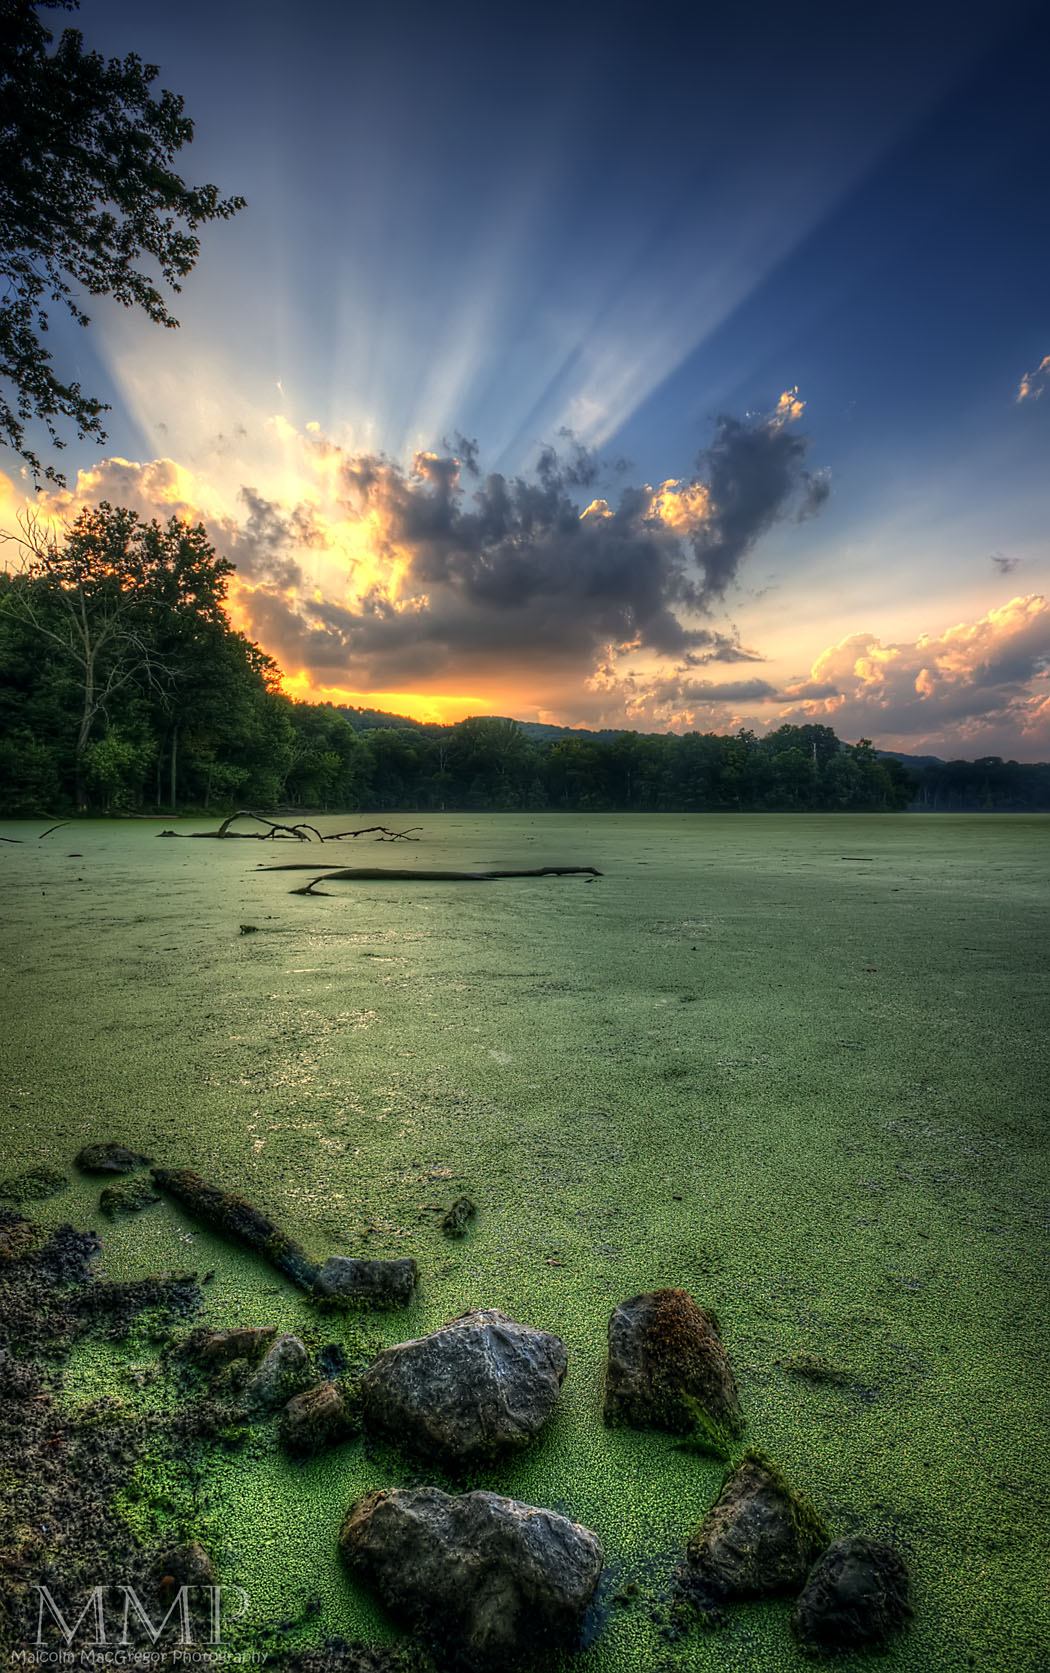
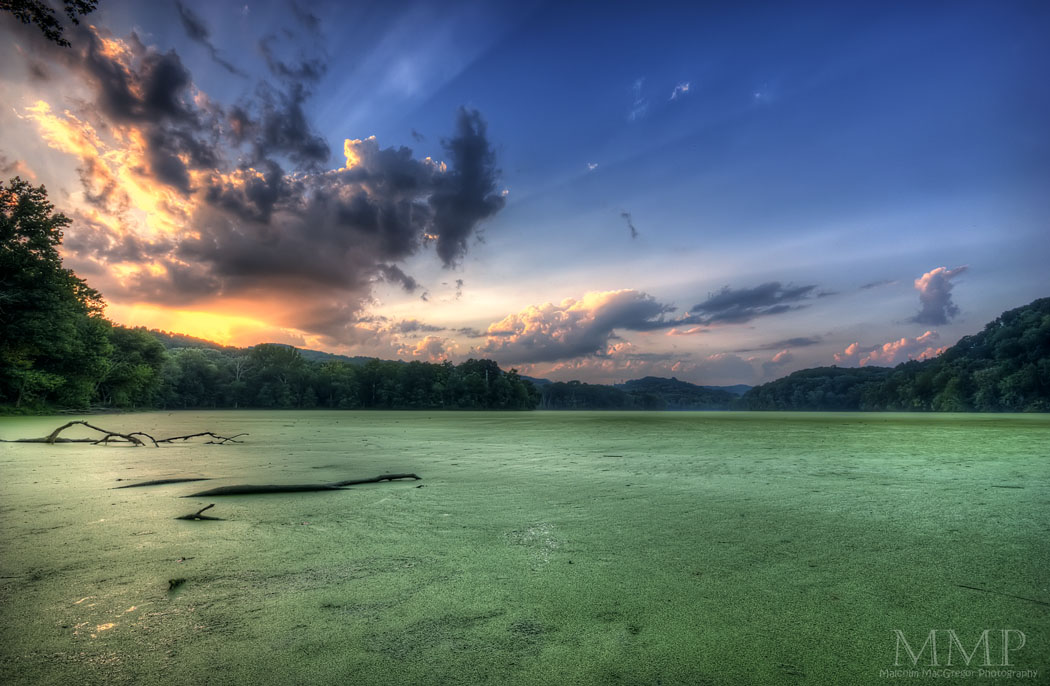
On Tuesday I went before work and was able to catch this amazing sunrise from the shore of the lake

Yes, the lake really is very green – it’s the duckweed that is growing throughout the lake

After the sunrise died down, I headed out along the lake trail. Here is what I was able to capture:


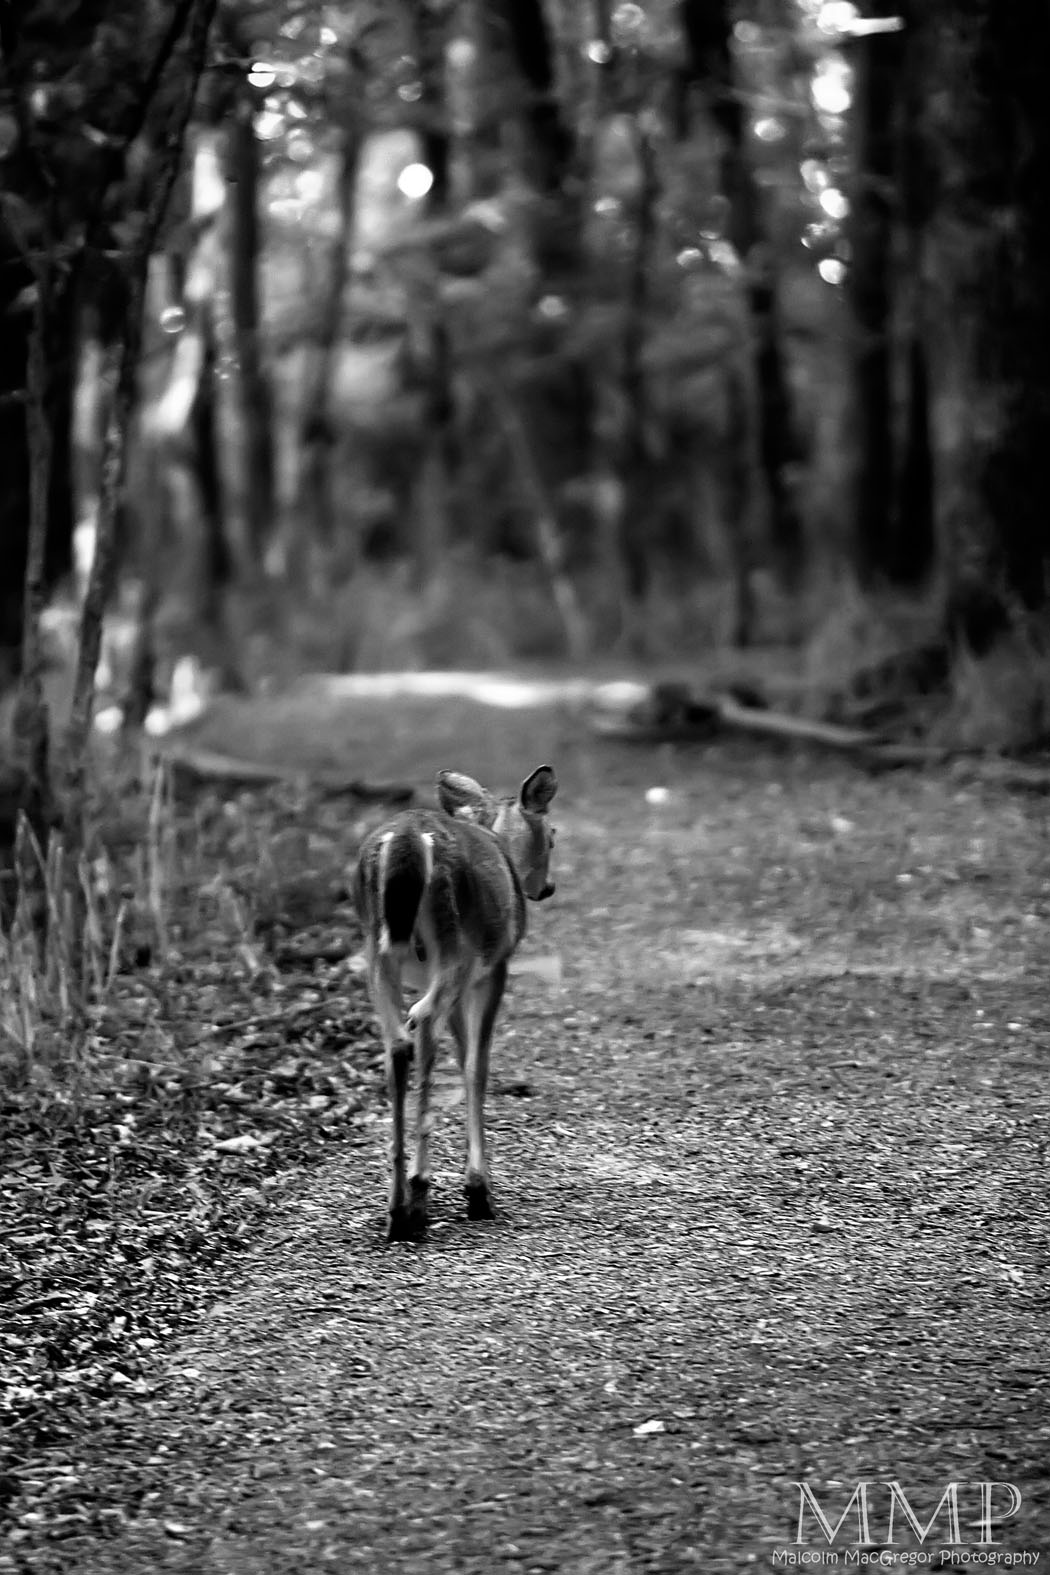
I followed these two around for a while but could not get any better shots of the fawn. I got really close at one point but it was so dark that my shutter speed was around 1/20. I’m just not steady enough to get a clear shot at 1/20. I may need to invest in a good ball head tripod….

Finally by Friday it cooled down a lot – so I headed out on my lunch break. I didn’t see any wildlife, so I started taken some “random” shots:

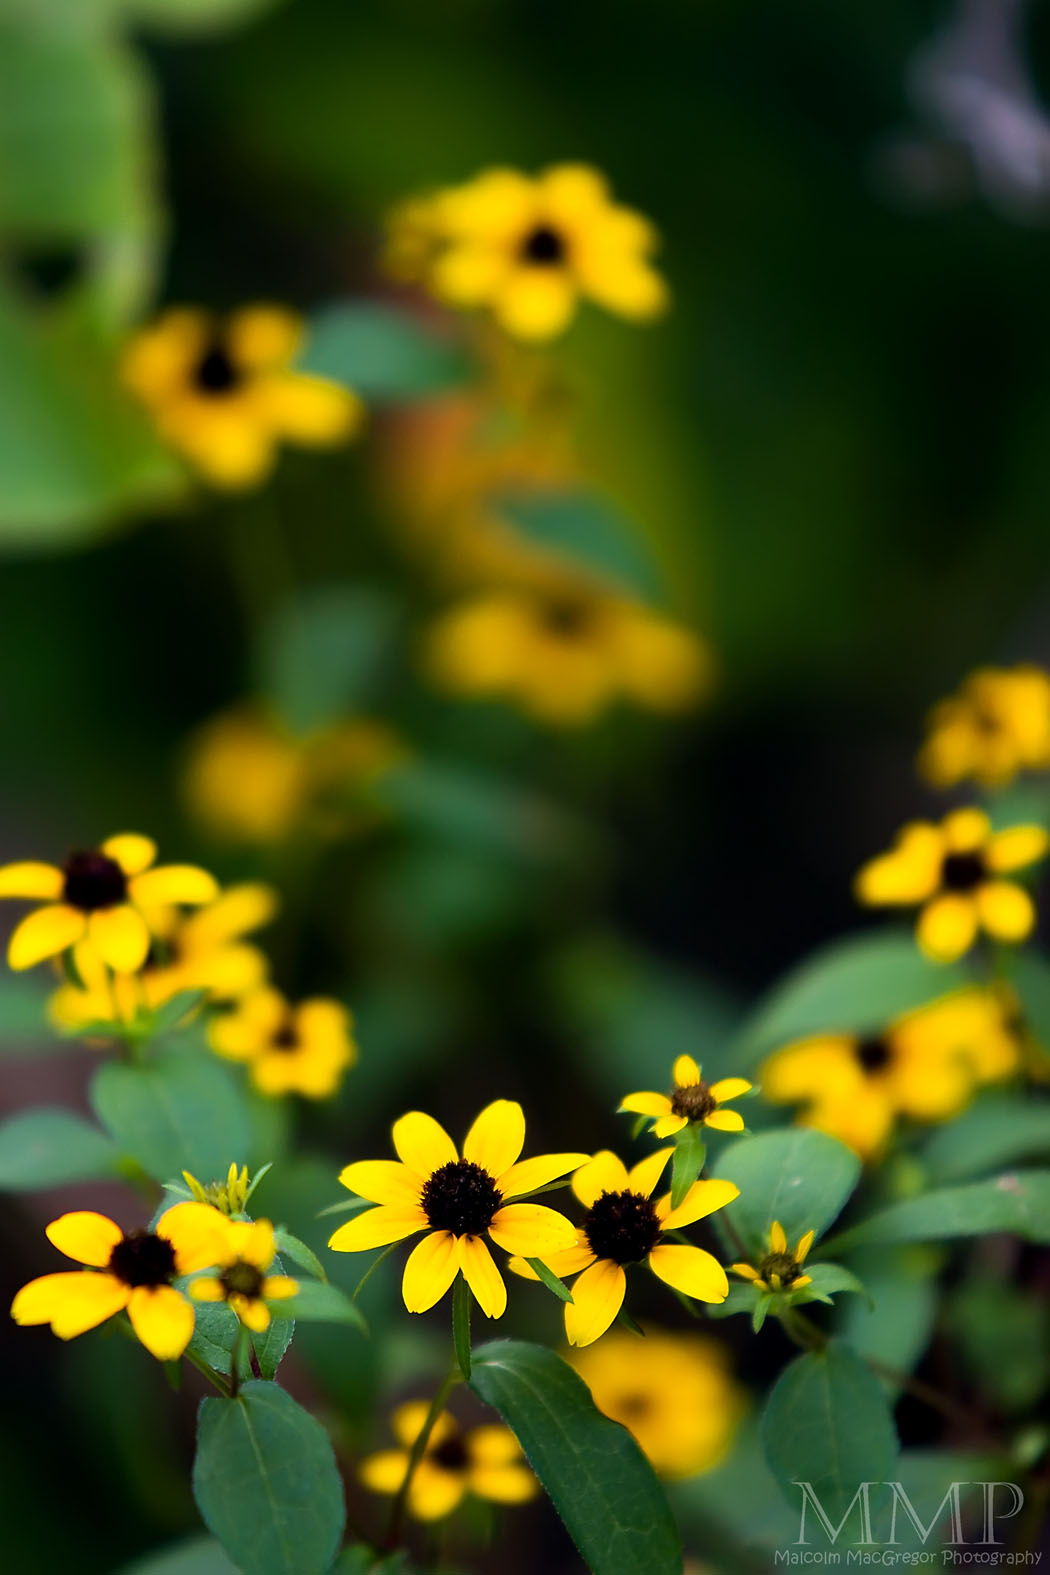
Also found some wildflowers along Otter Creek Rd

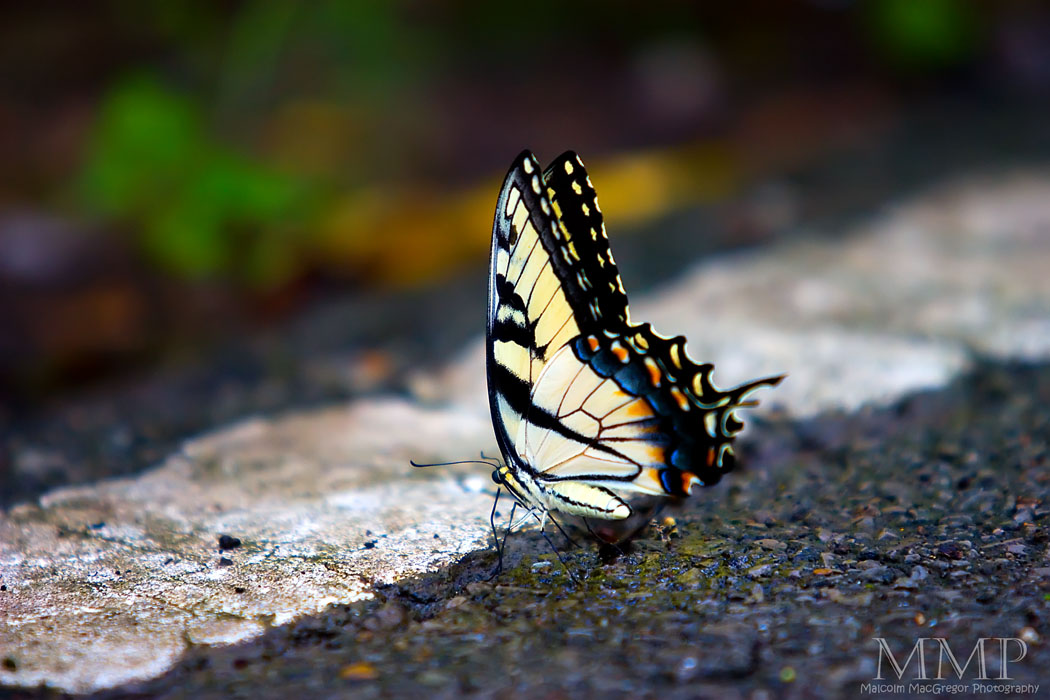
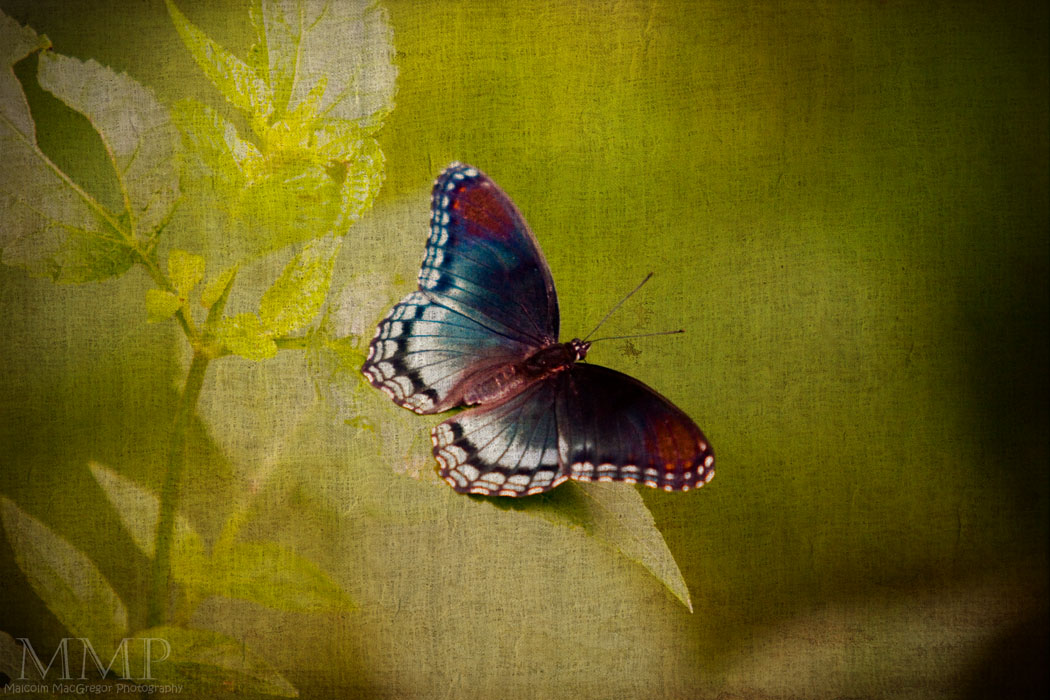
On the way back to the car I got a shot of this butterfly and I wanted to try textures again (Last week’s lead shot was a textured butterfly photo also)

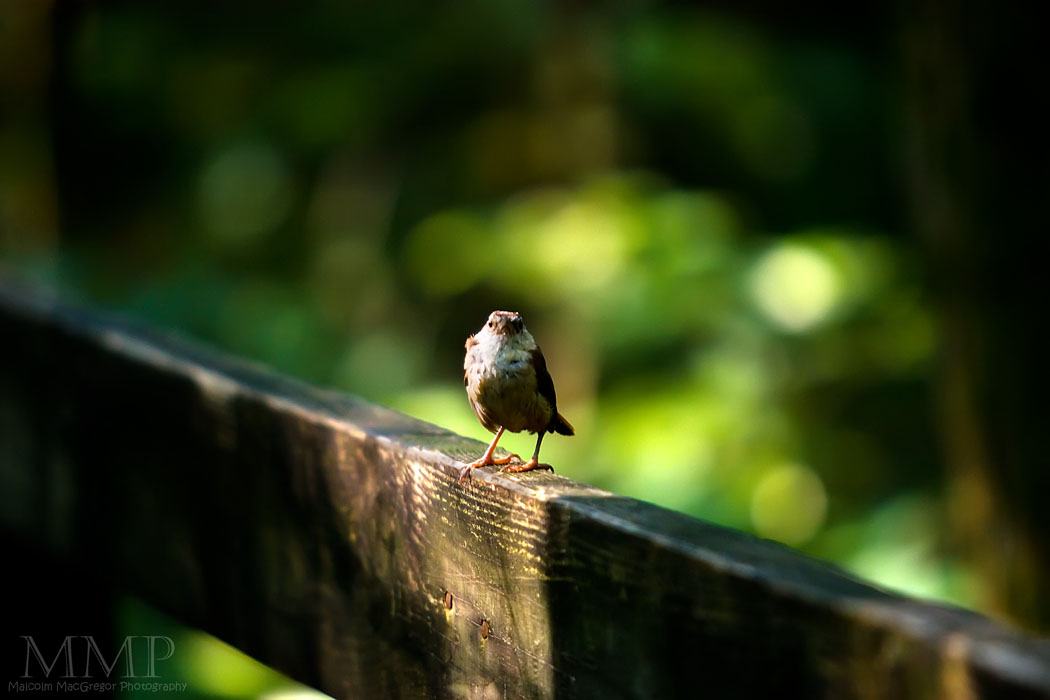
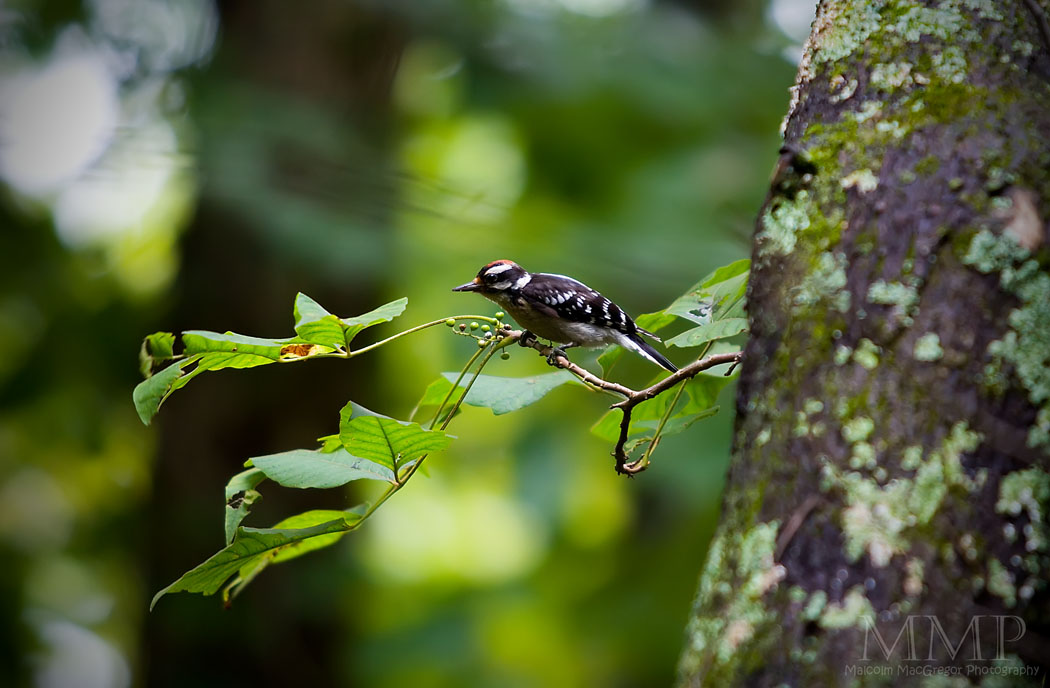
Also, while I was just about back at the car, this little woodpecker landed very close

Thanks for looking!

Check out all the previous weeks by Clicking HERE

Don’t miss a week! Subscribe to this blog and you will receive an email every time I post something new!